Embark on the fascinating journey of using your Ashford Traditional Spinning Wheel more effectively because we’re about to unveil a comprehensive, step-by-step manual to guide you to mastery.
Key takeaways:
- Identifying features of an Ashford Traditional spinning wheel.
- Steps to safely disassemble and assemble the wheel.
- Tips for caring for the wood components of the wheel.
- The importance of a maintenance kit for optimal function.
- Understanding and adjusting the tension peg for desired results.
Identifying the Ashford Traditional
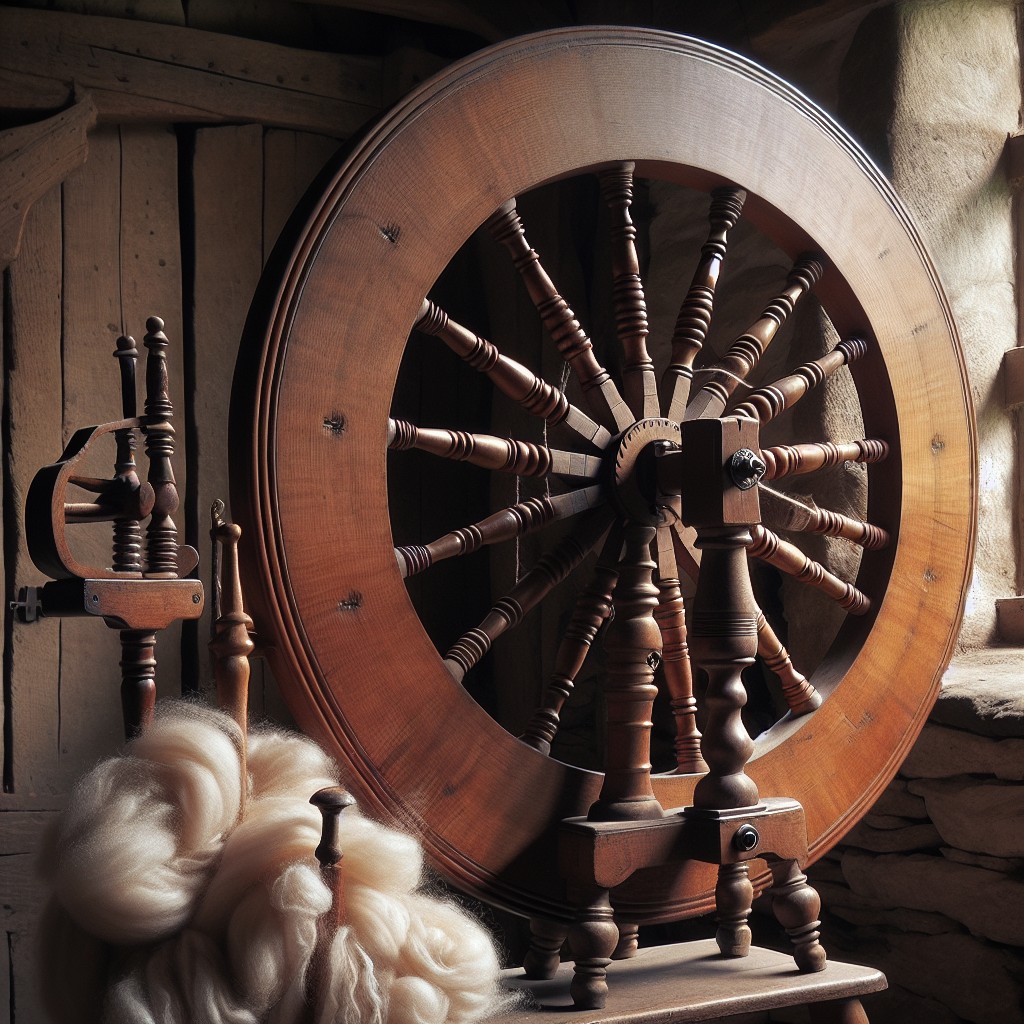
Recognizing an Ashford Traditional spinning wheel is straightforward by focusing on a few distinctive markers. Firstly, look for the large drive wheel – typically around 56 cm in diameter – which is the hallmark of these models. The wheel generally features four spokes, a testament to its classic design.
Next, observe the flyer assembly located at the front, comprising the flyer, bobbin, and whorl. The Ashford Traditional often comes with a single drive band and a Scotch tension system, allowing for fine control over the spinning process. Additionally, the wheel will have a horizontal alignment with the flyer at approximately elbow height when you’re seated.
The frame of an Ashford Traditional has a distinctive maiden bar – the horizontal bar that holds the flyer assembly – and a three-legged base, offering remarkable stability while spinning. Lastly, the Ashford logo, either burned or stickered onto the wheel, certifies its authenticity. These features combined create a reliable and treasured tool for both beginner and experienced spinners.
Disassembling the Wheel

To safely disassemble your Ashford Traditional spinning wheel, begin by removing the drive band, allowing the wheel and the flyer to be free of tension. Next, loosen and remove the flyer by unscrewing the flyer whorl and lifting it off the maiden bar. Carefully place the flyer to the side, ensuring the hooks are not bent or damaged.
Proceed with the bobbin by sliding it off the flyer shaft. If your model includes a brake band, unhook it from the flyer and the tension knob. Gently take the conrod out from the footman by removing the connecting pin. This will detach the treadle, providing more maneuverability as you proceed.
The mother-of-all, which houses the maidens and tension knob, can then be lifted off the wheel’s base after loosening the appropriate knobs or screws. Keep a small container handy for safekeeping all small, removable parts to prevent loss.
When removing the wheel itself, it’s crucial to be gentle to avoid any damage to the wheel’s hub or the bearings. Ensure to support the wheel adequately as you remove the uprights or legs from the base.
Remember to note the orientation and order of the disassembled parts; taking photos or labeling during the process can aid in reassembly later. Store all parts in a clean, dry place until you are ready to reassemble the wheel or replace any necessary components.
Caring for the Wood
To ensure the longevity and smooth operation of your Ashford Traditional spinning wheel, it’s essential to give the wooden components regular attention. Use a soft, lint-free cloth to remove dust and lint buildup from all wooden parts. For deeper cleaning, a slightly damp cloth can help, but make sure to dry the wood thoroughly to prevent warping.
Periodic conditioning is also beneficial for the wood. A high-quality wood polish or conditioning wax, preferably one that is natural and without harsh chemicals, will both enhance the natural beauty of the wood and provide a protective layer. Apply this conservatively and according to the product’s instructions, ensuring even coverage without allowing excess to accumulate.
In areas where the wood moves or touches other components, such as the flyer or bobbin rods, apply a minimal amount of pure, clear beeswax to reduce friction and wear. This will ensure a smoother spinning experience and reduce the need for repair due to wear over time.
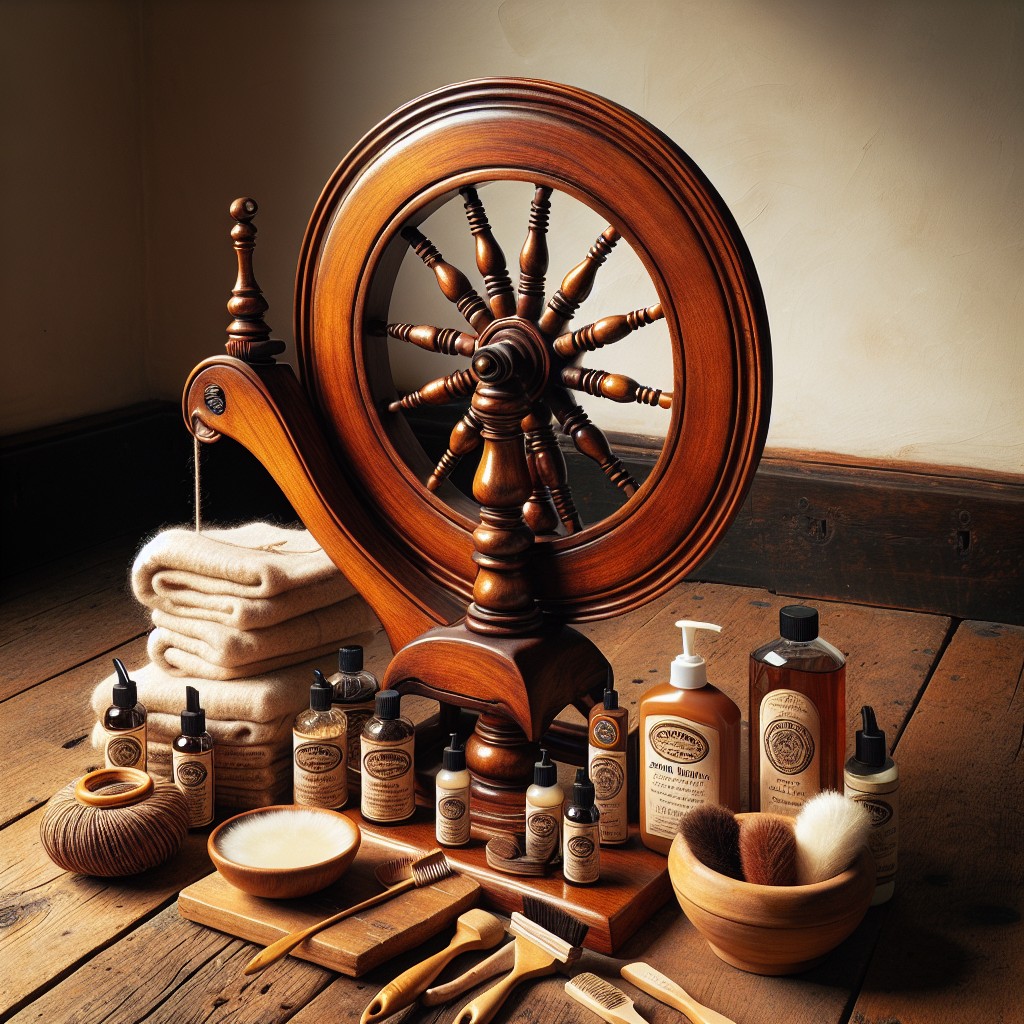
Maintenance Kit
Proper maintenance is crucial for ensuring the longevity and optimal function of your Ashford Traditional Spinning Wheel. The Ashford Maintenance Kit is a tailored package designed to help you keep your wheel spinning smoothly.
It typically includes:
- A small bottle of oil: Regular application keeps moving parts like the wheel bearings and treadle hinges moving without friction.
- Spare tension springs and nylon joint connectors: These are essential for retaining the correct tension and integrity of moving joints.
- E-Clips and hooks: E-Clips prevent the wheel rod from shifting, while additional hooks can be used to replace any that have become bent or worn.
- Drive band: This is a crucial component for transmitting power from the wheel to the spindle.
- Brake band and tension knob: Responsible for controlling the amount of yarn take-up, having spares means immediate replacement if wear is detected.
Always consult your wheel’s manual to determine the frequency of maintenance and to understand the specifics of replacing each component. Regular check-ups using the Maintenance Kit prevent minor issues from becoming major problems.
Tension Peg
The tension peg plays a crucial role in the control and consistency of your yarn. It adjusts the brake band, which in turn influences the uptake of yarn onto the bobbin. Keeping this component in good working order ensures a smooth spinning experience.
The position of the peg determines the tightness of the brake band; closer to the wheel increases tension, while moving it away reduces it.
Regularly check the tension peg for wear; any signs of damage can affect the yarn’s tension.
When adjusting, do so in small increments to find the ideal tension for your spinning project.
If your yarn is being drawn onto the bobbin too quickly, or if you find it hard to treadle, consider loosening the tension slightly.
Conversely, if the yarn is not winding onto the bobbin, or the take-up is too slow, tighten the tension but be mindful not to overdo it.
Understanding and mastering the adjustments of the tension peg can elevate the quality of your spinning and make the process more enjoyable.
A Fully Restored Vintage Traditional
Restoring a vintage Ashford Traditional spinning wheel can bring a treasured heirloom back to life, ensuring it not only looks beautiful but functions seamlessly for your spinning needs. Key considerations in the restoration process include:
- Assessing the Wheel: Evaluate the condition of all parts, including the flyer, bobbin, treadle, and drive band, for wear or damage.
- Refurbishing the Finish: Strip any old finish, sand down the wood gently, and reapply a fresh coat of wax or polish to protect the wood and enhance its natural beauty.
- Replacing Parts: Source authentic Ashford replacement parts for anything that is broken or missing, including hooks, tension knobs, or drive bands.
- Oiling the Mechanics: Use a high-quality spinning wheel oil to lubricate the wheel’s moving parts, such as the wheel bearings and treadle joints, to ensure smooth operation.
- Fine-Tuning: Calibrate the wheel for optimal spinning. This includes adjusting the tension to achieve the desired yarn consistency and ensuring the flyer aligns properly with the bobbin.
By giving attention to these details, you can revitalize a vintage spinner and continue its legacy of crafting yarns for years to come.
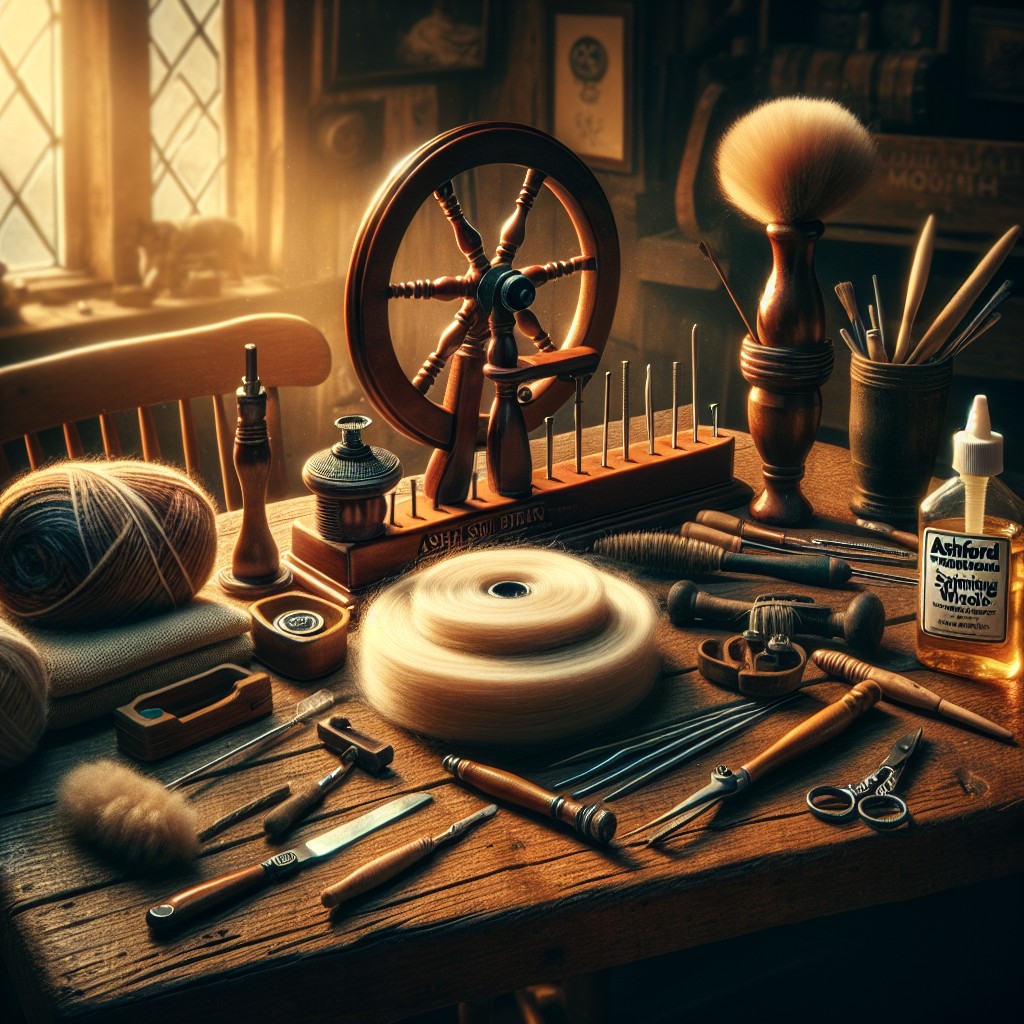
Tools Required
Before embarking on maintenance or assembly tasks with your Ashford Traditional Spinning Wheel, ensure that you have the following tools at the ready:
- A set of Allen wrenches, also known as hex keys, to tighten or loosen bolts and screws
- Screwdrivers, both flat-head and Phillips, to adjust various parts of the spinning wheel
- A small hammer for gentle taps when assembling or disassembling parts
- Wood glue, which comes in handy for securing any loose wooden joints
- Fine-grit sandpaper to smooth out any rough edges or surfaces
- Lubricating oil specifically designed for spinning wheels to ensure all moving parts operate smoothly
Having the appropriate tools on hand will facilitate a smooth process, whether you’re setting up a new wheel, performing routine maintenance, or restoring a well-loved spinner.
TRADITIONAL SPINNING WHEEL
The Ashford Traditional spinning wheel is a single-drive wheel renowned for its versatility and ease of use, suitable for both beginners and experienced spinners. Understanding its key components sharpens your spinning craft.
The wheel itself often features a large drive wheel, which affects the spinning ratio for various yarns. Flyers with hooks or sliding guides help manage yarn tension and ensure even winding onto bobbin. Bobbins accommodate different yarn volumes, while the scotch tension system provides precise control over the spin’s tightness.
Furthermore, the built-in lazy kate facilitates plying spun yarns directly from the bobbin. Using this classic spinning wheel, one can create a myriad of yarn types, from fine lace to chunky wool, all with a smooth treadle motion that’s gentle on the joints.
FAQ
What are the ratios for Ashford traditional?
The Ashford traditional has single drive ratios of 7, 9, 12, 17 : 1 and double drive ratios of 7.5, 9.5, 13 : 1.
How is maintenance of an Ashford traditional spinning wheel done?
Maintenance of an Ashford traditional spinning wheel is done by routinely cleaning the wheel, oiling the moving parts, and ensuring the wheel is properly assembled and balanced.
What are the steps to adjust the tension on an Ashford traditional spinning wheel?
To adjust the tension on an Ashford traditional spinning wheel, turn the tension knob either clockwise to increase tension or counter-clockwise to decrease it, and always ensure the treadle is moving smoothly during operation.
How can you troubleshoot common issues with an Ashford traditional spinning wheel?
For troubleshooting common issues with an Ashford traditional spinning wheel, you can perform tasks such as: adjusting the tension, checking for loose parts or foreign objects, lubricating the wheel as per manual instructions, and ensuring the drive band is in its correct position.


