Learn how to crochet the eye-catching chevron stitch pattern with this easy how-to guide.
Looking to master the chevron crochet stitch and create those zigzag wonders that look straight out of a swanky boho catalog? You’ve landed in the right digital nook! This guide will unravel everything—from kickstarting your foundation chain to finishing touches—all while sprinkling in colorful yarn changes and those oh-so-special stitches. Ready your hooks and let’s zig that zag!
Key takeaways:
- Foundation chain in multiples of 14 for chevron.
- Maintain even tension for neat stitches.
- Color changes add flair and personality.
- Use special stitches for unique effects.
- Final touches include weaving ends and blocking.
Foundation Chain
Start by creating a chain in multiples of 14 – this is your magic number for the chevron pattern. Add an extra 2 chains for turning. Think of these extras as your safety net.
Keep your tension even. Pretend your yarn is a mellow cat; gentle, steady, no sudden movements.
Count your chains as you go. It’s like counting sheep, but with less snoring and more stitching. Skip the counting, and you might end up with a chevron that looks more like a zigzaggy monster.
Keep your stitches neat. If they’re too tight, unraveling helps prevent you from recreating a ball of frustration instead of a work of art.
Remember, the foundation chain sets up your entire project. Give it the attention it deserves, and everything will fall into place – one lovely, wavy row at a time.
Row 1
Start by skipping the first two chains (they’re just hanging out, pretending they’re important). Yarn over, then insert your hook into the next chain.
Double crochet three times into this chain. Congrats, you’ve got a little mountain!
Skip the next two chains (they’re not feeling it today).
In the next chain, do a single crochet. This will be your valley; it’s taking things slow and steady.
Skip the next two chains again (they need a break too).
Double crochet three times into the next chain.
Continue this cycle: mountains and valleys, till the end of the row.
Remember, the end should finish on a mountain. If not, retrace your steps and find out where a peak turned into a plateau.
Row 2
Time to dive into the adventure of the second row. Here’s where the magic begins. Think of it as turning your squiggles into waves.
First, turn your work. This is like clicking the “Next Episode” button on your favorite show.
Start with a chain 3. It’s like a mini warm-up before the marathon.
- Now, follow these steps faithfully:
- Skip the first stitch.
- Crochet 1 double crochet in each of the next 4 stitches.
- Ready for a dip? Do 3 double crochets together in the next 3 stitches.
- Bounce back up with 1 double crochet in each of the next 4 stitches.
- Create a peak by placing 3 double crochets in the next stitch.
Repeat the steps above. Feel the zen of the rhythm in your hands. Ends with a double crochet in the last stitch to cap it off neatly.
Row 2 forms the pattern’s basic wave shape. Think ocean currents or mountain ridges. Ooh la la, look at that chevron taking shape!
Additional Rows
Each subsequent row in the chevron stitch builds upon the last, maintaining that delightful zigzag pattern.
- Always start with a turning chain. This ensures your edges stay nice and straight.
- Work your stitches just like in Row 2, following the peaks and valleys.
- Be on the lookout for those increases and decreases, they’re the choreography of the chevron!
- Consistency is key: keep your tension even to make sure your chevron looks chic, not chaotic.
- Don’t lose count! The pattern relies on you hitting all the right stitches at all the right places.
Ready for color changes? Stay tuned; there’s a rainbow of possibilities ahead!
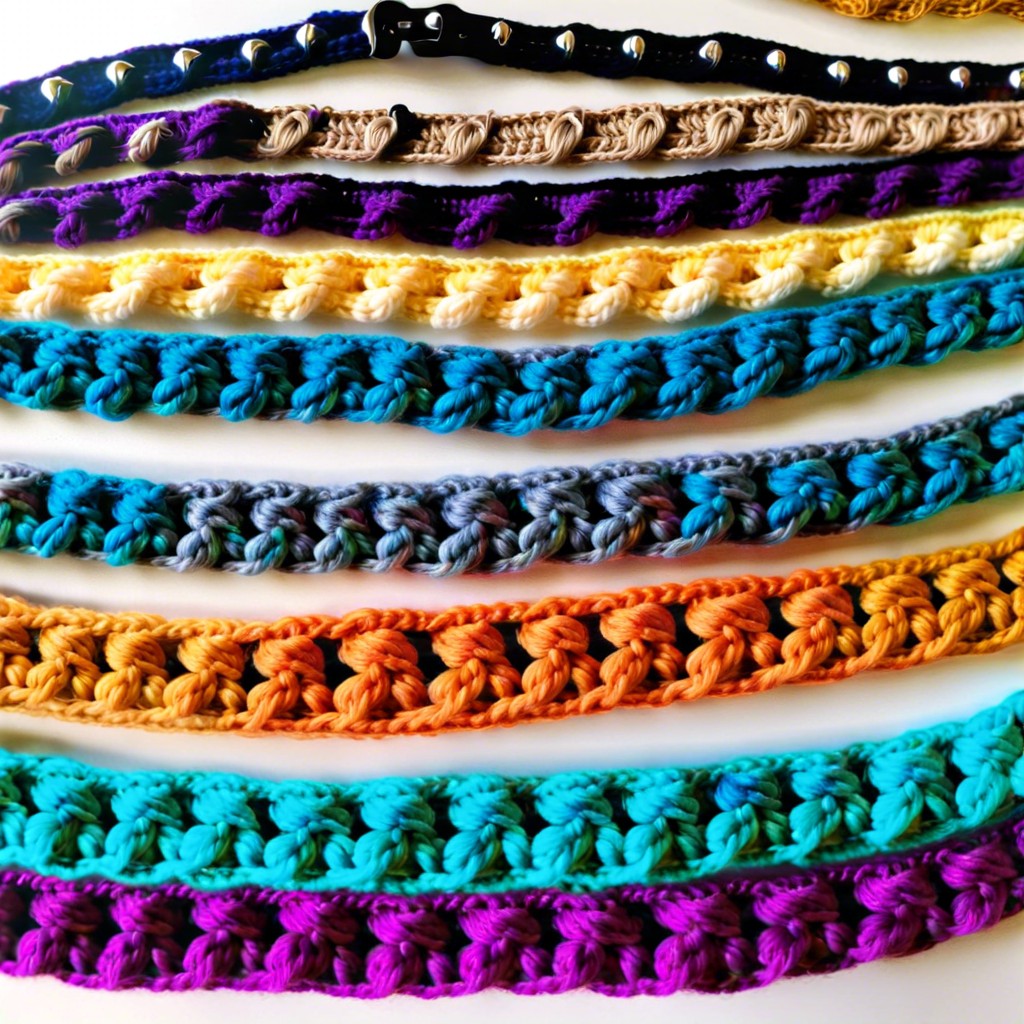
Changing Colors
Switching colors in a chevron crochet project can inject personality and pizzazz. Imagine your project turning from drab to fab with just a flick of your hook! Here’s how to make it happen without tangling your yarn or your mind:
First things first, plan ahead. Decide where you want the color change to occur. Mark that last stitch of the old color.
When you reach that spot, start the final yarn-over of the last stitch using the new color. This means you’ll complete the stitch with the fresh yarn, seamlessly blending hues.
To keep your edges sharp and neat, switch colors at the end of a row. This is crucial for maintaining that iconic zig-zag.
If your yarn has a sense of humor and loves tangling, keep the skeins in separate bags. No one likes a yarn soap opera.
Secure the old color with a gentle knot on the backside, but don’t pull it too tight. No one wants a scrunchy chevron, right?
Weave in those sneaky yarn tails with a darning needle to keep your piece immaculate.
And voilà! You’ve just upgraded your chevron game and ensured your project doesn’t look like a kindergarten craft gone rogue.
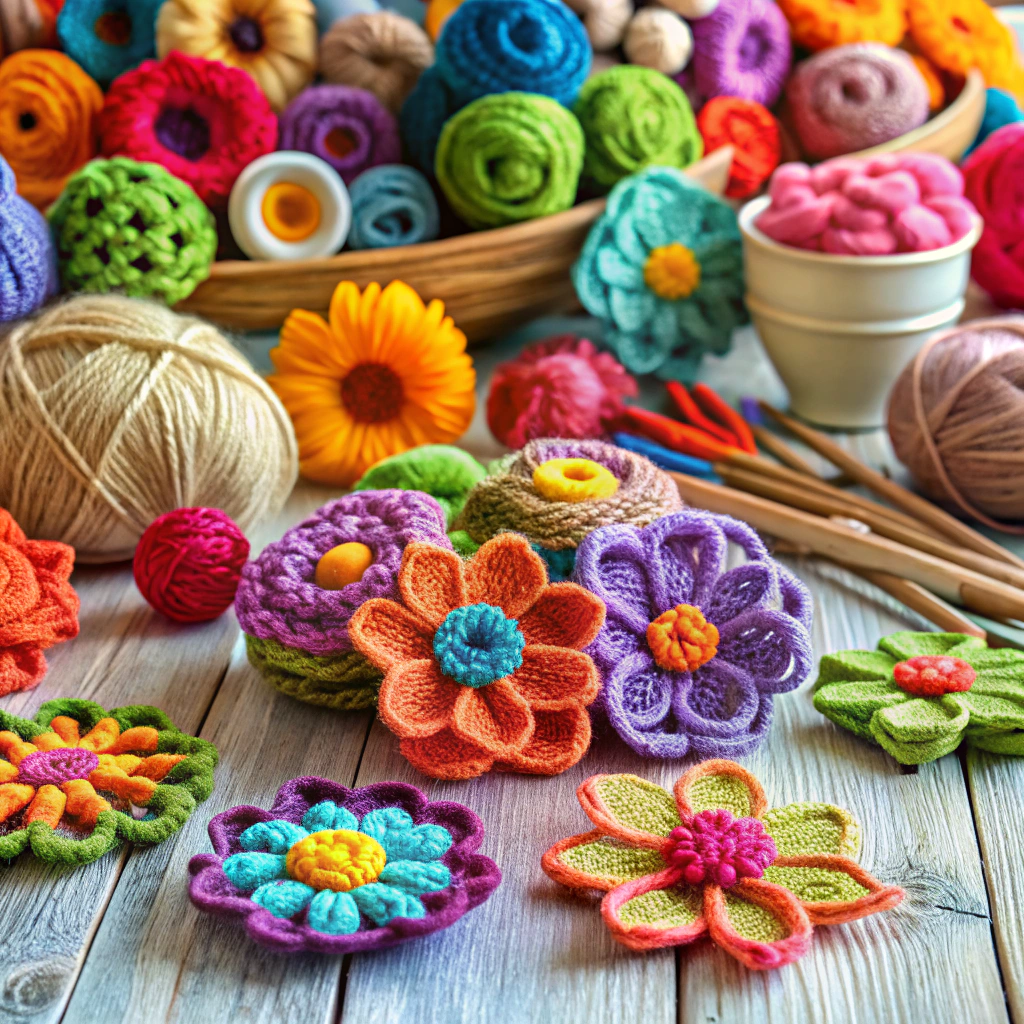
Special Stitches
Dive into some fun techniques to add pizzazz to your chevron crochet pattern. These stitches will jazz up the peaks and valleys of your design.
- Extended Single Crochet: This stitch adds a bit more height than the usual single crochet, creating a zigzag with more elongation. Just add an extra yarn over before pulling up a loop.
- Bobble Stitch: Imagine tiny little puffs dotting your chevron’s peaks. Add them by working several double crochets into the same stitch, but hold off on the last step for each stitch until they’re all done, then yarn over through all loops.
- Front Post Double Crochet: For a textured chevron, work double crochets around the post instead of the top loops. This creates a raised ridge that makes each chevron stripe pop out in style.
- Crab Stitch: Use this backward single crochet stitch for an unconventional edge finish. It’s like moonwalking with your hook, creating a unique, twisted touch.
Experimenting with these stitches will transform your chevron masterpiece into something truly extraordinary.
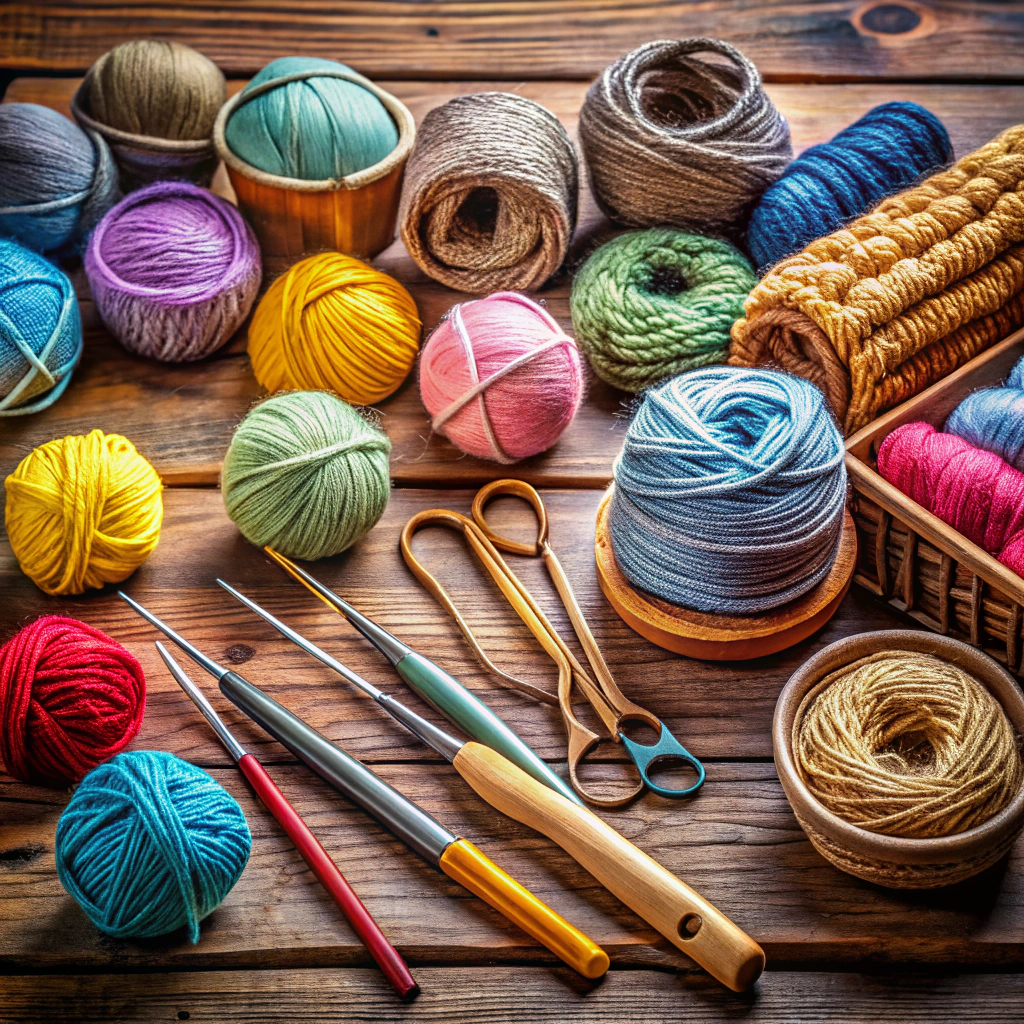
Material Requirements
Let’s talk goodies! To start your chevron crochet adventure, you’ll need a handful of essentials.
First up, yarn. Choose a yarn weight that suits your project, like medium-weight for blankets or lighter for scarves. Just make sure it’s soft enough to cuddle, not scratchy like your great-aunt’s ancient doilies.
Next, grab a crochet hook. Sizes vary depending on your yarn; usually, the yarn label tips you off. For medium-weight, a 5mm hook is a trusty sidekick.
Stitch markers are small heroes. They save your place in complex patterns, preventing the dreaded “where was I?” moment. Use anything from fancy markers to a stray bobby pin.
Lastly, scissors. We’re crafting, not playing Edward Scissorhands. A snip here, a trim there; simple, sharp ones will do.
Now you’re geared up and ready for chevron magic and all the creativity it unleashes!
Abbreviations
When diving into chevron crochet, understanding abbreviations is a game-changer. These little shorthand codes speed up the reading process and make patterns less cumbersome.
Here’s a cheat sheet for common ones you’ll encounter:
- Sc: Single crochet – Your trusty building block. Simple and sweet.
- Dc: Double crochet – Think of it as the taller, slightly show-off sibling of single crochet.
- Ch: Chain – The backbone of many a crochet project, the mighty chain stitch.
- St: Stitch – Your base unit. Every project is just a bunch of these hanging out together.
- Tr: Treble crochet – If double crochet had a glamour model cousin, this would be it.
Once these are down, patterns will be less a foreign language and more a friendly nudge towards your next masterpiece. Crochet on, fearless pattern decipherer!
Final Touches
Weave in those pesky yarn ends with a tapestry needle, making sure they’re snug and secure—no one likes a rogue yarn tail making an escape!
Block your piece to even out any wonky stitches. A gentle steam or a good soaking should do the trick. It’s like giving your crochet a spa day.
Add a border if you’re feeling fancy. A simple single crochet or a more intricate picot stitch can really make your chevron pattern pop.
Sometimes, you just need a little extra flair. Consider sewing on some beads or appliqué for a truly unique finish.
Remember, a quick pass-over to check for any missed stitches or loose ends can save you from facepalming later.
And there you have it, folks. Your chevron masterpiece, polished and perfect, ready to be admired!
Cheerful Tips
Play with Colors: The chevron stitch is like a blank canvas. Variegated yarns can create unique color patterns without much effort. Mixing solid and multi-colored yarns can also add a pop!
Mind the Gaps: Keep your tension consistent to avoid gaps in your chevron peaks and valleys. It’s like making sure your rollercoaster doesn’t have awkward bumps.
Mark It Up: Use stitch markers to track your increases and decreases. They’re the unsung heroes preventing your zig from zagging too soon.
Practice Makes Perfect: Your first try might look like a wonky zigzag. That’s okay! You’re not building the pyramids here. A bit of practice and it’ll smooth out beautifully.
Frog with Caution: Need to rip back a section? Be gentle. It’s like pulling a thread on your favorite sweater—you don’t want to unravel the whole thing.