Learn how to crochet adorable bunny ears quickly and easily with this step-by-step guide.
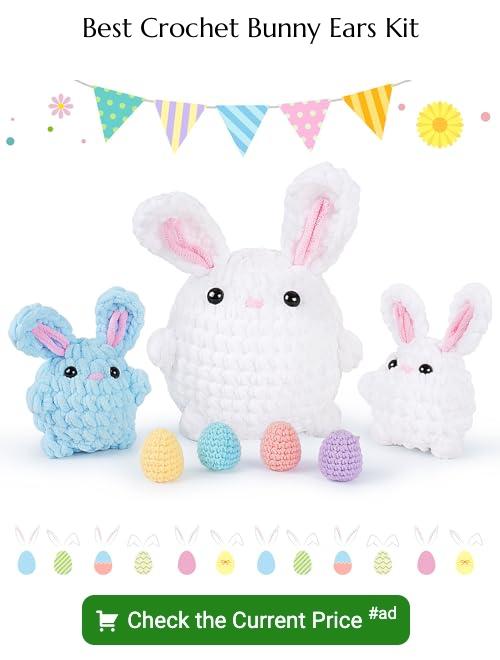
Ready to turn your yarn stash into the cutest bunny ears ever? With the right tools, a sprinkle of crochet know-how, and a dash of humor, you’ll have those floppy ears hopping off your hook in no time. Whether you’re crafting a bunny plushie or just adding some cuteness to other projects, this guide’s got you covered with clear, easy steps from start to finish.
Key takeaways:
- Choose soft, medium-weight yarn & appropriate hook size.
- Master crochet abbreviations for easy pattern reading.
- Create bunny ear fronts with rounded tips.
- Craft matching ear backs following specific steps.
- Assemble and attach ears for cuddly, floppy bunnies.
Needed Materials
Grab your yarn and hooks, we’re embarking on a rabbit-ear adventure! First, pick out a soft, medium-weight yarn. Think cozy and cuddly—because bunny ears deserve nothing less. Cotton works wonders, but acrylic can be a great stand-in, too.
Now, on to hooks. A 4.5mm hook is generally a good bet for this kind of project. If you’re a tight crocheter, bump up to 5mm. Loosey-goosey with your stitches? Drop down to 4mm.
You’ll also need a tapestry needle for sewing, some stuffing to plump up those ears, and a pair of scissors. Optional but highly recommended: stitch markers. Because nobody enjoys recounting rows like it’s a new bedtime hobby.
Abbreviations
Let’s break down those crochet hieroglyphics into plain English.
- Ch – Chain: The foundation of all crochet dreams.
- Sc – Single Crochet: One stitch, so many possibilities.
- Hdc – Half Double Crochet: The stitch that couldn’t quite commit to doubling.
- Dc – Double Crochet: Twice the height, double the fun.
- Inc – Increase: Making more room for bunny goodness.
- Dec – Decrease: Tightening things up, bunny-style.
Crochet language = conquered. High fives all around.
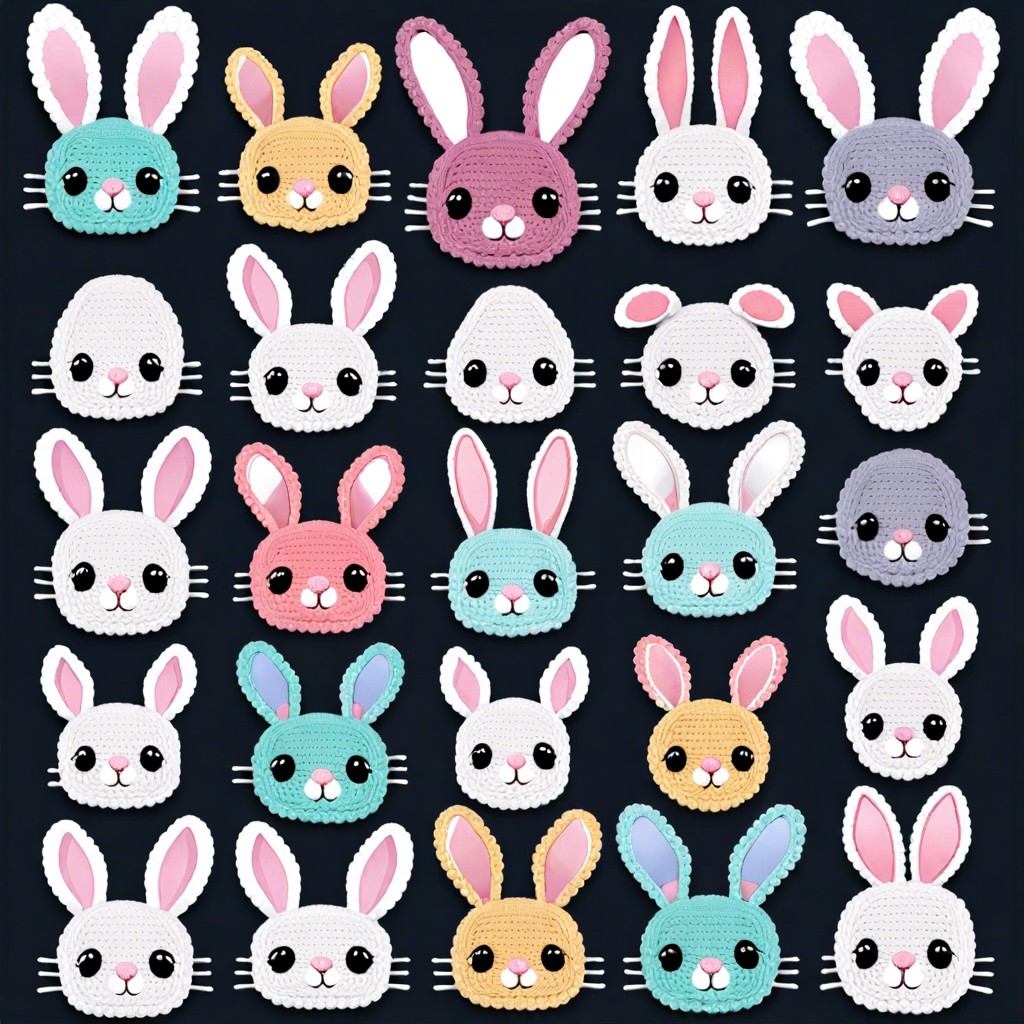
Ear Front (make 2)
Start by chaining ten. Simple, right? This forms the foundation of your bunny ear. Single crochet into the second chain from the hook, then just keep single crocheting across the chain.
Time for those rounded tips! In the last stitch, work three single crochets into the same stitch. Yes, we’re crowding in a bit, but that’s how you get that nice, curved effect. Now, crochet along the other side of the chain, mirroring what you did on the first side.
Repeat these steps once more for the second ear front. Magic begins at repetition! And voila, your bunny’s front ears are ready for some springtime bunny hops.
Ear Back (make 2)
Using the same yarn and hook as the front pieces, you’re about to create the perfect match for your bunny’s ears. Follow these easy-peasy steps to get it right:
Start with a magic ring. If you can’t conjure a magical ring, a chain two works just as well.
Single crochet six stitches into your ring. Don’t lose count here, unless you want a thiefy thumper.
Increase your way through the next round by placing two single crochets in each stitch. Twelve stitches should pop up like bunnies in spring.
Keep building the ear by following your pattern, matching the front ear dimension-wise.
You’ll end up with what looks like two tiny leaf-shaped pieces. These will magically transform once stitched together.
Assembly
Time to bring those pieces together and make some magic! Here’s what you’ll need to do:
First, take one Ear Front and one Ear Back. Align them so that all the edges match up perfectly. Think of it as a little ear sandwich with no crust.
Once they’re aligned, whip out your yarn needle. Using the same yarn you crocheted with, stitch around the edge. Just a simple whip stitch will do the trick. Make sure to leave the bottom open. That’s the ear canal, after all!
Now, repeat the same process for the other ear. You’re officially a professional ear assembler.
When both ears are ready, grab your bunny or whatever you’re attaching these to. Position the ears where you want them to sit. Secure them by stitching the open ends to the bunny head.
Gently tug on the ears to ensure they’re well-attached but still have that adorable flop. Run with it. Be proud. You’ve just created bunny ears worthy of a hop and a skip!
Tips for Floppy Ears
Use a slightly larger hook for the ear’s base. This makes the stitches looser and adds to that floppy charm.
Lightly stuff the ears with very little fiberfill. Overstuffing can make them stiff rather than droopy.
When attaching, sew the bottoms slightly closer together. This gives them a natural flop and makes your bunny look adorably disheveled.
If your yarn is too stiff, use a blend with more drape. Cotton or bamboo can flop better than stiff acrylic.
Block your ears. Wet them, shape them to desired flop, and let dry. They’ll stay put much better.


