Learn how to crochet an adorable frog with easy-to-follow steps and simple techniques.
Ready to crochet an adorable amphibian that’ll hop right into your heart? Dive into our complete guide for creating your very own crochet frog. With just a few materials and some easy-to-follow techniques, you’ll have a froggy friend in no time. Prepare those hooks and yarns for some ribbit-ing fun!
Key takeaways:
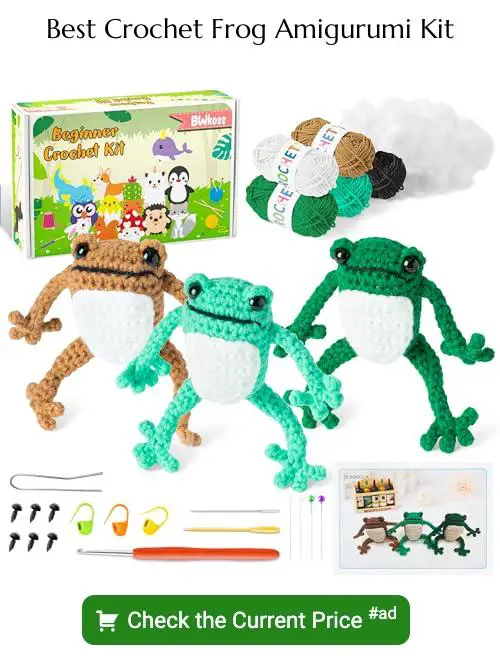
- Materials needed: Yarn, hook, stuffing, safety eyes, needle.
- Crochet techniques required: Magic ring, single crochet, increase, decrease, slip stitch.
- Creating the head: Magic ring, increase, shape, stuff.
- Making the body: Magic ring, single crochet, increase, decrease, stuff.
- Crafting the legs and arms: Magic ring, single crochet, increase, symmetry, stuff.
• Materials Needed
Gather your supplies and get ready to hop into this fun project! First, you’ll need some yarn. Green is the go-to choice for a classic frog, but hey, who says frogs can’t dabble in purple or pink? Go wild!
Then, grab a crochet hook that matches your yarn – typically, a size G (4mm) or H (5mm) works wonders. Don’t forget about stuffing; after all, a flat frog is just a pancake. Safety eyes are perfect for adding that lifelike twinkle, but if they’re unavailable, a little black yarn for embroidery does the trick too.
Scissors and a yarn needle are essential for snipping and tucking those loose ends. If you’re feeling fancy, you might want a stitch marker to keep track of your rounds. Voilà, you’re ready to crochet up some amphibian magic!
• Crochet Techniques Required
Before you begin your froggy friend, there are a few basic crochet techniques you’ll need to master.
First up, the magic ring. This nifty little trick will help you start projects in the round without gaps. Next, get cozy with the single crochet stitch (sc) – you’ll be using it a lot.
Don’t forget about the increase (inc) and decrease (dec) stitches. These are crucial for shaping your froggy’s body parts. Finally, know how to slip stitch (sl st) to finish off and join parts seamlessly.
Nothing too wild, just the essentials. Easy-peasy, ribbit-squeezy!
• Creating the Head
Start by making a magic ring—yes, it’s not an enchanted piece of jewelry from a fantasy novel, but close enough. Single crochet six times into the ring and pull it tight. Poof! Instant frog foundation.
Now we need to make this head a bit more head-like. Work in continuous rounds, increasing stitches evenly. Your mantra here: “Single crochet, increase, single crochet, increase.” It’ll feel almost meditative if you ignore the fact you’re making a frog noggin.
When your piece starts looking like a tiny green bowl, stop increasing and maintain the stitch count. This will shape the head into something more recognizable and, dare we say, frog-tastic. Keep going until it’s about the size of a lime. Not a lemon. Too big.
Finally, you’ll want to stuff it. No need for expensive stuffing. Leftover yarn scraps work wonders too. Just try to avoid giving your frog a lumpy skull. No one likes a lumpy frog.
• Making the Body
Start with a magic ring and crochet a series of single crochets to form the base of the body. Increase your stitches gradually to create a rounded shape. Remember, perfection is overrated; even lopsided frogs can be adorable.
Once the base is wide enough, maintain the stitch count to build up the body. This will give your froggy friend some height. As you work your way up, regularly stuff the body with fiberfill to keep it plump and huggable. I promise, a squishy frog is a happy frog.
As you near the top, start decreasing your stitches to close the shape. Voila, you’ve got a frog torso that would make Kermit envious!
• Crafting the Legs and Arms
For the legs and arms, break them down into bite-sized steps, literally!
First, grab that green yarn and start with a magic ring. Remember, it’s more magic than Vegas on a Saturday night, but you got this. Do a few rounds of single crochet, increasing gradually until they resemble tubes—or adorable frog limbs, if you prefer to be technical.
Next, you’ll want to ensure symmetry—no frog arm longer than the other! Count your stitches, and double-check those rounds.
Stuff the limbs lightly with polyfill to give them that perfect frog plumpness. Not too much though, we’re not making muscly amphibians.
Once done, leave a long tail for sewing. These limbs love to wiggle off if not secured tightly.
And there you have it—cutest froggy limbs, ready to attach.
• Assembling the Frog Parts
Grab those freshly crocheted pieces and get ready to create frog magic. Lay out all the parts to get a clear view. Start with the head and body, using a whip stitch or your favorite joining technique to attach them.
Next, position the legs and arms symmetrically. Attach arms to the upper sides of the body, securing them firmly. The legs, ideally, go at the base, each securely fastened to ensure your frog doesn’t resemble a yoga enthusiast mid-pose.
Check for alignment as you stitch. Adjust as needed to ensure your frog looks more like it’s about to hop and less like it’s mid-dance move. Voila! Your slimy friend is almost fully assembled.
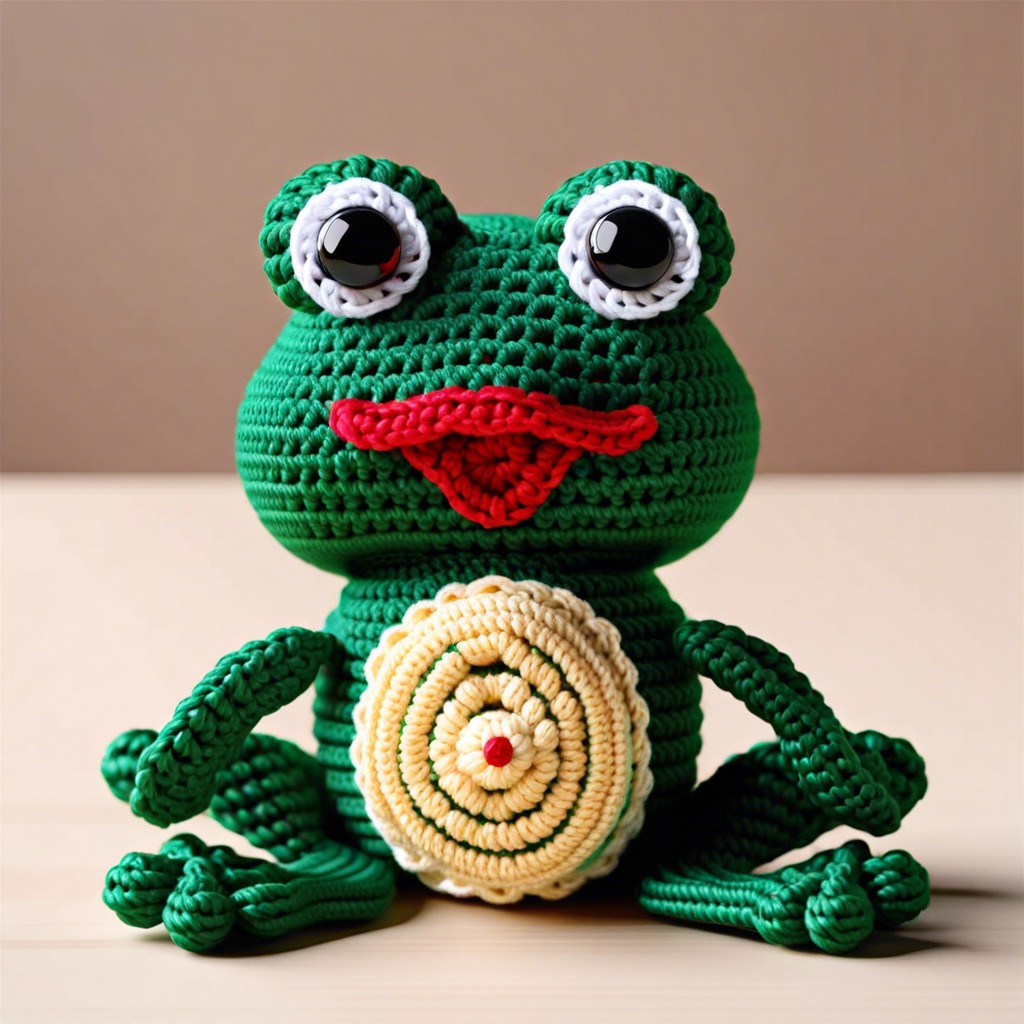
• Adding Eyes and Final Touches
Time to give your froggy a face! Start with the eyes. Safety eyes are a breeze to use; just pop them in and secure. Alternatively, you can crochet small circles and sew them on. Want a beady look? Tiny black beads glued on work wonders.
Next up, the mouth. Embroider a little smile with black yarn or embroidery floss. A whimsical grin adds personality.
Lastly, check all seams. Make sure everything is secure. Trim any stray yarn ends. Voilà! Your crochet frog is ready to leap into your heart!


