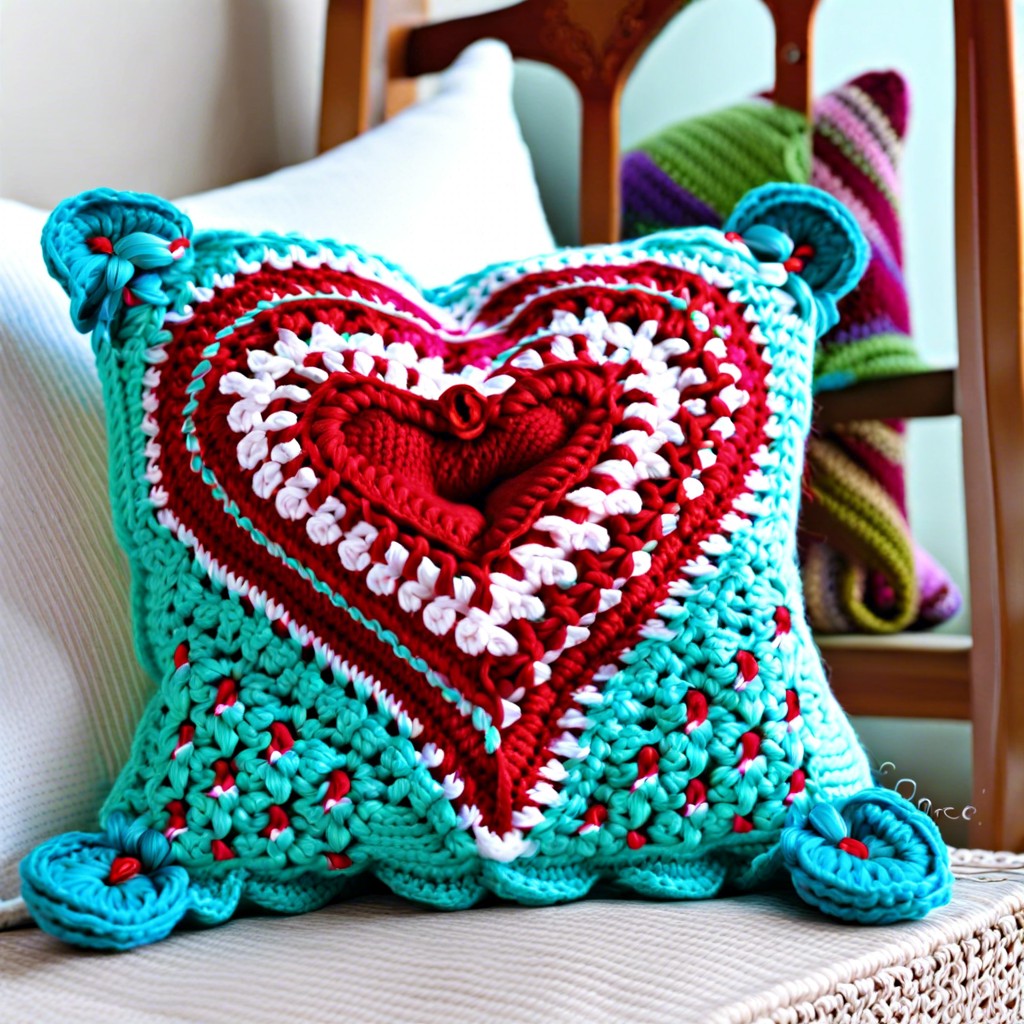
Learn how to crochet your very own heart pillow with this step-by-step guide.
In the mood for a cozy addition to your living room or a heartfelt gift? This guide to making a crochet heart pillow has got you covered from the first stitch to the final fluff. Whether you’re a crochet wizard or just dipping your toes into the yarn pond, we’ve packed every detail you need to create a snug and stylish heart-shaped pillow. Ready your hooks and let’s get started!
Key takeaways:
- Essential materials: Yarn, hook, needle, scissors, fiberfill, stitch marker.
- Master crochet lingo: Ch, sc, inc, dec, sl st.
- Pattern flexibility: Gauge, yarn weight, tension, color, blocking.
- Create heart panels: Magic ring, increase rounds, shaping.
- Finish with care: Borders, connecting panels, stuffing, seaming, final touches.
Materials Needed

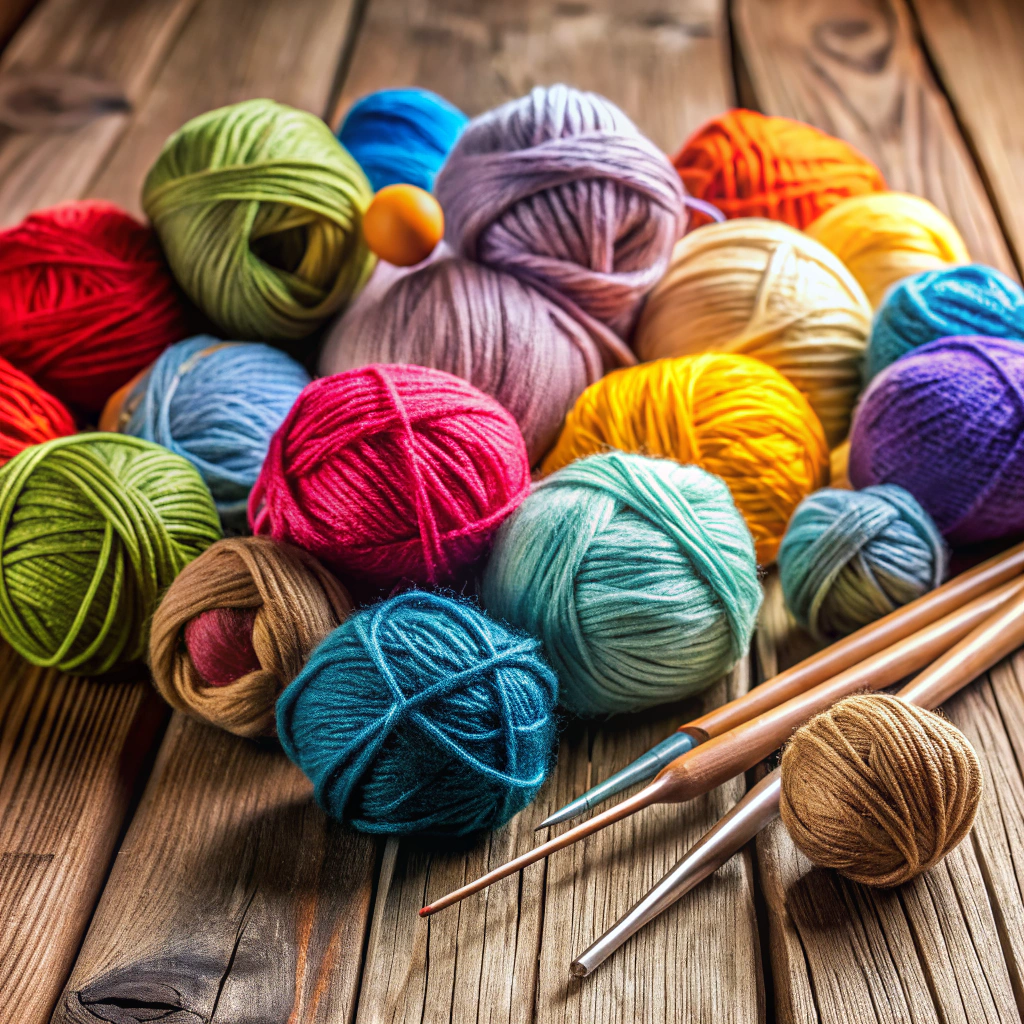
Get ready to embark on a crochet adventure! First, you’ll need some essential supplies. Grab yourself a couple of skeins of worsted weight yarn in your favorite colors. A trusty 4.0 mm crochet hook should do the trick.
Don’t forget a yarn needle for those inevitable ends you’ll need to weave in. A pair of scissors is a must for snipping yarn with precision. Some polyester fiberfill will bring your pillow to life with comfy squishiness.
And last but not least, a stitch marker or two can be helpful to keep your place, especially if you get distracted by a good TV show or your cat decides to help. Now you’re all set!
Stitches & Abbreviations
You’ll definitely want to get cozy with some crochet lingo before diving into this project.
First up, “ch” is your trusty chain stitch. Think of it as the foundation of everything good in life—well, at least in crochet.
Next, “sc” stands for single crochet. It’s like the bread and butter of stitches. You’ll use it to create that nice, dense texture for your heart.
Then we have “inc,” which is an increase. It means putting two single crochet stitches into one stitch. Easy math, maximum fluff.
Don’t forget about “dec,” short for decrease. It’s done by making two stitches become one. Magic, right?
Lastly, the “sl st,” or slip stitch, is your go-to for joining rounds or seams. It’s like the stitch that gives everyone a hug and brings them together.
Master these, and you’re halfway to crocheting heart-shaped wonders!
Pattern Notes
Gauge isn’t critical for this project, so breathe easy. Gauge mishaps won’t end in heartbreak.
Use any yarn weight, but keep in mind: different weights alter the pillow’s size.
Stick to consistent tension. Your heart deserves consistency, not mood swings.
Switch colors or add stripes if you’re feeling adventurous. Go wild, Picasso.
Blocking is optional. If your heart looks a bit wobbly, a quick block brings harmony.
Check your crochet hook size. Too small, it’ll be stiff. Too large, it might resemble Swiss cheese.
The pattern uses basic stitches. Get cozy with single crochet (sc) and double crochet (dc) for a smooth ride.
Crochet Heart Panel (Make 2)
Time to whip up two identical heart panels. This will form the squishy base of your pillow.
Start with a magic ring. Chain three stitches to give it some height, like a power-up in a video game.
Double crochet twelve times into the ring. It will look like a tiny pizza, but without the calories.
Join with a slip stitch. Voila! First round done. You are a crochet wizard.
Keep increasing in rounds until you achieve the desired heart size. It’s a bit like making a snowball, it just gets bigger and better.
To create the heart shape, you will work half-double crochets, double crochets, and treble crochets in a specific sequence to form those lovely curves.
By the end of the sequence, you’ll notice two lobes at the top and a pointy end at the bottom, like a true heart.
Repeat for the second panel and make sure they match like twins from a crochet fairy tale.
Adding the Border
Time to give your heart a little extra love. Adding a crocheted border not only strengthens the pillow but also adds a delightful touch.
First, pick a yarn color that complements or contrasts with your main heart panels. This is your time to get playful with color schemes.
Starting at any point along the edge of the heart, single crochet evenly around the entire edge. Make sure to place 3 single crochets in each corner to keep the shape smooth.
For extra flair, consider a picot edge or a simple scallop pattern. Just imagine: a heart pillow with tiny shell-like details around the edge! Irresistible, right?
And don’t worry if your stitches aren’t perfectly even. Remember, it’s handmade and each stitch adds character. So, crochet away and watch as your heart grows a charming, cozy little frame.
Connecting the Heart Panels
Lay your two crochet heart panels flat and align them carefully, as wonky hearts are cute but might not be the goal here!
Using a slip stitch, join your yarn to one corner of the heart.
Single crochet around the edges of the hearts, working through both panels to join them together. This sturdy stitch ensures your pillow can withstand pillow fights and overzealous cuddles.
Remember to leave a small gap, about three to four inches, for stuffing. No one likes a flat pillow, not even hearts!
If corners and curves get tricky, just add an extra single crochet into the tight spots. It helps maintain the heart’s shape and makes the stitching smoother.
Check periodically to ensure both panels stay aligned; you don’t want a heart that’s lost a beat.
When you reach back to your starting point, fasten off your yarn and weave in the ends for a neat finish. Now, stuffing time!
Adding Stuffing
Now comes the fun part—giving your heart some plushy love!
Grab your stuffing material. Fiberfill works wonderfully, but feel free to use fabric scraps if you’re feeling eco-friendly.
Stuff in small handfuls. This helps you avoid lumpy bumpy zones. Smooth it out as you go.
Remember to push stuffing into all the nooks and crannies. A crochet hook or the blunt end of a pencil can help with those tricky corners.
Balance is key. Too much stuffing, and your heart might resemble a football. Too little, and it could end up sad and saggy.
Finally, take a step back and squish the pillow a few times to check for even distribution. Adjust as needed until it’s just right!
Seaming the Edges
Now that you’ve got your heart panels bordered and ready, it’s time to unite these lovebirds. Fear not, brave crafter, it’s easier than getting out of bed on a Monday morning.
Align the two heart panels, wrong sides facing each other, right sides out. You want the pretty sides visible.
Choose a trusty yarn needle or your beloved hook. With same yarn used for the project, whip stitch or single crochet around the edges. Ensure stitches are tight, but not too tight – your heart needs room to breathe.
Shift your work often to keep it even. Trust your instincts here; listen to your inner yarn whisperer.
Remember to leave a small opening. This is where your stuffing magic will happen. Like Santa’s bag, but cozier. Once stuffed, close it up using the same method.
Marvel at your cozy, plump heart. You’ve stitched love into every seam.
Finishing Touches
Before you sit back and admire your cozy creation, there are a few final steps to truly make your crochet heart pillow sing!
First, weave in any loose ends. No one likes a stray yarn tail poking out. Tidy up those edges, and your heart pillow will look professionally polished.
Consider adding a decorative touch with a bit of surface embroidery or a cute button in the center. This can give your pillow some extra flair and personality.
Gently shape your pillow by squishing it around to even out the stuffing. This will help it look uniformly plush and inviting.
Give your heart pillow a light steam block if it needs some shaping. Don’t overdo it; a little steam goes a long way.
Finally, remember to name your creation. Okay, maybe that’s a bit much – but hey, if you want to call it “Snuggle McHeartface,” who’s stopping you? Enjoy your handiwork!
Tips & Troubleshooting
Watch your tension! If your stitches are too tight, your heart might look more like a squished almond. Relax, breathe, and let that yarn glide.
Running low on yarn midway? No worries. You can always make a trendy two-tone heart. Just make sure the colors complement each other, unless you’re into bold, wild clashes.
Struggling with stitch counts? Keep a little notebook or use stitch markers. Miscounts can lead to a lopsided heart that looks like it’s had one too many coffees.
Got gaps at the seams? Use a whip stitch to close them up snugly. If that doesn’t work, get creative with decorative stitching for a unique touch.
Stuffing woes? Aim for Goldilocks status—not too firm, not too soft. And remember, fiberfill is notorious for escaping, so double-check those seams.
If your heart pillow ends up looking a bit wonky, embrace the charm. Handmade means unique, and that wonk could just be the character it needs.


