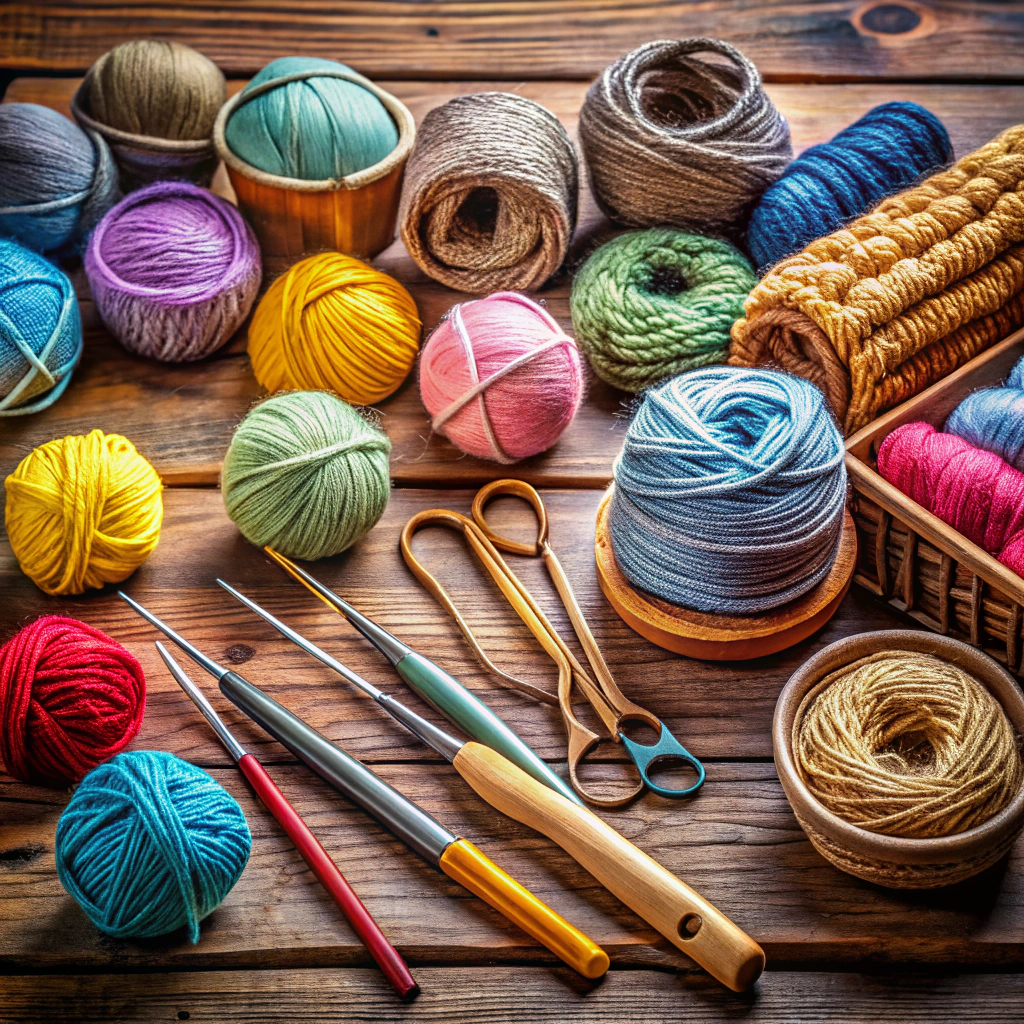
Learn all about different crochet joining methods to seamlessly connect your crochet pieces.
Ever felt like a mad scientist piecing together a cozy Frankenstein’s monster while joining your crochet projects? Put away the lightning bolts and tape! This article dives into the best crochet joining methods that’ll save you headaches—and a few extra scalps of hair. Whether you’re striving for simplicity, invisibility, or a touch of pizzazz, we’ve got the perfect stitch for you. Go ahead, read on, and transform your stitching life!
Key takeaways:
- Whipstitch: Simple, visible, sturdy join.
- Mattress Stitch: Neat, invisible, seamless finish.
- Invisible Join: Seamlessly join colors or pieces.
- Slip Stitch Join: Flat, less visible, stable.
- Flat Braid Join: Decorative, flexible, stylish motifs.
Whipstitch
Super simple and effective, this technique gets right to the point. Your needles and stitches become besties almost instantly.
Thread your yarn needle with a long piece of the same yarn used for your project. Hold your pieces together with the right sides facing each other; think of it as a secret handshake just between you and them.
Insert the needle through both loops of each corresponding stitch. Pull through. Repeat this process for each stitch down your seam line. It’s like giving each stitch a gentle hug!
The result is a straightforward, sturdy seam. Perfect for projects where you don’t mind a visible join – cozy blankets, charming granny squares, you name it!
Just remember to keep the tension even. You want stitches, not bungee cords. Done correctly, it provides a neat, durable finish.
Mattress Stitch
Align your crochet pieces with their right sides facing upwards. Thread your yarn needle with matching yarn.
Insert your needle from back to front through the edge loops of both pieces. Think of it as lacing up a comfy pair of shoes but without the blisters.
Work your way along the seam, looping through each edge loop, drawing the yarn snug but not too tight. You want a firm handshake, not a wrestling match.
Every few stitches, give the seam a gentle tug. This magically closes up gaps like zipping a jacket. It should be smooth and almost invisible.
Perfect for projects that need a seamless and neat finish, like when your blanket pieces want to keep their joining secret!
Invisible Join
The invisible join is perfect for those who crave seamlessness. This nifty little technique allows your colors or pieces to connect without visible stitches. It’s the magician’s choice in the world of crochet joins.
It entails working your yarn needle under the first stitch of your completed round or piece, then bringing it back through the last stitch. The result? A clean, continuous look, as if by magic.
Ensures there’s no bulky seams, making your project look polished. Plus, it will hold up beautifully, wash after wash. For best results, keep your tension even and snug but not too tight. Voila! You’ve just made your project go incognito.
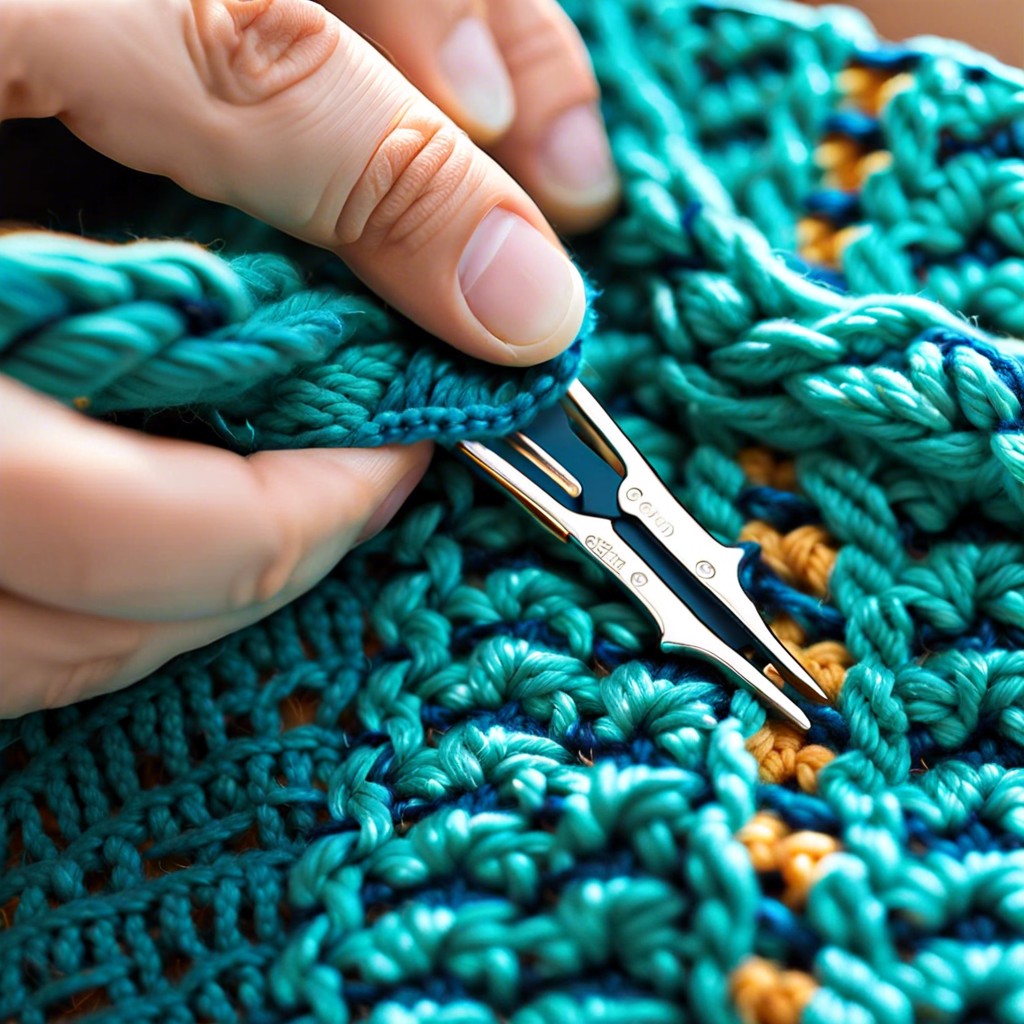
Slip Stitch Join
Keep your crochet pieces aligned and start right from the corner (for squares) or edge (for other shapes). Insert your hook into the first stitch of both pieces, yarn over, and pull through all loops on the hook. Repeat this process across the seam.
Why slip stitch join? It’s flat, neat, and less visible, making your project look polished. Perfect for garments and seamless joins, it adds stability without bulk.
However, beware. It can be less stretchy than other methods. Excellent for stability but possibly unfriendly for items needing some give.
Most importantly, practice makes perfect. Your tension consistency is key to avoid puckering or too-loose stitches.
Flat Braid Join As You Go
Ideal for joining motifs like granny squares, this method combines functionality with eye-catching flair.
- Start by attaching your yarn to one corner of the first motif.
- Crochet a chain equivalent to the length between corners.
- Use a single crochet to join the chain to the next motif’s corner.
Proceed to make chains and join with single crochets, creating little braided edges as you go.
- Benefits:
- Creates a sturdy yet flexible join.
- Adds a decorative element to your project.
- Avoids the bulkiness of some other joining methods.
Another perk: it’s great for joining as you work, so you don’t end up with a pile of pieces to assemble at the end. Less weaving in of ends means more time binge-watching your favorite series (or starting yet another project).
And voilà, you’ve joined your motifs with flair!
Join-As-You-Go (JAYG) Techniques
Perfect for those who dread the final assembly, this technique allows you to attach motifs while completing the last round.
Instead of fastening off your work, start connecting pieces directly. Slip stitch through the edge stitch of the new motif, then go back to the working square for a stitch. By alternating between the two edges, you ensure a seamless join.
JAYG can be done with various stitches – slip stitches, single crochets, or even fancy patterns if you’re feeling adventurous. Each method creates a different look, giving you myriad options for personalizing your projects. This adds fun and flair, making each junction a celebration, not a chore.
Should You Block Granny Squares Before Joining?
Absolutely, blocking granny squares can enhance your project. It’s like giving your squares a little spa day before they all come together to form that blanket or sweater. Here’s why it matters:
First, blocking squares ensures they’re all the same size. Consistency is key, unless you want your project to give off a modern art vibe.
Second, it smooths out those pesky lumps and bumps. No one wants a lumpy, bumpy blanket. Blocking makes your joins neat and tidy.
Third, it helps straighten those edges, which makes the joining process much less like an extreme sport.
Lastly, blocked squares just look finished and professional. Who wouldn’t want their work to look its absolute best?
So, if you’ve got the time and patience, blocking is your friend. Your project will thank you.