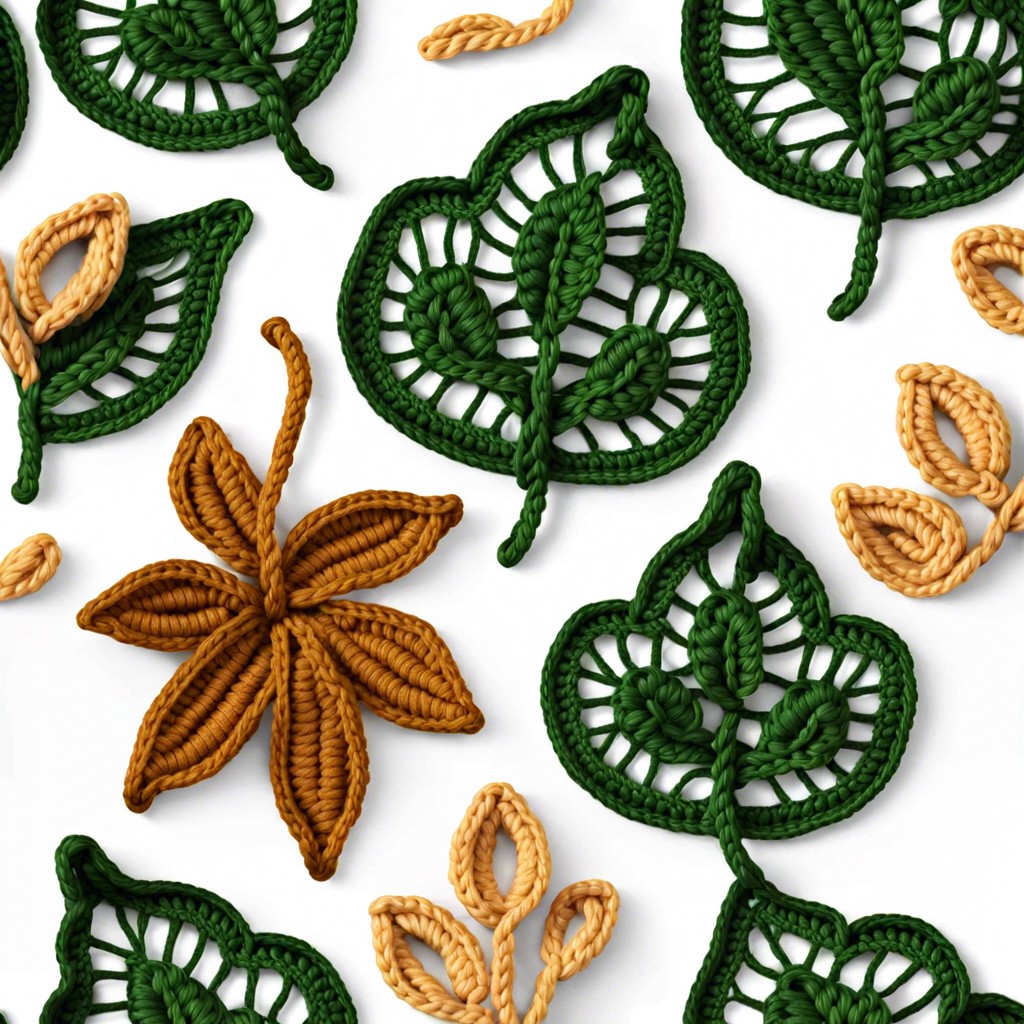
You’ll learn how to crochet a simple yet elegant leaf pattern perfect for adding a touch of nature to your projects.
Searching for the ultimate crochet leaf pattern? You’ve hit the jackpot, my friend! From supplies to stitches, shaping tips, and creative project ideas, this guide has it all. Ready to turn yarn into leafy bliss? Hold onto your hooks, it’s going to be a wild, woolly ride!
Key takeaways:
- Importance of yarn choice for defined shape and look.
- Optimal hook size for desired leaf tightness or looseness.
- Understanding crochet abbreviations for pattern clarity.
- Key basic crochet stitches for leaf creation.
- Tips for shaping and creating realistic leaf shapes.
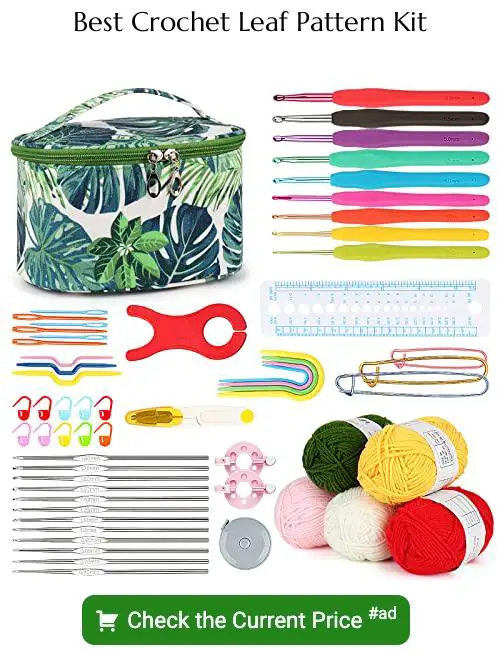
Supplies Needed
First off, grab yourself some yarn. Any yarn will do, but cotton yarn works wonders for a defined shape. Think crisp and clean, like your morning latte.
Next up, hooks! A medium-sized hook, such as 4mm (G-6), pairs nicely with most yarn types for these leafy wonders.
Don’t forget those trusty scissors. You’ll need them to snip off your yarn.
A yarn needle is a must. You’ll need it for weaving in those pesky ends.
Lastly, stitch markers can be lifesavers. They prevent you from losing your place and keep things orderly, like a librarian for your loops.
Yarn Selection
Choosing the right yarn can make or break your crochet leaf project. Opt for a yarn with good stitch definition so your leaf’s edges and details pop. Cotton and acrylic blends are great options. They’re sturdy enough to hold shape but also soft to touch.
Stick within light to medium weight yarn for a more realistic look. Bulky yarn might leave your leaf looking like it’s on steroids. Keep hues in mind – greens are classic, but autumn colors can add a fun twist.
Avoid anything with too much fuzz or sparkle; you want your leaf to shine, not compete with a disco ball. Stick with solid or subtle variegated yarns that mimic real leaves.
Hook Size
Choosing the right hook size can make or break your crochet leaf. Opt for a smaller hook if you want a tighter, more detailed leaf. This is especially great if your leaf is going to be the superstar of a project.
On the flip side, a bigger hook will give you a looser, more relaxed leaf, ideal for when you want to add a touch of whimsy. Always check the yarn label for recommendations, but don’t be afraid to go a size up or down.
Medium-sized hooks, like G/6 (4.0 mm) or H/8 (5.0 mm), are often a safe bet for beginners. But honestly, who doesn’t love a little trial and error in the name of creativity? Just remember, in crochet, experimenting is half the fun—and it won’t bite, promise.
Abbreviations
Grasping crochet abbreviations is like learning a yarn language. It’s a bit tangled at first but soon you’ll be fluent!
Let’s decode some popular ones:
- ch: This is “chain.” Think of it as the backbone of most crochet projects.
- sc: Short for “single crochet.” The simplest stitch, yet so versatile.
- dc: “Double crochet.” Taller than single crochet, it’s great for adding height.
- sl st: “Slip stitch.” It’s the ninja move of stitches – sneaky and essential.
- st(s): “Stitch” or “stitches.” You’ll keep count of these like a hawk.
These abbreviations are sprinkled throughout patterns like magic dust. Understanding them? Priceless.
Stitches Used
You’ll mostly work with basic crochet stitches. Get ready to wield your hook like a wizard’s wand!
Start with chain stitches (ch). These help you create the leaf’s stem – pretty nifty, huh?
Single crochet (sc) stitches come next. They’re the bread and butter of crochet leaves, forming the leaf’s body.
Half double crochet (hdc) stitches add a bit of height – think of these as the leaf’s midsection workouts.
Double crochet (dc) stitches come in for added flair. They contribute to shaping life, creating those elegant curves.
Remember the slip stitch (sl st). It’s your crochet GPS, guiding you back to start points and nailing those finer details.
Understanding these stitches will have you turning yarn into leaves faster than a squirrel raiding your stash!
Step-by-Step Instructions
- Start with a slip knot on your hook. This is the crochet equivalent of a warm-up stretch. Essential but not too flashy.
- Chain 10 stitches. This will be the leaf’s spine. Think of it as setting up the skeleton before the fun details come in.
- In the second chain from the hook, work a single crochet. We’re laying the groundwork here.
- Slip stitch into the next chain. This helps carve out the leaf’s delicate curve.
- Half double crochet in the following chain. We’re adding a bit more height here, sort of like giving the leaf its leafy posture.
- Double crochet in the next three chains. This is where the leaf starts to flex its muscles.
- Half double crochet in the next chain. The leaf is calming down now, just like us after a workout.
- Single crochet in the next chain. We’re nearing the end of the leaf body.
- Slip stitch into the last chain. Time for the leaf to cool down and firm up its shape.
- Turn your work and mirror your leaf stitches down the other side of the chain. It’s like making a mirror image, but cooler because now it’s a leaf.
- Fasten off and weave in the ends for a neat finish. A clean leaf—no stray yarn ends.
- Voila! You now have a charming little leaf to add to your crochet garden. Or, you know, to use as a coaster for your coffee cup. Versatility is key!
Tips for Shaping
To get those leaves looking less like blobs and more like, well, leaves, a few nifty tricks can help. Tug gently on your leaf after each row to keep edges straight. Treat your crochet hook like a magic wand – consistent tension creates magic. Think of it as leaf yoga; a little stretch and flex do wonders.
Curved edges? A quick steam blocking session can change that. Lay your leaves flat on a towel, cover with another damp towel, and gently press with a warm iron. It’s like a spa day for your yarn. Lastly, using a smaller hook for the final row can tighten up those edges, making your leaf extra crisp – almost quilted! Happy shaping! Relax, keep it fun.
Variations
Experimenting with different yarn weights can yield leaves of various sizes. Use lace-weight for dainty, delicate leaves or chunky yarn for bold, statement pieces.
Color variations add depth and realism. Mix greens for a natural look or go wild with autumn-inspired hues like oranges and reds.
Try out different stitches like half-double crochet instead of single crochet to add texture and dimension.
For a whimsical touch, add picots or tiny bobbles along the edges. This brings a new level of visual interest.
Finally, consider adding embellishments like beads or embroidery to make your leaves truly unique.
Blocking and Finishing
Once your crochet leaves are complete, it’s time to give them that polished look.
Pin the leaves to a blocking mat, arranging them into the desired shape. Use rust-proof pins. Steam or spray with water to dampen the leaves, then let them dry completely. For a smoother finish, place a cloth over and gently press with a warm iron. Avoid direct contact with the crochet work.
Blocking ensures your leaves lay flat and keep their shape. Proper finishing can transform a scrunched-up piece into a perfect, crisp leaf. Plus, blocking keeps those lovely veins and points—no wilting allowed!
Project Ideas With Crochet Leaves
Picture this: You’ve got a pile of freshly crocheted leaves and you’re wondering what to do with them. Well, let those creative juices flow!
Turn them into a garland. String them together on a simple chain to create a nature-themed decoration perfect for parties or cozying up your living space.
Add them as embellishments. Sew a few onto hats, scarves, or even handbags to give a unique, personalized touch. They’re like little green stamps of your crochet prowess.
Create a leafy bouquet. Attach stems to your leaves and arrange them in a vase. It’s the zero-maintenance houseplant you’ve always wanted.
Wall art, anyone? Arrange the leaves in frames or on canvas to craft eye-catching décor that could rival any modern art piece. Chic and crafty? Yes, please.
These little green wonders can even be used to jazz up gift wrapping. A touch of nature on that special gift will have the recipient ooh-ing and ahh-ing before they even unwrap!
Possibilities with crochet leaves are as endless as a yarn stash sale.


