Learn how to create the crochet loop stitch to add texture and fun to your projects.
Ever dream of making your crochet projects a bit more… loopy? The crochet loop stitch is your magic ticket! This article will walk you through everything, from the must-have materials and abrevs, to foolproof step-by-steps, expert tips, and common blunders. Ready to dive in and transform your creations into whimsical, textured masterpieces? Keep reading, and looping, to make it happen!
Key takeaways:
- Use smooth yarn for easier looping.
- Know crochet abbreviations for smooth crocheting.
- Follow step-by-step instructions for loop stitches.
- Practice tension and consistency for perfect loops.
- Avoid common mistakes like inconsistent loops.
Materials Needed
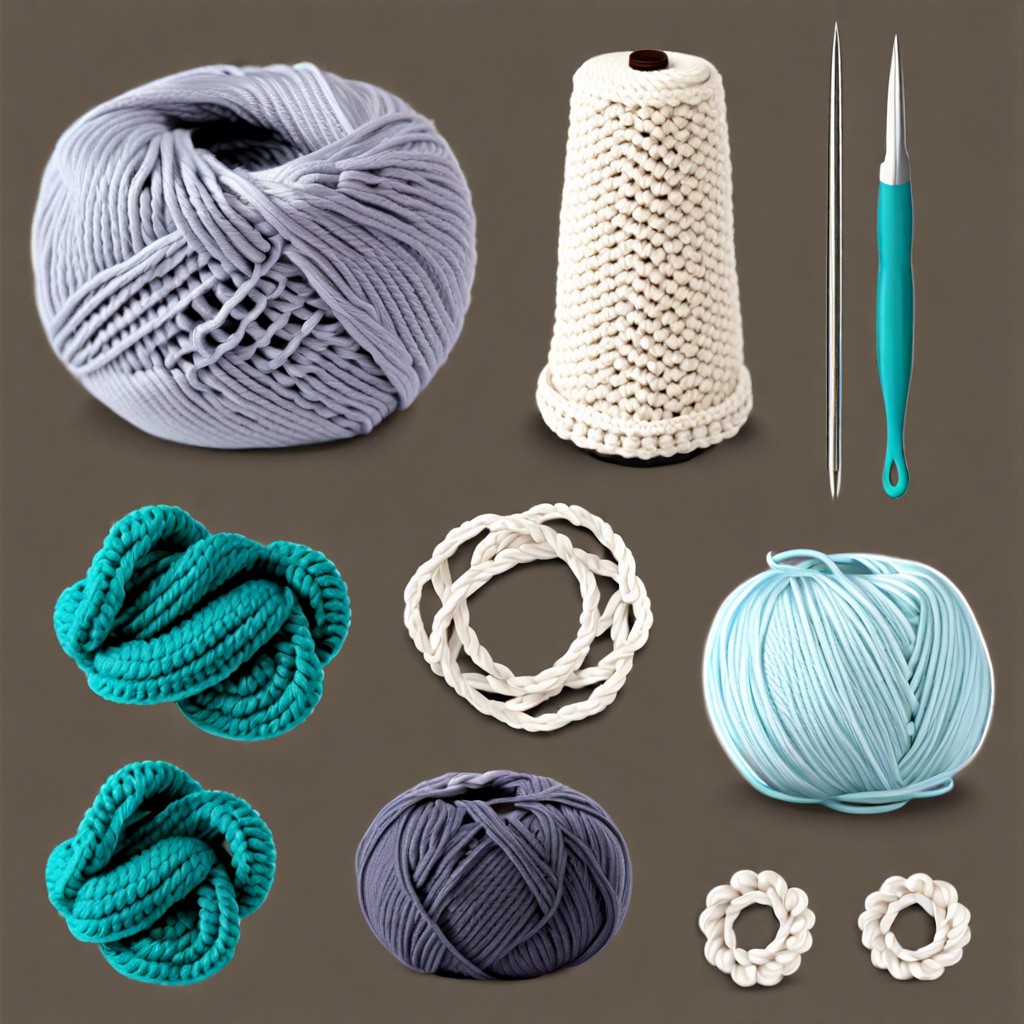
First up, yarn. Any yarn you love will work for the loop stitch, but smoother yarns are easier for beginners. Think less of tangled spaghetti, more of silky linguine.
Next, a crochet hook that matches your yarn. If you’re not sure, the yarn label usually provides a helpful hint.
Scissors are essential. Snipping yarn with your teeth won’t impress anyone, least of all your dentist.
A tapestry needle. This will help weave in those pesky ends.
Optional but handy: stitch markers. They’re like GPS for your stitches, keeping you on the right path.
A touch of patience. The loop stitch can be tricky at first, but hang in there – smooth sailing is ahead!
Abbreviations and Terms
Before jumping into the loop stitch, let’s decode some crochet lingo to avoid sounding like you’re reciting an ancient spell.
YO: Yarn Over. This is when you wrap the yarn around the hook. Picture it like giving your hook a nice cozy scarf.
ch: Chain. The foundation of any crochet project. Think of it as laying the train tracks before the train ride.
st: Stitch. Simply where you poke your hook. It’s like finding the perfect parking spot.
sc: Single Crochet. A basic stitch that’s the bread and butter of crochet. Or should we say, the single peanut butter?
Rep: Repeat. You’ll see this often, and it basically means “do it again!” Like when you rewatch your favorite show.
Knowing these terms ensures you can follow along smoothly. Just like knowing the words to your favorite song makes singing along a breeze.
Step-by-Step Instructions
Hold your yarn and hook, and let’s dive in.
- Start with a foundation chain of your desired length. Single crochet across the first row to create a base. Easy peasy, right?
- Now, here’s where the magic happens. Insert your hook into the first stitch of the row below. Grab the yarn from behind your work—like sneaking a cookie from a jar. Pull up a loop, but don’t finish the stitch yet.
- With the loop still on the hook, use your fingers to pull up a longer loop from the working yarn. The height of this loop is up to you but try to keep it consistent. Think of it as giving your crochet a fancy beard.
- Carefully hold onto that beard loop while you yarn over and pull through both the loop on the hook and the loop you made. Voilà! You’ve just made a loop stitch. Keep going and soon you’ll have a furry masterpiece.
- Repeat this process across the row. Keep the loops neat and even, and remember to breathe. Crocheting is not an Olympic sport—yet.
Tips for Consistent Loops
First things first, practice makes perfect. Work on swatches before diving into bigger projects. This will help you get the hang of the loop stitch without the pressure of messing up a grand masterpiece.
Try to maintain even tension. Too tight, and your loops will pucker. Too loose, and they’ll start thinking they’re in a 1980s hair band. Aim for a Goldilocks-level of just right.
Trust the magic of the same-size hook throughout your project. Switching hooks mid-stitch is like changing shampoo brands—just don’t do it if you want consistent results.
Keep track of your yarn like a detective on a thrilling case. Letting your yarn get twisted or tangled will make your loops look like they’ve been through a wind tunnel. Remember, neat yarn, neat loops.
Use markers sparingly to indicate where your loops should start and end. It’s like having a tiny, colorful assistant who never complains.
Lastly, don’t forget to relax those shoulders. Kroger’s Kombucha Central notwithstanding, tension isn’t good for anyone, especially not your crochet loops.
Common Mistakes to Avoid
One common pitfall is inconsistent loop size. Wildly varying loops can make your project look more like a bad hair day than an artistic achievement. Keep your loops uniform by wrapping the yarn around the same finger each time.
Another frequent hiccup: accidentally crocheting through the loop. Oops, now your loops are all knotted! Ensure you’re only working into the stitch, leaving those loops nice and free.
Also, be wary of tension. Loops too tight might look like tiny knots; too loose, and you’ll get a spaghetti mess. Find your goldilocks tension.
Last, but not least, some yarns are loop stitch super villains. Avoid slippery or splitty yarns that make loops either vanish or explode. Stick to yarns that behave.
How to Use Loop Stitch in Projects
Loop stitch is like the flashy cousin at a family reunion, instantly noticeable and brimming with pizzazz. It’s perfect for adding texture and flair to your projects. Think about it: that plain pillow suddenly has a furry friend vibe, or that simple scarf becomes a statement piece.
Use loop stitch to create playful borders on blankets. It’s the perfect way to make a cozy throw feel like a luxurious treat. Rugs? Your feet will thank you as they sink into those delightful loops.
In garments, this stitch works wonders for cuffs and collars, giving your sweater a quirky personality. And let’s not forget the world of amigurumi! Stuffed animals and toys benefit immensely from this technique, turning a standard crochet critter into a fluffy, huggable masterpiece.
Loop stitch: your secret weapon for transforming everyday items into eye-catching wonders. Try it in unexpected places and watch the magic unfold.
Recommended Projects for Practice
Start small with a quirky dishcloth or potholder. They’re super useful and give you a chance to get a feel for the stitch without committing to a big project.
Next, think pillows! A loop stitch pillow cover adds fantastic texture to any living room. Plus, every time you see it, you’ll think, “I made that!”
For pet lovers, try a cozy blanket for your furry friend. The loops make it extra comfy and your pet won’t judge your stitch consistency!
Finally, if you’re feeling adventurous, tackle a loop stitch scarf. It’s eye-catching and perfect for showing off your new skill. You’ll be the envy of your local knitting circle in no time.
Caring for Loop Stitch Items
Loop stitches are like the divas of the crochet world—absolutely fabulous but they need a bit of extra TLC. Here are some tips to keep them looking fabulous:
Gentle Wash: Hand-washing is ideal. Use cold water and a mild detergent. Your loop stitches will thank you.
Drying Drama: Avoid wringing. Just gently squeeze out water and lay flat to dry. Keep those loops from becoming unraveled.
Loop Fluff: Occasionally, the loops may flatten or get squished. A quick fluff with your fingers can return them to their original grandeur.
Snag Patrol: Be cautious about snagging. Steer clear of sharp objects and rough handling to keep those loops intact.
Storage: Fold items neatly and store them in cool, dry places. Avoid hanging – we don’t want stretched out, saggy loops now, do we?
With these tips, your loop stitch creations will stay beautiful and last longer.


