Learn how to crochet an adorable pig with this simple, step-by-step guide perfect for beginners and seasoned crafters alike!
Oh, the delightful things you can do with a hook and a spool of yarn! If the idea of crafting your very own crochet pig tickles your fancy, you’ve landed at the right farmyard gate. From wiggles of the piggy’s tail to the dainty curl of its snout, this charming adventure will guide you through every twist and turn of yarn. Prepare those nimble fingers—you’re about to embark on a curly-tailed cuddle factory of epic proportions!
Key takeaways:
- Gather yarn, hooks, safety eyes, and scissors.
- Use magic rings for seamless starts and ends.
- Employ special stitches for added charm and detail.
- Stuff and secure each part snugly for creation.
- Assemble pieces carefully for a cute, cohesive pig.
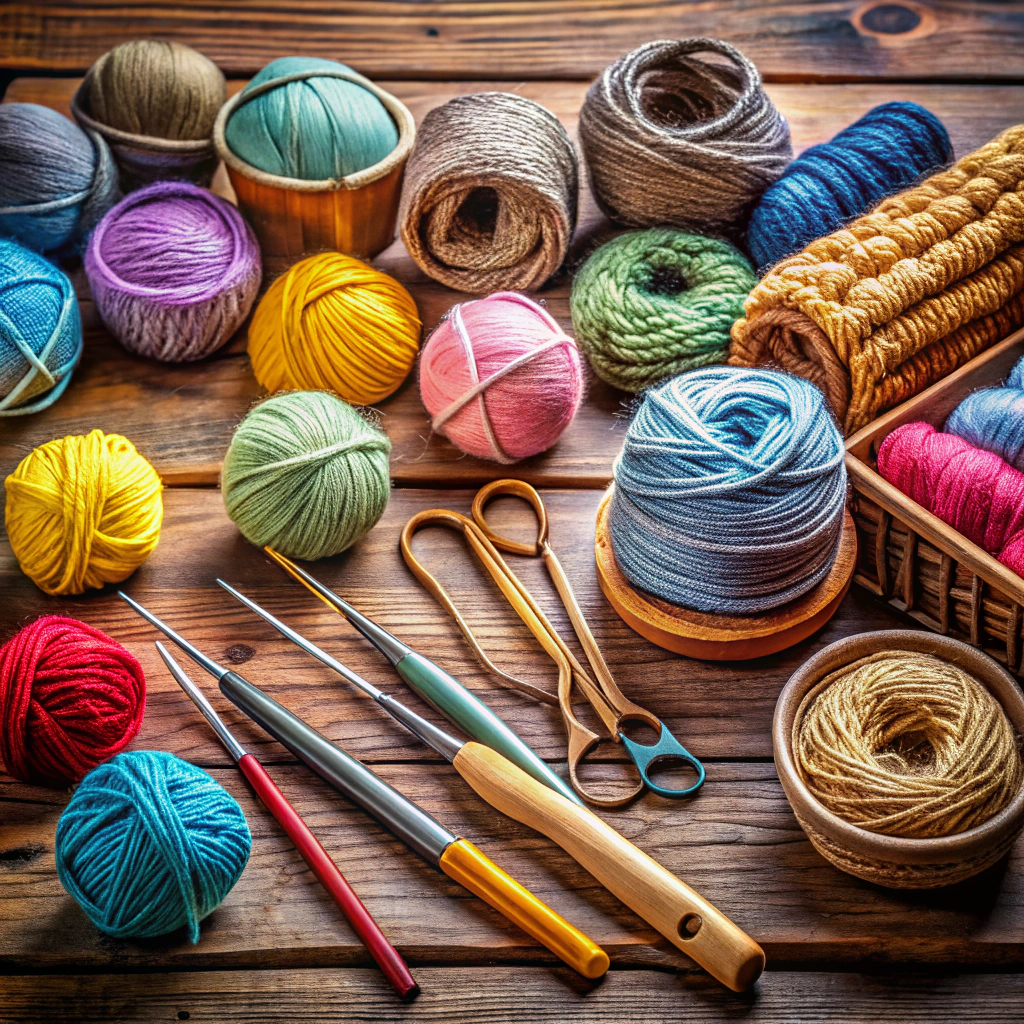
Needed Materials and Tools

Grab your yarn and hooks, folks! For this adorable oinker project, you’ll need a mix of colorful supplies and trusty tools. Start with some soft, worsted weight yarn in piggy-appropriate shades – think pink, rosy, or even a daring disco glitter. Your snout’s the limit!
Choose a crochet hook size that’s comfy for you; typically, a 4mm or 5mm pairs well with worsted weight, giving your pig the right snuggle-factor. Scissors and a yarn needle are the unsung heroes here, ready to trim and tuck those loose ends.
Don’t forget the safety eyes, unless you want your pig wearing sunglasses in the dark—your choice! A stitch marker can also help, acting like a GPS for your stitches so you don’t end up with a surprise mutant pig with extra limbs. Let’s piggle on!
Stitch Abbreviations
Ready, set, abbreviate! It’s like taking a crash course in crochet shorthand. Let’s break it down:
First up, SC. No, it’s not a new internet sensation. It’s single crochet—the basic stitch that’s the building block for your piggy masterpiece.
Next, HDC. Think of it as the Goldilocks of stitches: not too big, not too small, but just right. That’s half double crochet for you.
Then there’s DC, a double crochet. Twice the height of a single crochet, for when your pig needs a little more oomph, or maybe just a taller tail.
Watch out for CH, which isn’t a mysterious code but simply chain. It’s the backbone of your animal kingdom, one loop at a time.
And let’s not forget INC and DEC. These little buddies help your project grow and shrink like magic! INC is for the expansion business, while DEC is the master of slimming.
Keep these friends in mind as you embark on your porcine adventure. They’ll be with you every step of the way, cheering you and your yarn on.
Special Stitches
Let’s add some pizzazz with a few stitches that give your pig a splash of personality.
First up, the Invisible Decrease. It sounds like spooky magic, but fear not! This stitch makes decreases smooth, without the telltale bumps. Perfect for sculpting that piggy behind.
The Magic Ring is a must for seamless beginnings. Think of it as the David Copperfield of starts, helping you create a tight, gap-free circle.
Picot, the icing on the crochet cake, adds adorable tiny tufts—envision them as cute piggy eyelashes. Get ready to wow those who see your work.
No special attention needed, just practice and soon they’ll be as easy as pie—or bacon.
Crochet the Head and Body
Start with a magic circle—imagine it’s a magical portal to piggy adorableness. Work single crochet stitches evenly around to form a gentle dome, subtly implying “head” without screaming it.
Increase regularly, every few rounds, until it resembles a plump sphere rather than a hat for a fairy-tale pixie. Keep an eye on symmetry; two eyes on a lopsided face may look quirky but might be too avant-garde for a farmyard friend.
Switch to making the snout region slightly more elongated. This transition gives the little oinker its defining feature—a nose that sniffs out all things delightful.
Begin decreasing once you reach the desired head size. This new trajectory doubles as the start of a barrel-shaped body. Continuity in yarn tension is key; no pig wants the dreaded noodle neck syndrome.
Continue to decrease and finally close it off with your best effort, leaving a small opening to stuff. The softer and squishier, the better your bacon buddy will be. Generic ppportunity to unleash your frustration; give that pig a firm squish to ensure it’s huggably plush!
Crochet the Legs (2x)
Grab your favorite hook and yarn, it’s time to give this pig some legs! Here’s what you need to know:
Start with a magic ring for a seamless beginning. Magic rings are just that…magic. You’ll wonder why you ever did it differently.
Work in rounds and increase as you go along. If you’re avoiding algebra, just think of it as adding a bit more yarn love with each round.
Keep the legs firm but not too tight. Think of it like a marshmallow—not the Stay Puft guy, more like a mini s’more companion.
Finish with a sturdy slip knot. Secure the end and snip that yarn with the flourish of a maestro. Don’t forget to weave in those tails to avoid a crunchy-legged pig!
Repeat for the second leg. By the time you finish, you’ll be contemplating going pro in porcine fashion design.
Crochet the Arms (2x)
Start with a magic ring. It’s like the VIP pass to your crochet party—secure and oh-so-versatile.
Work 6 single crochets into the ring. That bustling beginning sets the stage for those lovely limbs.
Increase in each stitch around for a robust arm that can give a firm wave or hold a bouquet. Your pig just got fancier.
Continue in single crochet rounds until the desired length. Feel free to let these little arms reach for the sky or stop shyly at the sides.
Stuff lightly for a squishable hug or leave them floppy for whimsical waving. Personalities vary, even in yarn form, and this is a judgment-free zone.
Fasten off and weave in ends because nobody likes a messy finish. The arms: ready for action or for lazing in the sty!
Crochet the Ears (2x)
Grab your soft yarn and trusty hook—it’s time to make those adorable ears. These tiny triangles are the cherry on top of your porcine masterpiece.
Start with a magic ring to keep things snug. Crochet a small circle and gradually expand it by adding a stitch here and there.
Remember, friends don’t let friends have uneven ears. Count your stitches—twice if necessary.
Switch to five-star stitches for a texture that says “I’m cute, but I mean business.”
Once you’ve reached the desired size, finish off and weave in those mischievous ends.
Repeat to ensure your pig doesn’t become a unicorn with aspirations beyond farmyard status.
Keep it simple but remember: wonky ears might ear-resistible, but your goal is symmetry.
Crochet the Muzzle
Prepare your pink yarn and make a magic circle. Yes, it’s called magic, and no, wands aren’t required.
Work 6 single crochets into the ring. Keep it tight but not too tight—it’s a pig’s muzzle, not a tourniquet.
For the second round, double your fun by making two single crochets in each stitch.
Feeling dizzy? Take a breather, pet the yarn, and continue.
In the third round, the pattern goes: single crochet in the next stitch, two single crochets in the next. Repeat this dance around the circle.
By the end, you’ll have what resembles a tiny pastel hat. Not suitable for humans, unless they have small, yarn-loving noses.
Fasten off, leaving a tail for sewing onto the head. Now you’ve got the perfect pig snout, ready for its starring role.
Crochet the Tail
Swirls and curls galore. Piggy tails are cute, aren’t they? Crafting this distinctive appendage is all about that signature twist.
Begin by chaining a handful of stitches; let’s call it the magic number eight. Want more curl? Go wild and add a few extra! Each chain is like a spicy curl waiting to happen.
Working back through each chain, add single crochets with the commitment of a hair stylist determined to perfect the spiral. Feel free to laugh at your work, it might resemble a curly fry, and who can resist those?
Once finished, simply attach to the piggy bottom. Voilà, instant personality! Just remember, this little curly cue is more of a needlepoint diva. Handle with care—unless it requests red carpet events.
Assembling
Now, let’s bring this oinker together!
First up, attach the head to the body. Get the head centered; your pig doesn’t want to be a hunchback. Seam it securely or it might do a bit of unwanted bobbing.
Next, position the ears on top of the head with a charming and slightly slanted look. This pig aspires to be the most stylish one in the farmyard.
For the legs, affix them symmetrically to the lower side of the body and make sure none get a mind of their own. This little piglet shouldn’t have ambitions to join the circus.
The arms should be sewn to the body at the ol’ shoulder locations. Ensure they’re good and robust for any future waving—or was it flying? One can only hope.
The muzzle goes smack dab in the middle of the face—pigs are sensitive about these things. Sew it on carefully, but not too uptight—that pig might want to squeal.
Finally, secure the curly little tail at the back of the pig’s bottom. Keep it cute yet sassy. Remember, every pig needs a bit of swine swagger.