Learn how to crochet the puff stitch with easy steps and tips to make your projects pop!
Thinking puff stitches are just for marshmallows? Think again! This ultimate guide will show you how to use a larger hook for cloud-like fluff, experiment with starting techniques, and maintain even tension for perfect consistency. We’ll also dive into tweaking yarn overs for that Goldilocks level of puffiness and how to mix them with other stitches for eye-popping patterns. Get ready for a textured adventure!
Key takeaways:
- Use a larger crochet hook for fluffier puff stitches.
- Experiment with different starting techniques for puff stitches.
- Maintain even tension in your yarn for consistent puff stitches.
- Adjust the number of yarn overs for different levels of puffiness.
- Combine puff stitches with other stitches for unique patterns and textures.
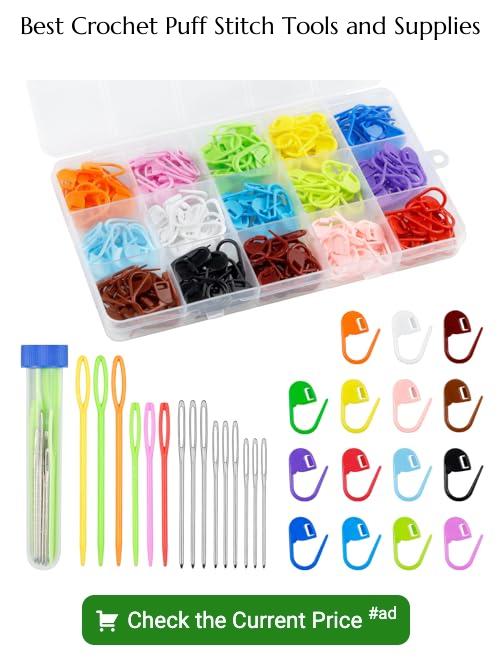
Materials & Tools Needed
Grab your trusty crochet hook and some luscious yarn, and you’re halfway to puff stitch paradise. Choose a hook size that complements your yarn; a size or two larger can help those puffs pop. Worsted weight yarn is puff stitch royalty, but experiment with other yarn weights for fun results.
Make sure you’ve got a good pair of scissors and a tapestry needle for those pesky loose ends. Stitch markers can also be helpful to keep track of where those darling puffs belong, especially in more complex patterns.
Don’t forget your sense of humor! It’s essential for those inevitable moments when your puff stitch looks more like a deflated balloon. Happy crocheting!
Puff Stitch Written Instructions
Start with a foundation chain. Let’s say 10 chains for practice. The puff stitch will be worked into these chains.
Step 1: Yarn over (yo) and insert your hook into the desired stitch. Yarn over again and pull through, creating 3 loops on your hook.
Step 2: Yarn over again, insert the hook into the same stitch, yo and pull through. Now you have 5 loops. Yes, it looks like a mini yarn rainbow!
Repeat step 2 until you have 9 loops on your hook for a typical puff stitch.
Step 3: Yarn over one more time and pull through all 9 loops. Take a deep breath, this part is like threading a needle through spaghetti.
Step 4: Secure the puff stitch with a chain stitch. Done! Congrats, you’ve just puffed like a pro.
Puff Stitch Photo Tutorial
Step-by-step visuals are lifesavers! First, let’s get cozy with a yarn and hook.
- Yarn over, insert the hook into the stitch, yarn over again, and pull up a loop. Do you see those two loops on your hook?
- Repeat the yarn over and insert the hook into the same stitch, pull up another loop. Now you should have four loops hanging out on your hook. Woo, a party!
- Do the yarn over, insert the hook, and pull up a loop thing once more. You should now have six loops living it up on your hook.
- Yarn over one last time and pull through all those loops.
- To lock in that puff, chain one. Give a little pat to your new, squishy puff stitch.
Trouble visualizing these steps? Imagine trying to hug a cloud—cozy and poofy!
Alternative Ways to Start a Puff Stitch
Starting a puff stitch isn’t a one-size-fits-all affair. There’s more than one way to skin a cat… or stitch a puff!
One of the popular ways is the chainless foundation stitch. It might sound like a spell from Harry Potter, but it’s really just starting your puff stitch without creating a foundation chain first. This method leads to a stretchier, more even base.
Love chains? You can start with a chain and then begin your puff stitch directly into a chain space. This traditional method is like the oatmeal of crochet—reliable and comforting.
Another crafty trick is the standing puff stitch. Here, instead of chaining to get your yarn to the right height, you pull up a long loop and dive straight into puffing. Ideal for joining new yarn or starting a new row with pizzazz.
Experimenting with different starting techniques can be both fun and a game-changer for your projects.
Tips and Tricks for Perfect Puff Stitches
Keep your puff stitches consistent by maintaining even tension in your yarn. No one likes a puff stitch that’s all puff and no stitch.
Use a larger crochet hook than usual. It makes the loops fluffier and easier to work with. Think of it as giving your stitches a bit more legroom.
Count your loops carefully. Losing track is like misplacing your glasses—they’re right in front of you, but everything looks a bit fuzzy.
Yarn weight matters. Lighter yarns make daintier puffs, while bulkier yarns make robust, huggable stitches. Choose wisely based on your project—nobody wants a dainty bubble in a chunky scarf.
Pull through all loops gently but firmly. It’s like pulling a tablecloth out from under a dinner setting—quick but smooth. Pragmatic wizardry at its best.
Practice makes perfect, but impatient practice makes a tangled mess. A few trial puff stitches can save you a lot of later unravelling, so keep calm and puff stitch on.
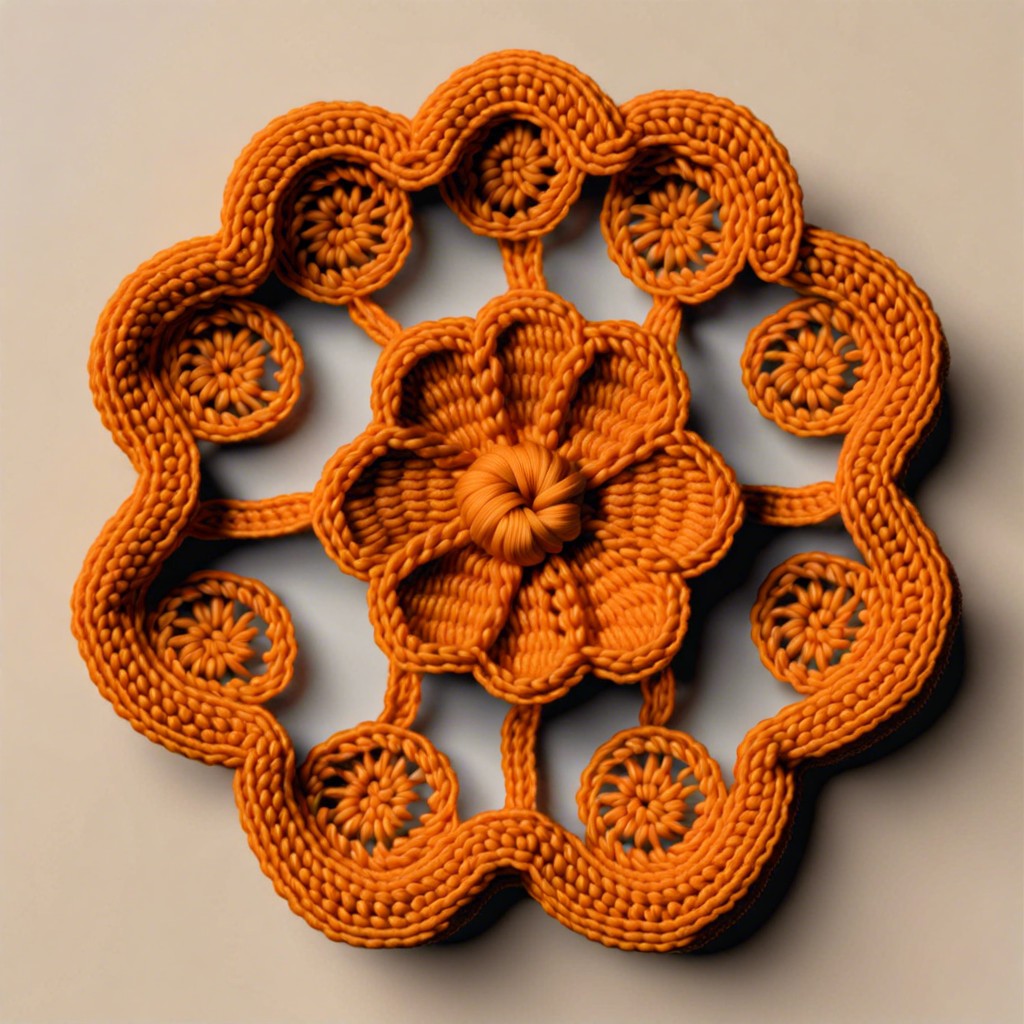
Puff Stitch Variations
Looking to jazz up your puff stitch game? Check out some variations that can add flair to your crochet projects:
Try playing with the number of yarn overs. For a fuller puff, work five or even six yarn overs instead of the usual three. Feeling adventurous? Go for seven or eight. The bigger, the puffier!
Think about spacing. Instead of placing puff stitches close together, space them out for a lighter, airier look. Great for summer shawls or delicate baby blankets.
Mix in some color. Alternate colors with each puff stitch for a confetti effect or use a variegated yarn to let the colors naturally flow. Instant burst of fun!
Experiment with placement. Work puffs into different parts of your project, such as in the middle of chains or from the back loop only. Adds unexpected texture and depth.
Incorporate other stitches. Combine puff stitches with hdc, dc, or treble crochet. Create unique stitches and patterns that will make even the simplest scarf look like high fashion.
Don’t hesitate to get creative. After all, crochet is all about making something uniquely yours. If anyone asks, tell them you’re a puff stitch pioneer.
Common Questions About Puff Stitch
Why does my puff stitch look lopsided? This common issue usually stems from uneven tension. Make sure you pull your loops up to the same height each time.
How many yarn overs should I do for a puff stitch? Most patterns call for 4-6 yarn overs, but always check your specific pattern for guidance.
Can I use any type of yarn? Absolutely! But remember, chunkier yarns will give you bigger, fluffier puffs, while finer yarns will yield more delicate stitches.
Why do I have gaps between my puff stitches? It might be because the loops are not tight enough. Try tightening them a bit for a cleaner look.
What’s the difference between a puff stitch and a bobble stitch? Puff stitches use multiple yarn overs to create a single, elongated stitch. Bobble stitches, on the other hand, require working multiple stitches into the same space before closing them together. So, puffs are all about the height, while bobbles build outwards.
Can beginners handle puff stitches? Yes! They might seem daunting at first, but once you get the rhythm, they become quite easy and addictive.
Is it normal for puff stitches to be bulky? Definitely! That’s part of their charm. They add texture and depth to any project.


