Learn how to create the beautiful and textured crochet star stitch with this step-by-step guide.
Feeling a bit lost in the galaxy of crochet stitches? Let’s decode the mysterious star stitch together! This enchanting pattern adds a stellar texture to your projects and is much simpler than it seems. We’ll dive into the nitty-gritty details, from grabbing the right yarn to perfecting those dazzling stars. Follow along and get ready to shine bright with each stitch!
Key takeaways:
- Crochet star stitch creates textured design in patterns.
- Start with odd number of stitches and yarn over loops.
- Video tutorial helps visualize hand movements and positions.
- Pull through loops and chain to create stars.
- Insert hook in previous star’s eye to start next star.
An Overview of Star Stitch
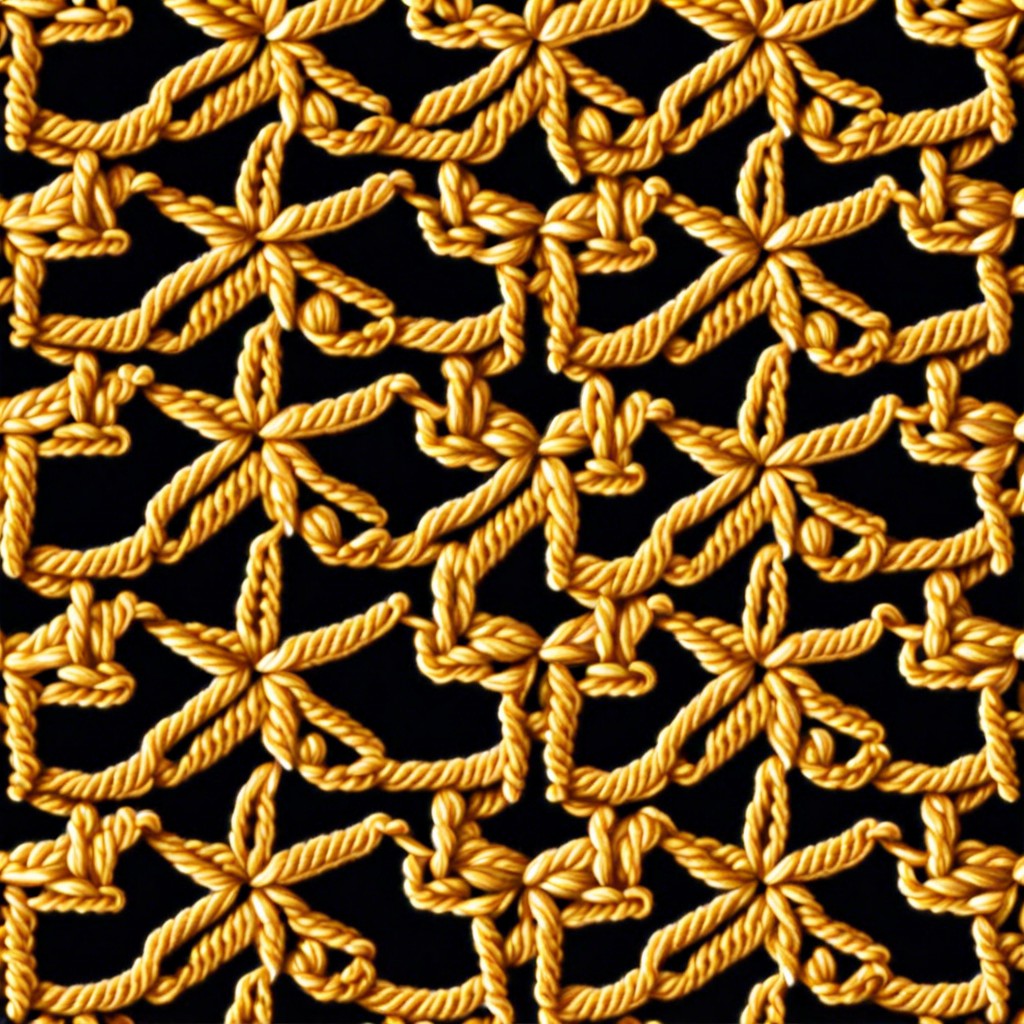
Imagine stars twinkling on your crochet project—that’s the star stitch! This stitch creates a delightful, textured design that stands out in any pattern.
It might look complicated, but with a bit of practice, you’ll have it shining brilliantly in no time. Each starburst is formed by combining multiple loops on your hook, creating a dense, eye-catching effect.
Ideal for blankets, scarves, or any project that needs a bit of sparkle, the star stitch’s thickness makes for a cozy, warm result. Just try not to get lost in its hypnotic beauty while working on it!
Crochet Star Stitch: Written Instructions
To crochet the star stitch, begin by making a foundation chain with an odd number of stitches. This is your runway. Lift off, here we go!
- Insert your hook into the second chain from the hook and pull up a loop. Now you have two loops.
- Insert your hook into the next chain and pull up a loop. Three loops, you’re a yarn wizard already.
- Continue this magic trick – pull up loops in the next three chains to get a total of five loops on your hook.
- Time for some yarn acrobatics:
- Yarn over and glide through all five loops.
- Chain one to seal the deal. This forms the “eye” of your star. You’re practically crocheting constellations now!
To start the next star, insert your hook into the eye you just created. Repeat the loopy dance until you have your starry sky.
Crochet Star Stitch: Video Tutorial
For those who prefer a visual approach, a video tutorial can be a game-changer. Grab your popcorn and your yarn!
First, find a well-lit, quiet spot. Trust us, you’ll want to actually hear the instructions instead of the neighbor’s dog barking.
Make sure you have all your supplies ready: yarn, hook, cozy blanket—okay, the last one is optional, but highly recommended.
As you watch, pause frequently to practice the steps. It’s not a race, so take your time and enjoy the process. Think of it as a crochet spa day!
Notice the hand movements, especially how the yarn and hook are positioned. Mimic these movements to build muscle memory. It might feel awkward at first, but soon you’ll be a star stitch pro.
Lastly, rewind as much as needed. Nobody ever got in trouble with the crochet police for hitting the replay button!
Draw Up Loops On the Hook
You’ve got your yarn and hook ready, so let’s dive into the magic of loops. This is where the star begins to take shape.
First off, insert your hook into the second chain from your hook. Pull up a loop.
Then, insert your hook into the third chain and pull up another loop.
Move on to the fourth chain, and—yep, you guessed it—pull up a loop there too.
Keep going in the same manner for the fifth and sixth chains.
Now, you should have six loops on your hook. Congratulations, you’re well on your way to creating that dazzling star.
Remember, this part is like collecting ingredients before baking: essential for the end result to be delectable. Happy looping.
Yarn Over and Pull Through the Loops
Once you’ve gathered your loops, it’s time for the magic.
First, you’ll have five loops on your hook, and it might look like a bit of a yarn party up there. Just remember, you’re the host.
- Yarn over and carefully pull through all five loops. Yes, all five. It’s like threading a needle through a pincushion.
- After pulling through, you should have one loop left on your hook. Congratulations, you’re halfway to a full star!
- Next, chain one to secure that splendid little bundle you just created. It locks everything in place and forms the eye of the star.
Take a moment to admire your handiwork. It’s starting to look pretty stellar.
Begin the Second Star
Prepare to dive into the next star sensation! First, locate the “eye” of the last star you crocheted – it’s that dreamy loop formed by your yarn overs.
Insert your hook into the eye, followed by the next two stitches on the row. You should now have three loops on your hook, giving you that wonderfully layered texture.
Yarn over, and pull through all loops on your hook like a crafty ninja. This creates the first part of your second star stitch. Now, draw up just one more loop in the same stitch where you just finished, and bam! You’ve got more loops on your hook, eager for their starry destiny.
Grab onto your stitch markers if you’re adding some sparkle, and let’s get those stars dancing across your row!
Complete the Star Stitch
Now, you’re ready to wrap up each star. It’s like putting the cherry on top of your crochet sundae!
Firstly, yarn over and pull through just one loop on your hook. This creates a neat little eye in the center of the star, making it look fancy, like it has its own bling.
Next, yarn over again and this time, pull through all remaining loops on your hook. Think of it as hitting the ‘equal’ button on your crochet calculator.
Now, fasten the star by chaining one. This locks everything in place and gives a nice, snug finish. It’s like putting a bow on a present—complete and fabulous.
From here, you can start the next star just by inserting the hook into the eye of the previous star and repeating the steps. It’s like building a constellation, one beautiful star at a time.


