Learn how to crochet a tulip with easy-to-follow steps and create your own blooming bouquet.
Looking to create a vibrant crochet tulip that never wilts? You’ve landed in the right place! From the petals to the stamen, we’ll cover every single stitch, tip, and trick. Grab your yarn, because we’re knitting together the ultimate guide to crafting these colorful, blooming beauties. Ready to start crocheting your garden of delight? Let’s dive into the world of woolly tulips!
Key takeaways:
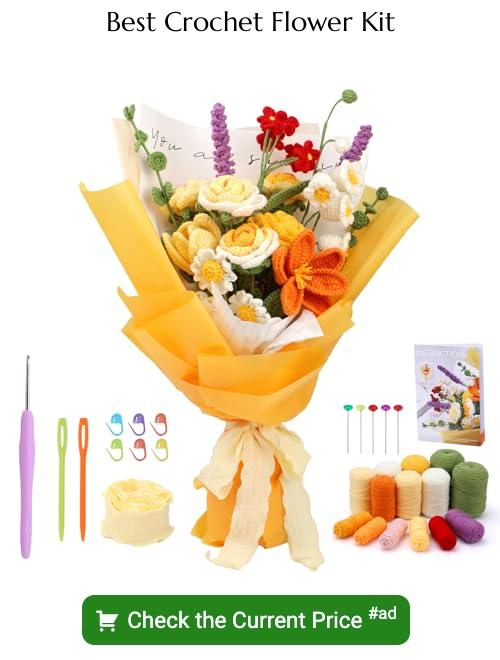
- Crochet tulip materials: yarn, hook, needle, stuffing, scissors.
- Learn crochet abbreviations: ch, sl st, sc, dc, st.
- Crochet tulip pattern: magic ring, rounds, petals shaping.
- Create tulip petals: magic ring, base, edges, color.
- Make tulip stamen: contrast yarn, small hook, attach securely.
Materials Needed
Gather your supplies like a squirrel hoarding nuts. Here’s what you’ll need:
A trusty crochet hook, size G/4.0mm or the one that feels just right in your hand.
Worsted weight yarn in tulip-appropriate colors—think vibrant reds, pinks, or yellows, along with a luscious green for the leaves and stem.
A yarn needle to weave in those sneaky ends (because we all know loose ends are like tiny escaped prisoners).
A bit of fiberfill stuffing if you like your tulips a little plushy.
Scissors, sharp enough to snip yarn cleanly but not so sharp they become a kitchen hazard.
That’s your toolkit! Now, let the flowery fun begin.
Abbreviations
Crochet patterns often employ a bunch of abbreviations to save space and keep things neat. Think of them as the secret code to your creative success. Here are some common abbreviations you’ll find in your tulip pattern, and probably a few others too:
- ch: chain – The starting point of your crochet journey, like the yellow brick road but yarnier.
- sl st: slip stitch – Perfect for those moments when you want to go places but stay invisible. Ninja level stitchery.
- sc: single crochet – The bread and butter of the crochet world. Solid, dependable, and always there for you.
- dc: double crochet – A stitch with grandeur. Taller and a bit more snooty than single crochet.
- st: stitch – Every little loop that makes your masterpiece. Don’t lose count!
Knowing these will make reading patterns a breeze. Use them often, and you might just start dreaming in crochet code.
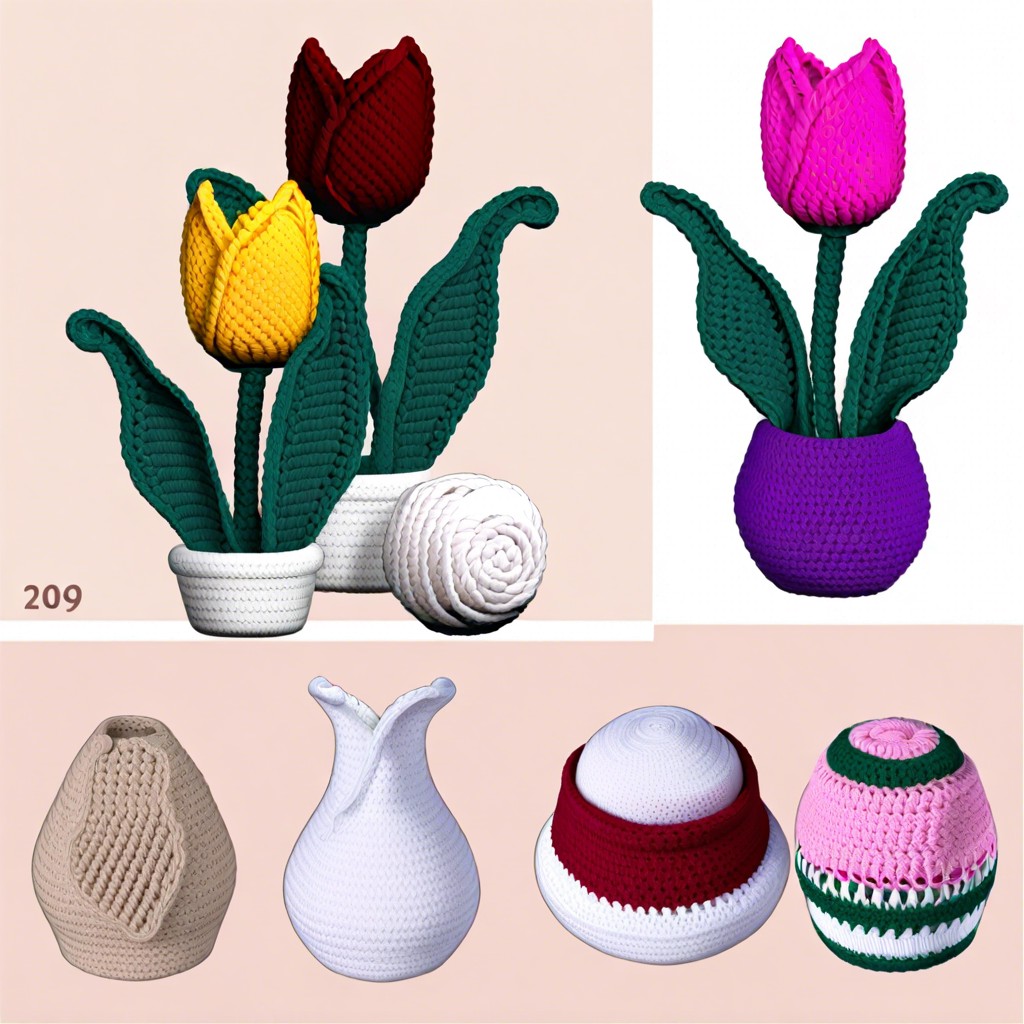
Crochet Tulip Pattern
For a basic crochet tulip, you’ll whip out your favorite hooks and yarn. Think about the size and texture of your yarn; it all adds personality to your floral creation. Generally, a worsted weight yarn with a 4mm hook works splendidly.
Start with the magic ring; it’s like casting a charm spell for your flower. This nifty trick lets you tighten the center of the petals nicely. Crochet a few single crochets into this ring, then pull it closed. Voila, instant magic!
Next, crochet in rounds. Start with single crochets, then double crochets in subsequent rounds to give those petals some flair and fullness. Don’t worry about being absolutely perfect; flowers in nature aren’t symmetrical either.
Increasing stitches is the way to go as you move up each round. This creates that stunning tulip shape, where the petals gracefully open. Once you reach the desired petal length, finish off and weave in those pesky ends.
Remember, you’re the artist here. If your tulip looks more like a daffodil, you’re not wrong—you’re just diversifying!
How to Crochet Tulip Petals
Start with a magic ring (it’s like your crochet ninja move).
Work single crochets to form the base.
Chain three and slip stitch to the next stitch to create the rounded edge of each petal. You want smooth, elegant curves, not jagged zig-zags!
Repeat the chain-stitch-slip-stitch combo around the ring until you have five or six luscious petals.
Fasten off and weave in the ends, as untidy ends are the enemy of a beautiful bloom.
Consider using a different color yarn for petals to make them pop.
Experiment with yarn thickness; chunky petals can make a bold statement!
How to Crochet Tulip Leaf
Begin with green yarn, naturally, unless you want to surprise someone with a neon pink leaf—no judgment here!
First, create a slip knot and chain 9. The fun starts in the second chain from the hook. Single crochet down the chain, then chain 1 and turn. On the way back, work in the back loops only. This little trick gives your leaf a lovely, realistic texture.
Next, single crochet in each stitch until you reach the end. Chain 1, turn, and repeat. Keep this going until your leaf measures around 3 inches. Or 4. Or 2.5. Tulip leaves are a great opportunity for creative freedom.
To give it a more authentic tulip look, decrease stitches as you approach the tip. This pointy end will make your leaf look like it was kissed by Mother Nature herself.
End by fastening off and weaving in your ends. And voilà, you have a leaf worthy of any tulip!
How to Make the Tulip Stamen
Creating the tulip stamen is a cinch and adds that pop of realism to your crochet flower.
First, choose contrasting colored yarn to make the stamen stand out. Yellow or black usually work wonders.
Use a small hook, typically smaller than the one for the petals, to achieve a firm texture. Chain 5 stitches.
Slip stitch back into the first chain to make a tiny loop. This is the base.
Chain 2 or 3 more to give the stamen a little height. Fasten off and leave a small tail for sewing.
Attach the stamen to the center of your tulip petals using a yarn needle. Stitch securely but discreetly.
Voila! Your tulip now has a charming, eye-catching center. Just don’t let it go to its head.
Assemble the Tulip
First, grab the petals, leaves, and stamen you’ve crocheted. Hold them like a delicate sandwich. Remember, the stamen goes in the middle, just like the stuffing in an Oreo.
Next, arrange the five petals around the stamen. Think of it as creating a mini color wheel. Petals should overlap slightly, forming that iconic tulip shape.
Now, pick up your yarn needle and sewing thread. Stitch the bottom edges of the petals together. Be gentle but firm; you don’t want your tulip falling apart during a windstorm.
Once the petals are secure, it’s time for the leaves. Position them at the base of the flower. Stitch them securely, ensuring they frame the tulip beautifully.
Voila! You’ve assembled your crochet tulip.
Customize With Colors and Textures
Experimenting with colors and textures breathes life into your tulip creation.
Try using variegated yarn for a delightful splash of color.
Mix different types of yarn like cotton for crisp petals and alpaca for soft, fuzzy leaves.
Blend unique colors to match seasonal themes—bright pastels for spring, rich oranges, and burgundies for autumn.
Don’t shy away from adding a touch of glitter or metallic yarn to create a tulip that’s ready to party!
Want more drama? Use chunky yarn for oversized tulips that make a statement.
The possibilities are endless, and every unique tulip will add a personal touch to your bouquet.
Building a Bouquet
Okay, you’ve got your tulips ready; now let’s make a bouquet that’ll wow everyone.
First, gather your tulips. Aim for odd numbers like three, five, or seven – it’s an old florist trick for eye-catching balance.
Next, vary the heights. Real bouquets have dimension. Make some tulips slightly shorter; stagger them for a natural look.
Add some crochet leaves and stems. These are like the supporting actors in your flowery production.
Bundle them together, wrapping the stems lightly with green yarn for cohesion. Not too tight; they need breathing room, after all.
Finish with a ribbon or a crocheted tie. Voila! You’ve got yourself a tulip bouquet that never wilts and always impresses.
Usage and Display Ideas
Imagine a splash of color on your desk brightening those endless Zoom calls! Crochet tulips fit the bill perfectly.
They make delightful gift toppers, adding a handmade touch that screams, “I care enough to crochet for you.” Good for special occasions like Mother’s Day or just because you remembered your friend’s love for tulips.
Curate a cozy reading nook by arranging a bouquet in a vase with a few sprigs of lavender. It stays lovely forever, unlike real flowers that start plotting their demise as soon as you turn away.
Add them to headbands or brooches for a whimsy fashion statement. Who said you can’t wear your craftiness on your sleeve – or, uh, head?
Upgrade your wreath game by incorporating crochet tulips. Ring in spring with a burst of yarny flowers on your front door. Perks: it doesn’t need watering or sunshine.
Think outside, well, the floor vase. Hang them upside down for a quirky wall decoration. It’s an instant conversation starter.
Crochet tulips aren’t just flowers, they’re little bursts of joy you can sprinkle around your life.


