Learn how to crochet a stylish vest with this easy-to-follow pattern.
Craving a stylish, homemade crochet vest that even your hip, fashion-forward friends will envy? Dive into this guide where you’ll learn to choose the perfect yarn, master granny squares, and join them with finesse. Whether you want something cozy or colorful, we’ve got every detail covered to keep your crochet game on point. Ready to turn heads? Let’s get those hooks moving!
Key takeaways:
- Choose medium-weight yarn for versatility and fun colors.
- Select the right hook size based on yarn weight.
- Granny squares: start small, swap colors, think trendy.
- Join squares neatly using whip stitch or slip stitch.
- Craft front panels, add border, shape neckline, attach.
Materials Needed
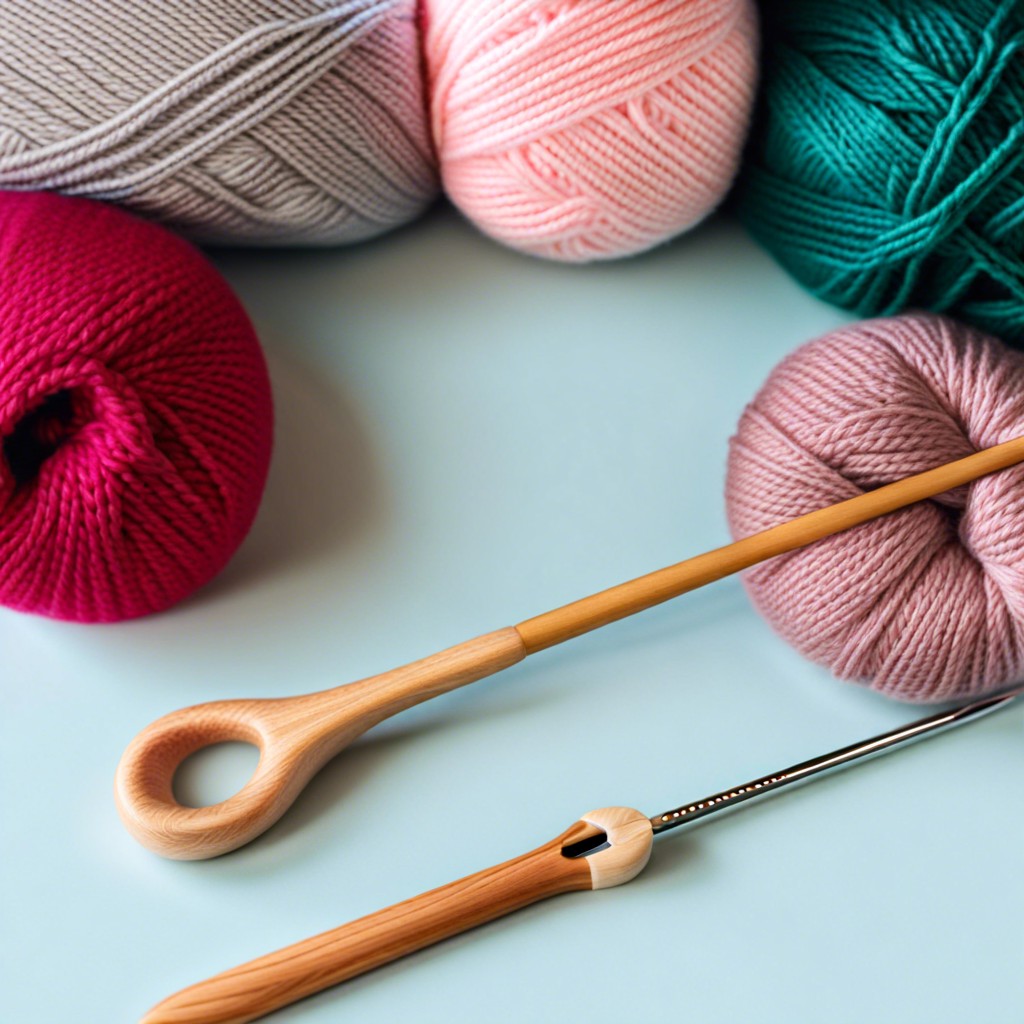
Start with yarn. Opt for a medium-weight yarn for versatility and ease of handling. Feel adventurous? Mix and match different colors for a pop of fun.
Grab a crochet hook. A 5.0 mm hook usually pairs well with medium-weight yarn, but check the yarn label for recommendations.
Don’t forget a tapestry needle. This little tool helps weave in those pesky loose ends and stitch pieces together.
Safety pins or stitch markers? Yes, please! They keep track of your stitches, so you don’t lose your place while binging your favorite show.
Lastly, scissors. Let’s clip those yarns with style and precision. Snip, snip, hooray!
Choosing Yarn
Opt for yarn that doesn’t itch like a woolly mammoth’s undercoat. Aim for something soft yet durable. Cotton yarns are a nice choice: easy on the skin and breathe like an exhausted marathon runner. If warmth is more your style, consider wool blends or acrylics. They provide that snug, cozy feel perfect for those chilly days.
Color matters too! Go wild with bright hues or keep it classy with neutrals. Plus, remember to check the yarn’s weight. Worsted or DK weight usually hits the sweet spot for vests. Too thin and you’ll be crocheting till next century, too thick and you’ll end up looking like a stuffed teddy bear.
Selecting the Right Hook Size
Hook size matters more than you think! Too big, and your vest could end up looking like a fishnet experiment gone wrong. Too small, and you might as well crochet a suit of armor.
Consider the yarn weight. Light yarn pairs well with smaller hooks, usually between 2mm and 4mm. For medium-weight yarn, think 4.5mm to 6mm. Chunky yarn? Go big or go home with 7mm or larger.
Check your tension. Some folks crochet tighter than others. If you’re tighter than your jeans post-holidays, go up a hook size. Loosey-goosey? Downsize.
Swatch it like it’s hot. Create a small test square with your chosen hook and yarn. Measure it. If it matches the pattern’s gauge, you’re golden. If not, adjust the hook size accordingly. No shame in the swatch game!
Creating Granny Squares
Start with a slip knot and chain four stitches. Slip stitch to the first chain to form a ring, then chain three. This chain-three acts as your first double crochet.
Next, double crochet twice into the ring. Chain two, then work three more double crochets into the ring. You’ll see a tiny corner forming. Repeat this: chain two, then three double crochets into the ring, two more times. By now, you should see a square-esque shape with little corners. Fancy, right?
Close the round with a slip stitch into the top of the initial chain-three. Boom, granny square round one complete. Fasten off if you’re changing colors and get funky with your color choices. Remember, mismatched colors just say “I live beyond the color wheel.”
For subsequent rounds, join your yarn in any chain-two corner space, chain three again, then work two double crochets into the same space. Chain two, and work three more double crochets into the same space. Now you have a new corner. Hop over to the next corner, double crochet three times, chain two, and double crochet three times again. Continue around the square.
As you build, your square will transform into a trendy piece of vest material. And if you mess up a stitch? Call it a design choice.
Joining Granny Squares
Lay out your granny squares in the desired pattern. Think quilt vibes, but with fewer cats involved.
- Whip stitch or slip stitch are common joining methods. Whip stitch is like making tiny, yarn-sized stitches along the edges, while slip stitch uses your hook.
- Align the edges of two squares and start from one corner, working your way to the next. Keep it cozy, not tight.
- Use the same yarn color for a seamless look, or go wild with contrasting yarn for a pop of pizzazz.
- Check alignment periodically; nobody likes a wonky vest. Except maybe Picasso.
Attempt to keep joins neat and secure, but remember, it’s a vest, not the Mona Lisa.
Constructing the Back Panel
Time to assemble the puzzle! Lay out your completed granny squares in the desired pattern.
- Join Squares: Use the slip stitch method or whip stitch to join the squares. Whip stitch sounds like you’re in a medieval dungeon, but it’s actually quite simple.
- Check Alignment: Make sure everything lines up neatly. Nothing says “homemade” quite like a lopsided vest.
- Seam Strength: Ensure your seams are tight. We’re making a vest, not a fishnet.
Work row by row, and before you know it, the back panel will be complete. Then it’s smooth sailing to the front panels!
Making the Front Panels
Begin by crafting two sets of granny squares, identical in number and size to those used for the back panel, but split into two. These will form the left and right front panels of your vest.
Next, arrange the granny squares in two equal columns. Sew or crochet them together as you did with the back panel. Consider using a slip stitch or single crochet for a polished look.
Once your panels are assembled, add a border to each one. This helps them maintain structure and keeps the edges neat. A simple single crochet border works wonders here.
Now, it’s time for shaping. To create the neckline, taper the top inner edges of each panel. You can accomplish this by gradually decreasing the stitches in the top few rows.
Finally, attach each front panel to the back panel at the shoulders. Ensure the top edges align perfectly. Secure with a strong, yet invisible stitch to avoid any uncomfortable bulkiness. Now you have the makings of a fashionable and cozy crochet vest.


