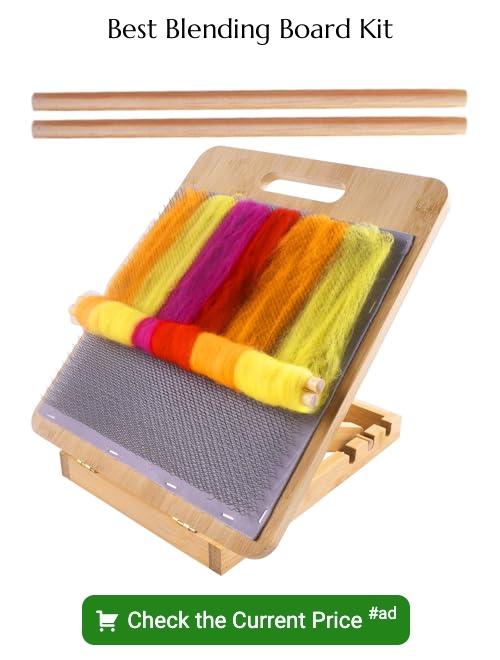
Leap into the exciting world of fiber arts by creating your own DIY blending board because mastering this skill will allow you to uniquely mix and match colors and textures for your next yarn project.
Key takeaways:
- Choose a sturdy baseboard and carding cloth (72 TPI works well).
- Secure the cloth to the board with staples or glue.
- Spread fiber evenly on the board and fuse it together.
- Layer different colors and fibers for unique blends.
- Roll the fibers into rolags and store them properly.
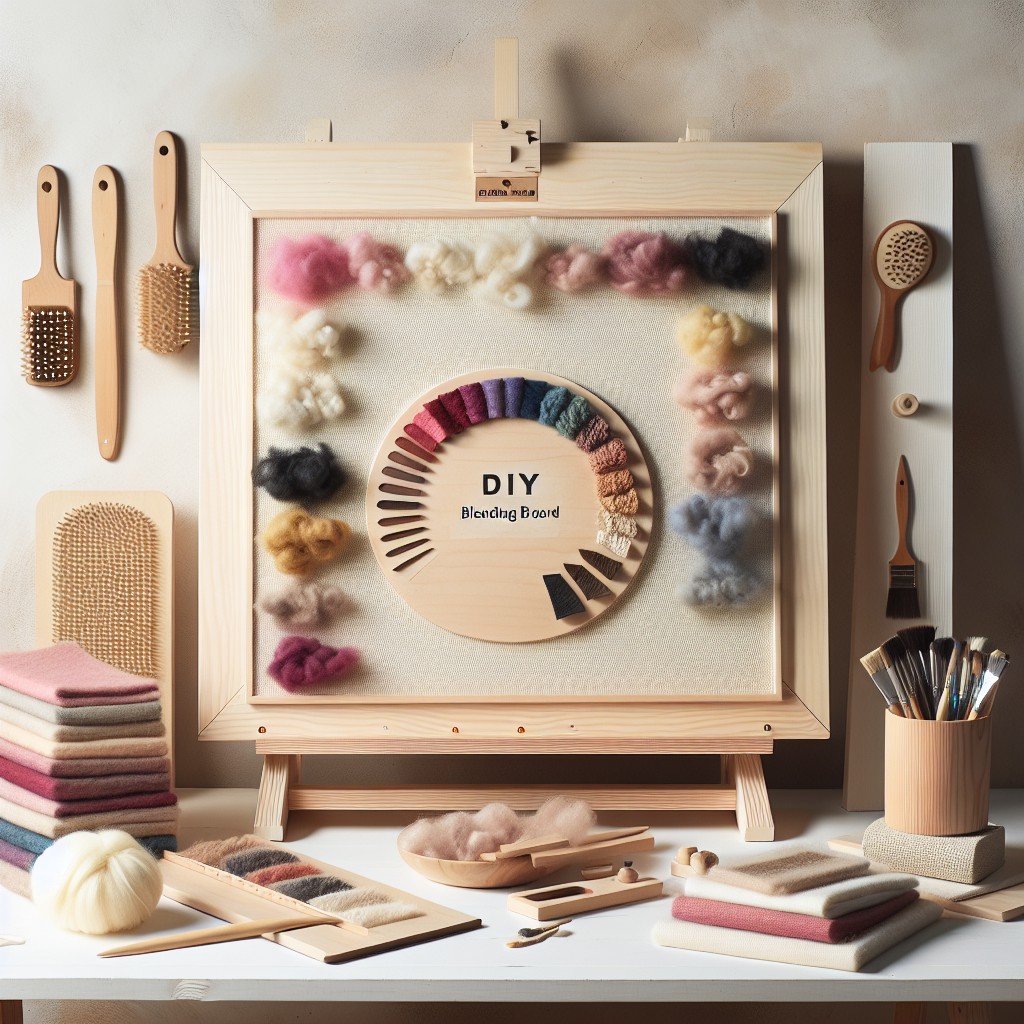
Materials for DIY Blending Board

To commence your blending board project, you’ll need a sturdy baseboard to support the carding cloth. Plywood or a thick, flat piece of wood measuring at least 12×12 inches is ideal for accommodating a sizeable fiber area. Additionally, you’ll want to source carding cloth, which comes with pre-embedded metal tines specifically designed for fiber blending. Look for a cloth with appropriate teeth density—72 TPI (teeth per inch) works well for a variety of fibers.
Your assembly kit should include staples or upholstery tacks for affixing the carding cloth securely to the base. In terms of tools, a staple gun or hammer will be essential, along with a pair of scissors and possibly a screwdriver, depending on your method of securing the carding cloth.
Furthermore, consider adding a few extras like a pair of dowels or a paintbrush. Dowels aid in rolling off the blended fibers, while a paintbrush helps in keeping the cloth clean. Finally, for those who want an inclined board, you might include a piece of wood to serve as a backstop or adjustable feet to create your desired working angle.
Selecting the Right Baseboard
Choosing a suitable baseboard is essential for creating a stable and functional blending board. Opt for a flat, sturdy surface that won’t warp or bend under pressure. A piece of plywood or a thick cutting board works well.
The dimensions, typically around 12×12 inches or larger, will determine the size of your blend and rolags. Ensure the edges are smooth to avoid snagging fibers or harming yourself while working. A surface that can be securely clamped to a table is preferable, as it will stay in place while in use.
Remember, the quality of the baseboard affects the durability and ease of use of your blending board.
Choosing the Carding Cloth
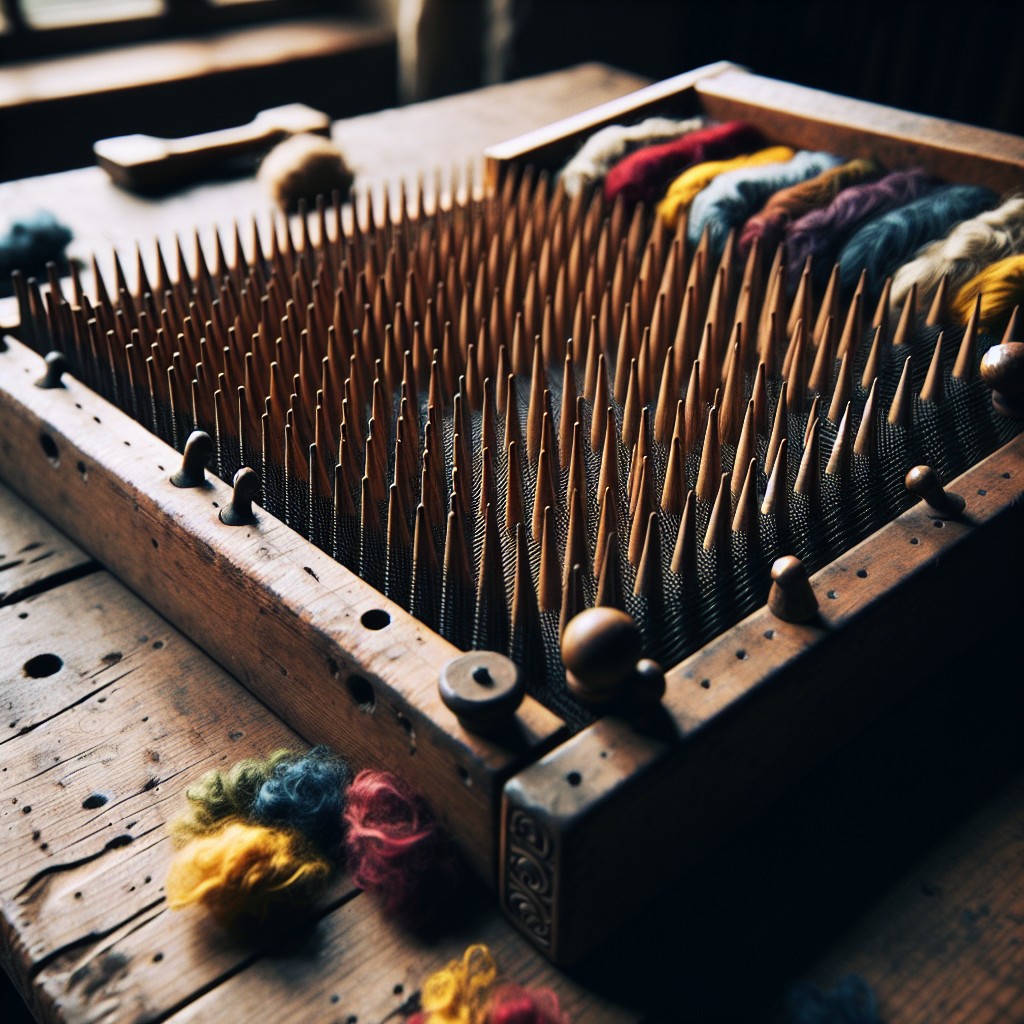
Selecting the appropriate carding cloth is crucial for a functional blending board. Consider the TPI (teeth per inch), as it dictates how fine or coarse the carding cloth will be. Fine fibers such as merino wool often require a higher TPI, between 72 and 120, to effectively blend without damage.
For coarser wools or mixed media, a lower TPI around 36 to 72 may suffice.
The quality of the carding cloth also has an impact on your results. Ensure the cloth is made with durable materials and consistent, well-anchored teeth to withstand the pressure of blending fibers. Furthermore, the size of the carding cloth should match the dimensions of your baseboard, allowing for a comfortable working area and efficient blending process.
Make sure to secure the carding cloth properly to the baseboard to prevent shifting and to prolong the life of your DIY blending board.
Assembling Your DIY Blending Board
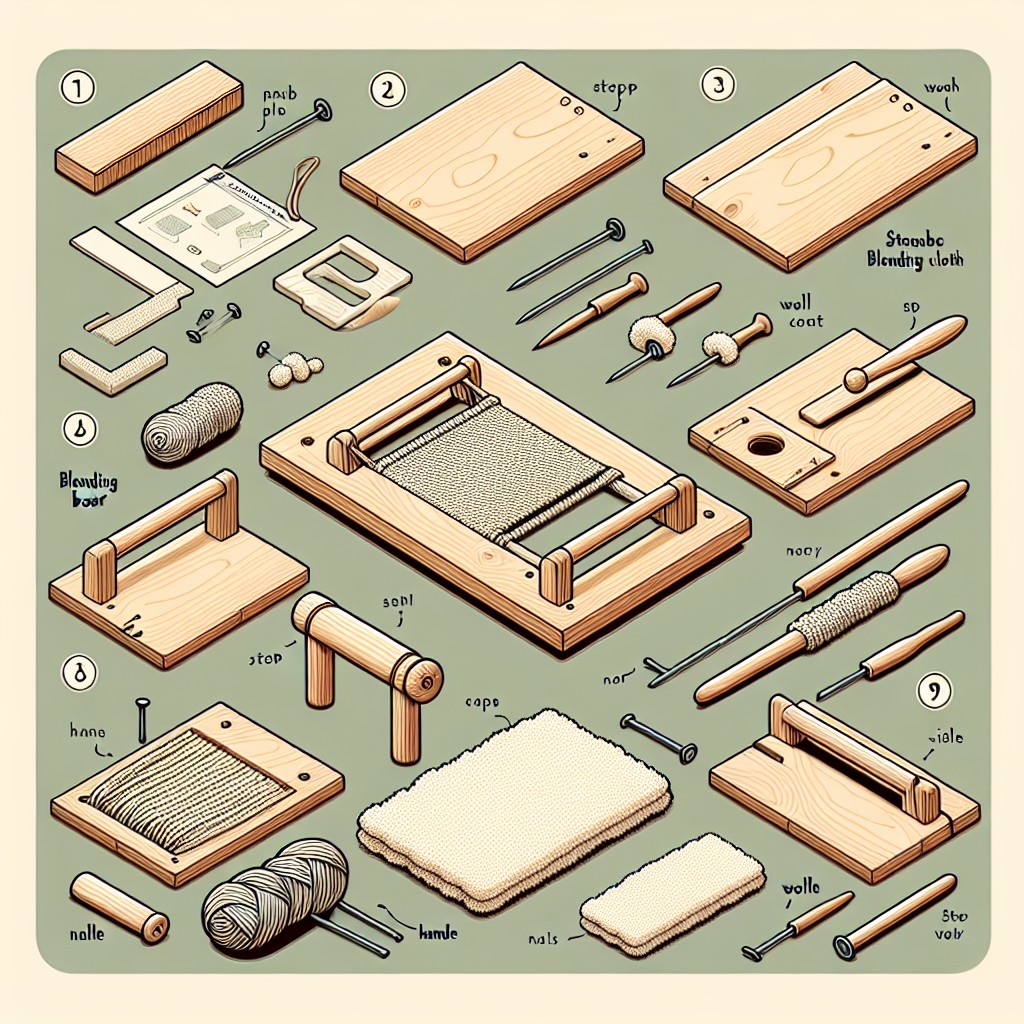
Upon selecting a sturdy baseboard and the appropriate carding cloth, assembly begins by attaching the cloth securely to the board. Start by laying the carding cloth flat, ensuring the tines point away from the surface. Align it evenly on the board, with only a slight overhang at the edges if necessary.
For a robust attachment, staple the fabric to the baseboard along one side. Ensure staples are spaced closely, no more than an inch apart, for a firm grip. Stretch the cloth firmly across the board to prevent any wrinkles or loose areas before securing the opposite side with staples.
For added durability, some crafters opt to glue the fabric before stapling. A thin, even layer of strong fabric or wood glue can provide a solid bond between the cloth and the wooden surface. Allow it to dry according to the manufacturer’s instructions.
Once all four sides are secured, trim any excess cloth, being careful not to leave any sharp points that might interfere with your work. Finally, attach a handle to the top end of the board, either with screws or strong adhesive, to aid in managing the board while blending fibers.
This assembled blending board is now ready for creating custom fiber blends, ideal for unique spinning projects.
How to Use a Blending Board
Begin by evenly spreading a thin layer of fiber across the board, working from the bottom up to allow for easy rolling. Employ a light hand to avoid compacting the fibers, which can hinder the blending process and make it harder to draw out the rolags.
Use the dowels or brushes provided with the board to gently fuse the fibers together. Move in a single direction, typically away from the body, to align the fibers, which will create a smoother, more even rolag.
Introduce additional colors or fibers by layering them onto the board. Experiment with different amounts and patterns to achieve unique effects. Pay close attention to how each layer interacts with the rest — the order and proportion can significantly impact the final blend.
Take care not to overfill the board. Too much fiber can make it difficult to roll and remove the rolag. Achieving a balance between too little and too much fiber will take practice, but will result in better blends and more uniform rolags.
To remove the fibers, gently lift the end of the fiber sheet using a dowel or your fingers. Roll the fiber onto the dowel with a tight, even pressure to create a compact rolag. Pull it off the board carefully to maintain its shape.
Regularly clean your board to remove any leftover fibers or debris to maintain its effectiveness and prolong its life.
Layering Fibers On the Board
Begin with thinly spread layers to ensure even blending. Start at the bottom, working your way up to the top of the board. Maintain a light hand; applying too much pressure can embed the fibers too deeply into the cloth, making them difficult to remove. Experiment with colors and textures, adding thin strips of different fibers across the board. Overlap edges slightly for a cohesive blend.
Consider fiber length; shorter fibers should be layered first, providing a base for longer fibers to grip onto. This approach also optimizes the drafting experience during spinning. Adjust the orientation of layers to create vertical, horizontal, or diagonal patterns. These variations can influence the final spun yarn’s color transitions and textural effects.
Use a flicking motion with your fingers or a blending tool to gently marry different layers without felting them. This technique helps maintain fiber loft and results in smoother rolags. Remember, the goal is to create a harmonious distribution of fibers that will translate into a well-integrated yarn.
Blending Techniques
When blending fibers, consider color, texture, and the effect you wish to achieve with your spun yarn.
Start with light pressure to evenly incorporate the fibers without overworking.
Use a paintbrush or dowel to spread colors, and if aiming for a gradual color transition, overlay thin layers of different shades.
For texture, mix varying staple lengths and types of fiber, gently teasing apart and layering them to create an even mat.
Focus on distributing them uniformly, so each rolag will have a consistent composition.
Remember, the blending board is a tool for creativity; experiment and allow your artistic instinct to guide the process.
Removing the Rolags
Once your fibers are fully blended, carefully remove the rolags to preserve the alignment and integrity of the fibers. Start at one end of the blending board and use a dowel or knitting needle to gently lift the edge of the fiber. Roll the dowel forward, keeping the pressure even and the roll tight.
This process should be done gently to avoid felting or disturbing the fiber blend. Continue rolling until the entire batt is wound around the dowel. Then, slide the rolag off the end, making sure to maintain its shape.
Store your rolags in a loose pile or container, avoiding compression to retain their structure for spinning.
Characteristics of Quality Rolags
Well-formed rolags are consistent in density, with fibers aligned, allowing for an even drafting experience during spinning. They should be firm enough to hold together without compacting the fibers excessively, which would hinder the spinning process.
Uniform in size, each rolag indicates careful blending and drafting technique. Ideally, the ends should be slightly tapered, promoting smooth joining when spinning multiple rolags in succession. The airy structure is a hallmark, ensuring the rolag remains open for easy drafting and thus resulting in a more uniform yarn.
A good balance between cohesion and looseness is key, as it preserves the fibers’ integrity while providing enough cohesion for spinning. A successful rolag demonstrates the crafter’s proficiency in carding and rolling, effectively marrying the various fibers into a harmonious, spinnable form.
Options for Spinning Your Rolags
Once you’ve created your rolags using the blending board, spinning them into yarn can be both delightful and straightforward. With a few techniques at your disposal, you can choose the method that best suits your comfort level and the desired yarn outcome.
Drop Spindle: A drop spindle offers a simple and portable way to spin fibers. It’s excellent for beginners. Hold the rolag gently and let the spindle twist the fibers into yarn.
Wheel Spinning: For those with a spinning wheel, start with a light tension to draw out the fibers from the rolag. This method can produce a more consistent yarn and is faster than a spindle.
Supported Spindle: Perfect for spinning fine, delicate yarns, a supported spindle rests on a surface while spinning, reducing the weight on the fibers and allowing for greater control.
Remember, the key is to keep the twist consistent and to draft the fibers smoothly to achieve an even yarn. Enjoy the process and the unique, custom yarn you create.
FAQ
How do you make an OG blending board?
To make an OG blending board, bend a three-ring binder inside out and attach index cards with letters to each ring to create separate piles for beginning, medial, and final letters which can be flipped by students to blend words together in centers.
How do you make batts on a blending board?
To make batts on a blending board, one needs to use the blending brush handle, gently push up the board to remove any fibre that isn’t rolling out with the dowels, then slide out each dowel individually and finally unroll the batt to assess the result.
Can you make roving on a blending board?
Yes, you can make roving on a blending board as it is capable of producing a variety of fiber preparations.
How do you blend fibers for spinning?
To blend fibers for spinning, shuffle them from the bottom to the top of your fiber deck, ensuring the fiber does not fold over on itself, leading to noils, and the staples will naturally split in this process.
What essential tools are needed to effectively use a blending board?
To effectively use a blending board, essential tools needed are the blending board itself, fiber for blending, two dowel rods for drafting and rolag creation, a burnishing brush, and a diz for creating roving.
What types of fiber work best with a blending board?
Blending boards work best with an array of fibers such as wool, alpaca, cotton, and silk, allowing the creation of unique color and texture combinations.
What techniques can improve color blending on a blending board?
Using differing shades of the same color, pulling roving from your fiber mixture multiple times, and spinning the fibers from the end can significantly improve color blending on a blending board.


