Learn how to add a polished border to your crochet blanket to give it a perfect finishing touch.
Ready to give your crochet blanket that extra “wow” factor? Adding a border is the perfect way to polish up those edges and pull your masterpiece together like a pro. This guide will show you how to choose the perfect border style, select the right yarn and hook, prep those edges, and nail those tricky corners. Follow along to ensure every stitch looks fabulous and even. Say goodbye to unruly edges and hello to a blanket that screams “handmade with love!”
Key takeaways:
- Choose a border style that matches the aesthetic and function.
- Select yarn and hook size that complement the blanket.
- Prepare the edges for a clean and professional finish.
- Start the first row by attaching yarn and working single crochet stitches.
- Pay attention to corner stitches to maintain flat and fabulous edges.
- Ensure even stitch distribution for a polished look.
- Weave in ends to finish off your crochet masterpiece.
Choose Your Border Style
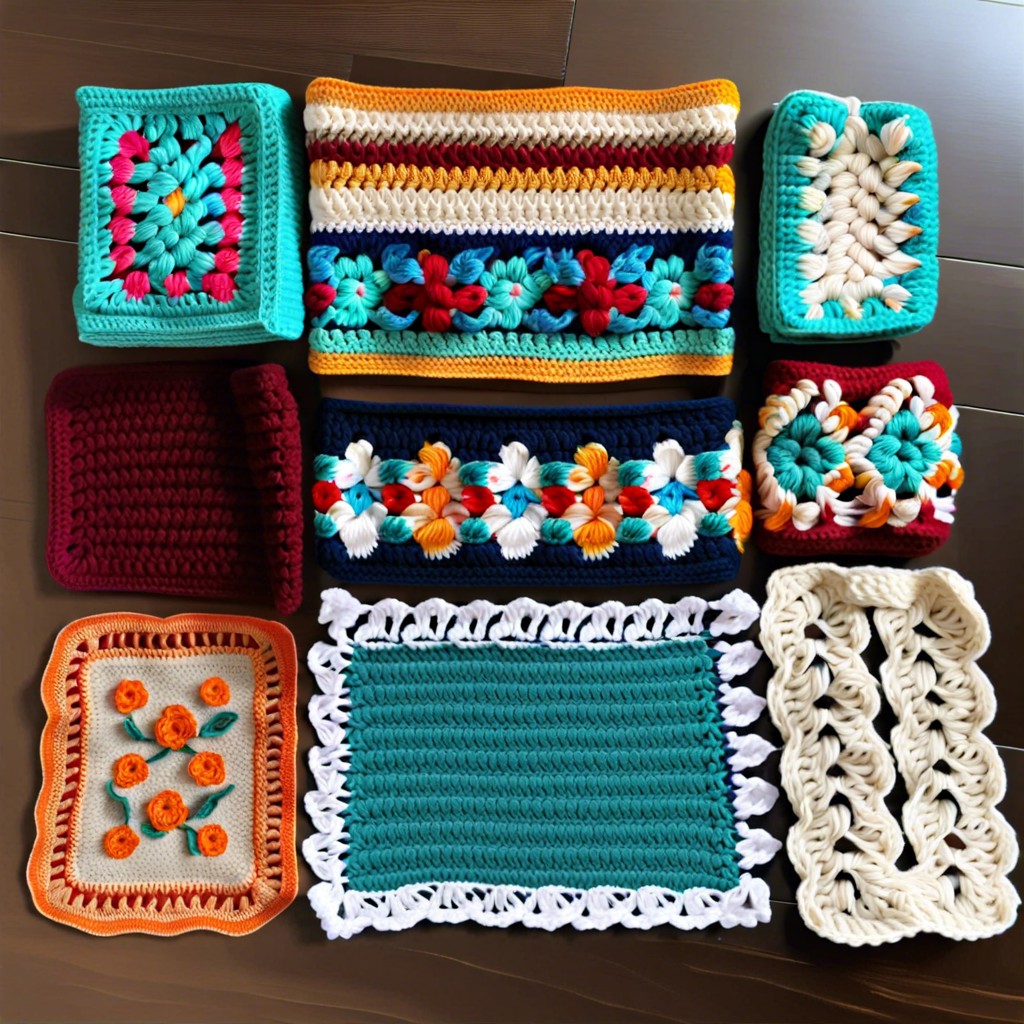
To start, consider the overall aesthetic of your blanket. Is it traditional or modern? Classic borders like single crochet or shell stitch can enhance a timeless look, while funky options like bobble stitches and picots add a dash of fun. Think of it like accessorizing an outfit – you wouldn’t pair a tuxedo with flip-flops, right?
Match the complexity of the border to your skill level. Simple borders are perfect for beginners, while intricate patterns can be a delightful challenge for advanced crocheters.
Also, think about the function. For baby blankets, a soft, delicate edge is ideal. For a throw blanket, a sturdier border might be better to hold up to frequent use and washing.
Lastly, go wild with colors. A contrasting shade can make the border pop, while a matching hue keeps it subtle and cohesive. Let your creativity shine!
Select Appropriate Yarn and Hook Size
Match your border yarn to the blanket’s body, unless you like surprises! Contrasting colors can be fun, but ensure complementary shades.
Stay consistent with yarn weight. A lacy border on a chunky throw? Might look odd.
Hook size matters! Typically, stick with the same size or one step larger to prevent curling edges.
Got scrappy yarn bits? Mix them up for a patchwork vibe. Just double-check compatibility.
Avoid super fluffy yarn for intricate borders. It’s like crocheting with cotton candy. Tempting, but challenging.
Prepare Your Edges
Make sure your blanket’s edges are as neat as a pin! Examine each side for consistent stitch work. Remove any lurking loose threads or yarn bits hanging out like party crashers.
- Check for stray threads and tie off any loose ends.
- If you spot irregular stitches, fix them up or pull through a few overlap stitches to even things out.
- Ensure the corners are defined, not as mysterious curves.
Clean edges ensure a smoother border application and keep things looking sharp and professional. Happy edging!
Starting the First Row
Begin by attaching your yarn to any corner of the blanket with a slip knot. This is where the magic starts.
To create a clean, even edge, work single crochet stitches along the sides. Slip stitches are a handy tool for particularly tight spaces to keep things neat.
For uniformity, insert your hook under both loops of each stitch or around the post, depending on the texture.
Avoid puckering by not pulling the stitches too tight. Keep it relaxed, like a yoga class for yarn. Count your stitches to maintain consistency.
Congratulations, you’ve now embarked on your border adventure!
Corner Stitches
Corners are like the VIP section of your blanket; you don’t want to mess them up. You’ll typically work three stitches into each corner to keep everything flat and fabulous. Here’s the lowdown:
- When you reach a corner, crochet three stitches into that single corner stitch.
- Remember, these three stitches can be single, half-double, or double crochets, depending on your chosen border style.
- Think of it as making a little “fan” right in the corner to help it turn smoothly.
- Keep the tension consistent—corners are not the place to get all loosey-goosey.
If you forget the extra stitches in the corner, you might get some unwanted ruffling. Conversely, go overboard, and your blanket could end up looking like it’s auditioning for a curved edges competition. Neither scenario is desirable, trust me on this. Keep it simple and you’ll be golden.
Even Stitch Distribution
Imagine your blanket as a pizza. You wouldn’t clump all the pepperoni in one spot, right? The same goes for stitches. You want them evenly spread for a polished look.
First, count your stitches on each side. This helps you plan how many border stitches to add.
Next, mark the quarters of each side with stitch markers. This makes it easier to distribute stitches evenly.
If you’re working along a side with rows, pop two stitches in every row end. For the foundation row, aim for one stitch in each stitch or chain space.
Adjust your stitch count if needed. Just make minor tweaks here and there to keep things balanced.
Avoid overcrowding your corners. It’s like trying to squeeze into jeans three sizes too small—uncomfortable and unnecessary!
Weaving in Ends
Weaving in ends might sound tedious, but it’s just like tucking in your crochet masterpiece for a cozy nap.
Use a yarn needle to thread your ends. Remember, no waltzing across stitches—take small, sneaky steps.
Aim to weave in at least 4 inches. Going shorter is risky business.
Weave in one direction, change course, then hide everything with a sneaky U-turn. Your ends will be so lost, they won’t ever escape.
Trim any excess yarn, but leave a wee nub. No one likes a rebellious last thread poking out.


