Mastering how to carry yarn up the side is a game-changer for every crocheter and knitter, because it ensures a neat finish while saving time and reducing waste.
Carrying yarn up the side while crocheting or knitting is a handy technique to keep your work neat and avoid numerous ends to weave in later. This method is especially useful when working with multiple colors or when you need to switch back and forth between yarns frequently.
In this article, we will guide you step-by-step through the process of carrying yarn up the side, ensuring you understand the technique thoroughly. Whether you’re working on a striped blanket or a multicolored scarf, this skill will make your crafting experience smoother and more efficient. With clear instructions and helpful tips, you’ll master this technique in no time.
Key takeaways:
- Carrying yarn up the side maintains continuity of colors.
- Yarn is carried along the edge, hidden in the seam.
- Carrying yarn reduces loose ends and keeps work neat.
- Overuse can result in tight edges or distortion.
- It becomes an easy method with practice.
Understanding Yarn Carrying Technique
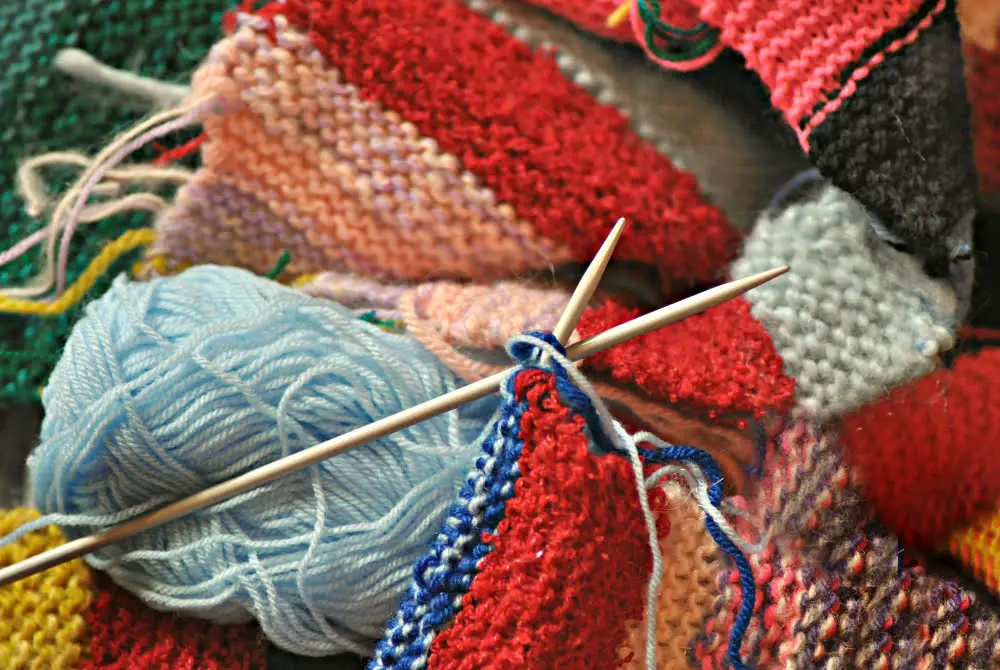
Carrying yarn up the side of your work is a knitting technique that allows you to easily work with multiple yarn colors without having to cut and rejoin the yarn after each color change. Some key points to understand include:
1. This technique is ideal for patterns that require frequent color changes, as it maintains the continuity of the yarn.
2. Yarn is carried along the edge of the work, hence the term “up the side,” which is conveniently hidden in the seam once the project is complete.
3. Carrying yarn reduces the number of loose ends to weave in and keeps your work neat and tidy.
4. Overuse of this technique can result in tight edges or distortion, especially if the yarn carried up the side is under too much tension.
5. Even though it sounds complex, with practice, it becomes an easy and efficient method for handling yarn during multi-color knitting projects.
6. Note that in multicolor rounds or stripes, unused colors should always be carried on the wrong side (the side that faces inwards) to maintain a consistent exterior appearance.
7. For evenly spaced color stripes, always carry the yarn up the same side of the work. This keeps the inside of the work looking as neat as the outside.
8. But remember, in patterns with larger sections of a single color, it’s often best to cut the yarn and rejoin when needed, as carrying it up several rows could distort the edges of your work.
By keeping these points in mind, you can better utilize the yarn carrying technique in your knitting crafts.
Selecting the Right Project for Carrying Yarn
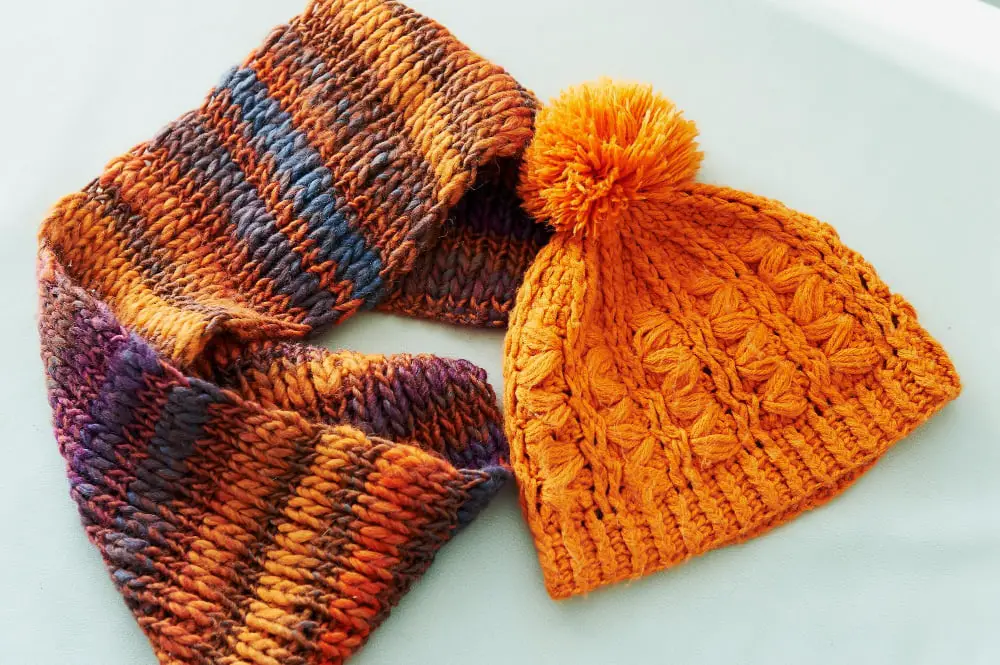
There are certain project types that lend themselves well to the method of carrying yarn up the side, creating a neat finished appearance without the hassle of weaving in multiple ends. Blankets, afghans, and scarfs with stripes are probably the most common of these, but shawls and cardigans with color-blocking or striping could also benefit. However, it’s not an ideal method for projects where the yarn changes occur more sporadically, or that have a mostly solid color with the occasional row of a different hue. Bearing this in mind ensures maximum efficiency and minimal frustration when you embark on your next knitting or crocheting project.
Overview of the Process of Carrying Yarn Up the Side
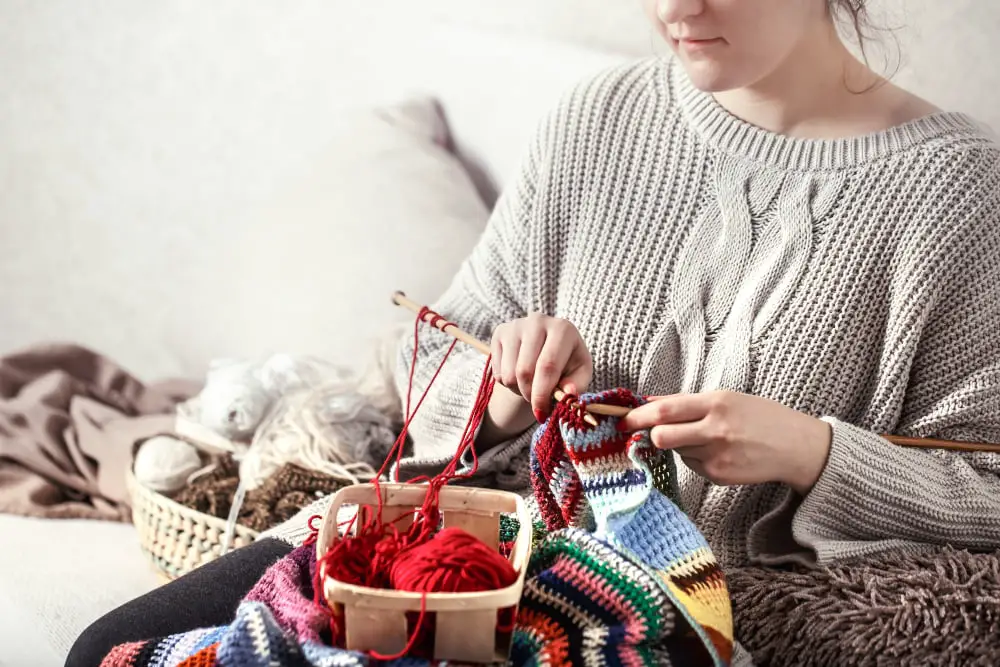
In this technique, without cutting the yarn after each color change, you simply run the unused yarn up the side of your work. Here’s a breakdown:
1. Plan Color Changes: Always make color changes at the same edge for a neat finish.
2. Twist and Lock: When transitioning, bring the new color under the old one, creating a twist to lock the yarns.
3. Keep Yarns Aligned: Ensure that the running yarn doesn’t loop, it should stay along the project’s edge.
4. Mosiac or Fair Isle Patterns: These complex patterns can benefit from this technique as it eliminates numerous yarn strands.
5. Maintain Tension: It’s crucial to manage the loose end to prevent an irregular edge.
6. Invisible Seaming: If you’re planning to seam, yarn can be carried neatly on the edge which will be hidden.
Remember, mastering this technique opens up a new realm of multi-color crocheting and knitting, making your projects even more exciting. Experiment with swatches before adapting it to major projects to get the hang of it.
Preventing Yarn Tangle During the Process
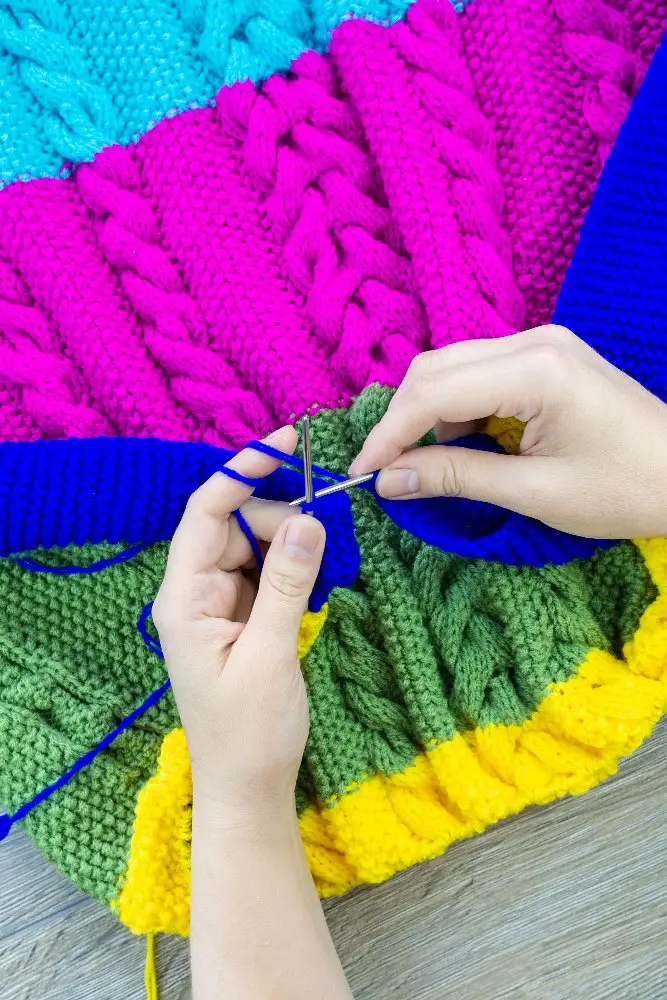
In order to prevent a tangled mess while carrying yarn up the side, several best practices can be applied. Firstly, controlling the tension is key; holding your yarn too tightly or too loosely can lead to unnecessary knots. Always keep yarns separated but not too far apart.
Using yarn bobbin can also be beneficial. These handy tools keep your separate yarn balls tidy, reducing the chances of them intertwining. Make sure to unwind a bit of yarn from each bobbin as you go along to maintain a neat working space.
Finally, be vigilant about twisting yarns. Quite often, a knot forms when you inadvertently twist two yarns together. To prevent this, always turn your work in the same direction after each row- either clockwise or counter-clockwise, never both.
Remember, an organized approach to carrying yarn up the side can make your crafting experience much more enjoyable and stress-free.
Incorporating Color Stripes Using Yarn Carrying
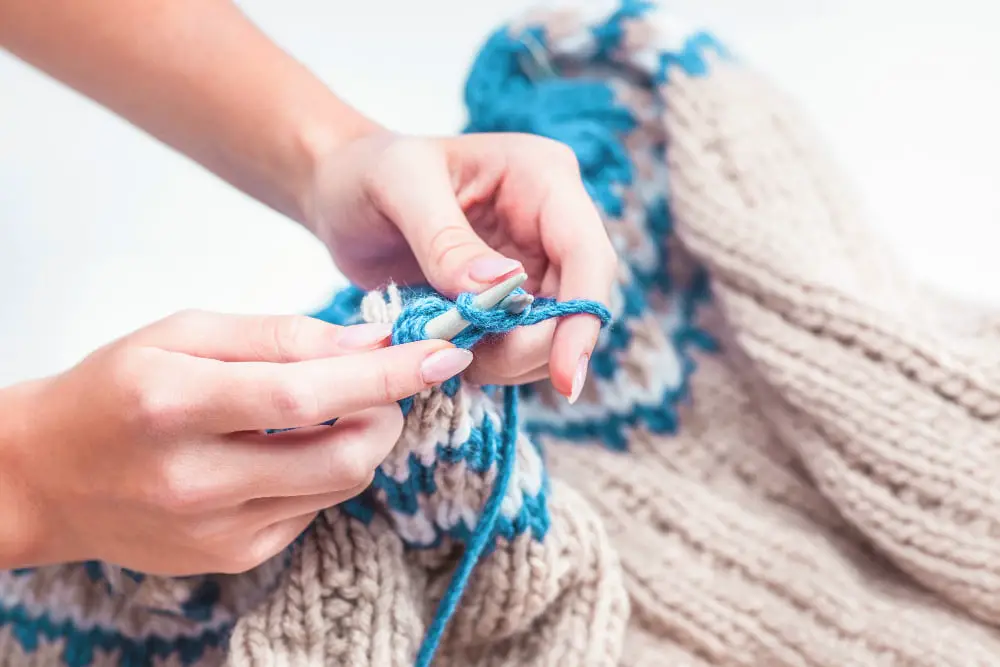
To create color stripes, you’ll need to have at least two different colored yarns that you’ll alternate between. Start your project with the first color. When you’re ready to switch, pick up the new color from the side where it’s been patiently waiting. Ensure that the yarn you’re not using runs alongside the piece as you stitch.
However, there’s no need to cut the yarn each time you switch colors. Simply drop the current color and pick up the next. Keep the unused color at the side of your work. This method ensures that the color changes happen directly at the edge of the piece, maintaining a neat side.
Remember, tension is key in this process. It’s important not to pull the yarn too tight while carrying it up the side, as this can distort your fabric. On the other hand, if the yarn is left too loose, it may create loops that could catch on objects or even create a sloppy appearance. Practice this technique and find a tension balance that works best for your project.
To manage your color transitions neatly, always switch at the same side. This keeps your edge consistent and your carried yarn isn’t visible from the front. In multi-row stripe patterns, carry the yarn every other row at most to minimize the carried yarn’s visibility and reduce bulkiness.
Appropriate spacing of color stripes can create visually engaging patterns. Regular color changes – every two to four rows – can provide the best results when carrying yarn up the side. This frequency prevents the carried yarn from becoming too visible and keeps the sides of your work tidy.
Using Flexiflips for Convenient Yarn Carrying
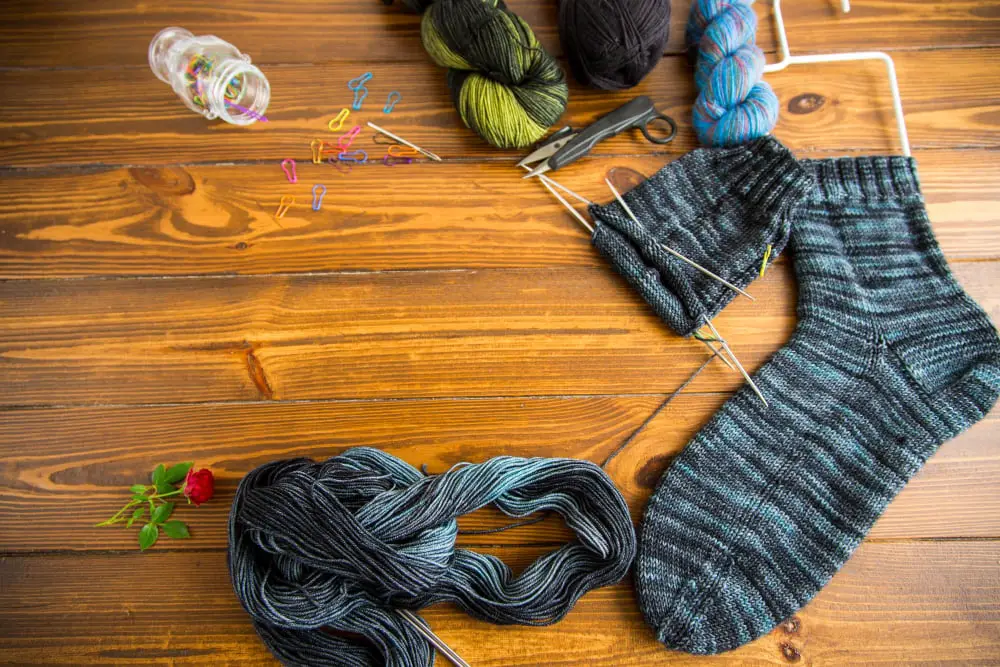
When working with multiple yarns, Flexiflips greatly simplify the process. These knitting needles with flexible middles are specifically designed to mitigate the challenges of small diameter knitting – a characteristic of many projects where yarn carrying is employed.
1. Easy Handling: Unlike traditional double-pointed needles, the flexibility of Flexiflips makes it quite manageable to carry yarn up the side of your work.
2. Less Tangling: The design of Flexiflips facilitates even twisting of the yarns, significantly reducing the possibility of tangles.
3. More Space: Flexiflips allow for more space between your needles, permitting the yarn to be carried up the side effortlessly.
4. Seamless Color Transition: The Flexiflips can easily slide over the yarns, ensuring smoother color transitions when you are changing yarns.
Remember to use this tool to your advantage. Practicing will eventually lead to mastering this skill and ultimately, more complex knitting projects will be within your reach.
Advanced Techniques for Carrying Yarn Up the Side in Knitting
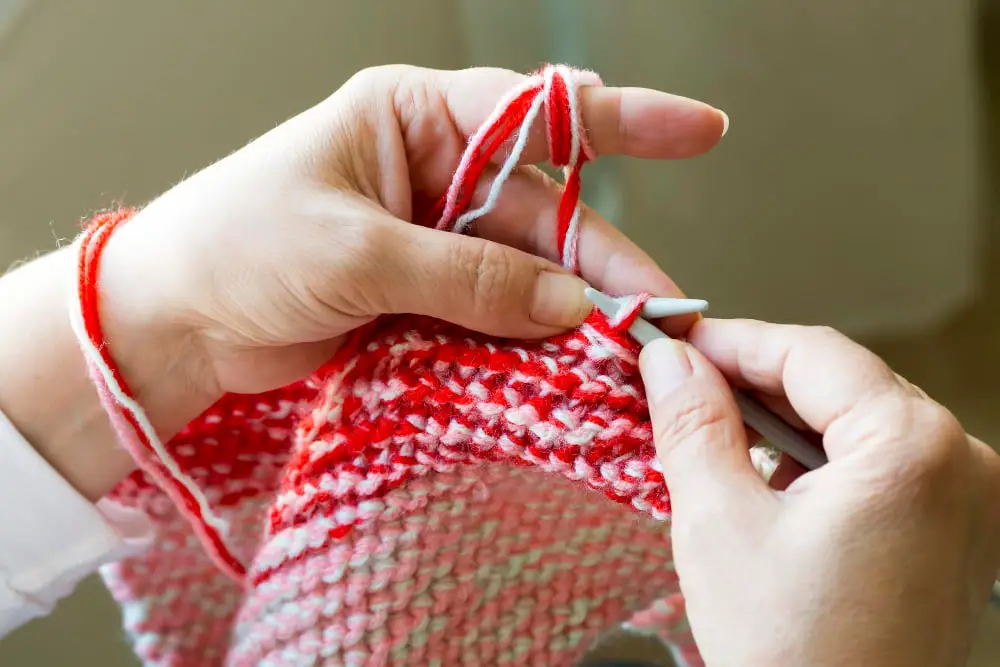
Firstly, you can employ the method of twisting the two yarns. Once you’ve reached the end of the row, hold the color you have been working with in your right hand. Pick up the alternative color from underneath the right-hand yarn. This process will form a slight twist, preventing any gaps.
Secondly, consider the “weaving in” method when working with several colors or on larger projects. Suppose you are carrying yarn in the reverse stockinette stitch. While purling, take your alternate color, place it over the working yarn, and simply purl the next stitch. Repeat this process every few stitches to securely weave in the yarn.
Thirdly, “trapping” or “catching” the yarn is yet another valuable tool especially for Fair Isle knitting where multiple colors run simultaneously. This technique is done by wrapping the floating yarn around the working yarn, effectively “trapping” it in place.
Last but not least, for more complex patterns where you need to carry more than one color across the row, using yarn bobbins can be helpful in preventing tangles. The bobbins hang at the back of your work, allowing each color to be kept separate.
Each technique requires practice. Yet with patience, you’ll add these yarn carrying methods to your knitting skills, and resultantly elevate your multicolored projects to an advanced level. Note that consistency is key for a neat finished look.
FAQ
What are the key techniques for changing yarn colors in knitting projects?
The key techniques for changing yarn colors in knitting involve completing the stitch before the color change with the old color, then using the new color to start the next stitch, ensuring loose ends are sewn in to secure the change.
How can you maintain a neat edge while carrying yarn up the side?
To maintain a neat edge while carrying yarn up the side, always twist the two yarns around each other at the beginning of each row to lock the yarn you’re carrying into place.
What is fair isle knitting and how does it involve carrying yarn?
Fair Isle knitting is a traditional technique that involves knitting with two or more different-colored yarns, carrying or “floating” the unused colors across the back of the work to create intricate multi-colored patterns.

