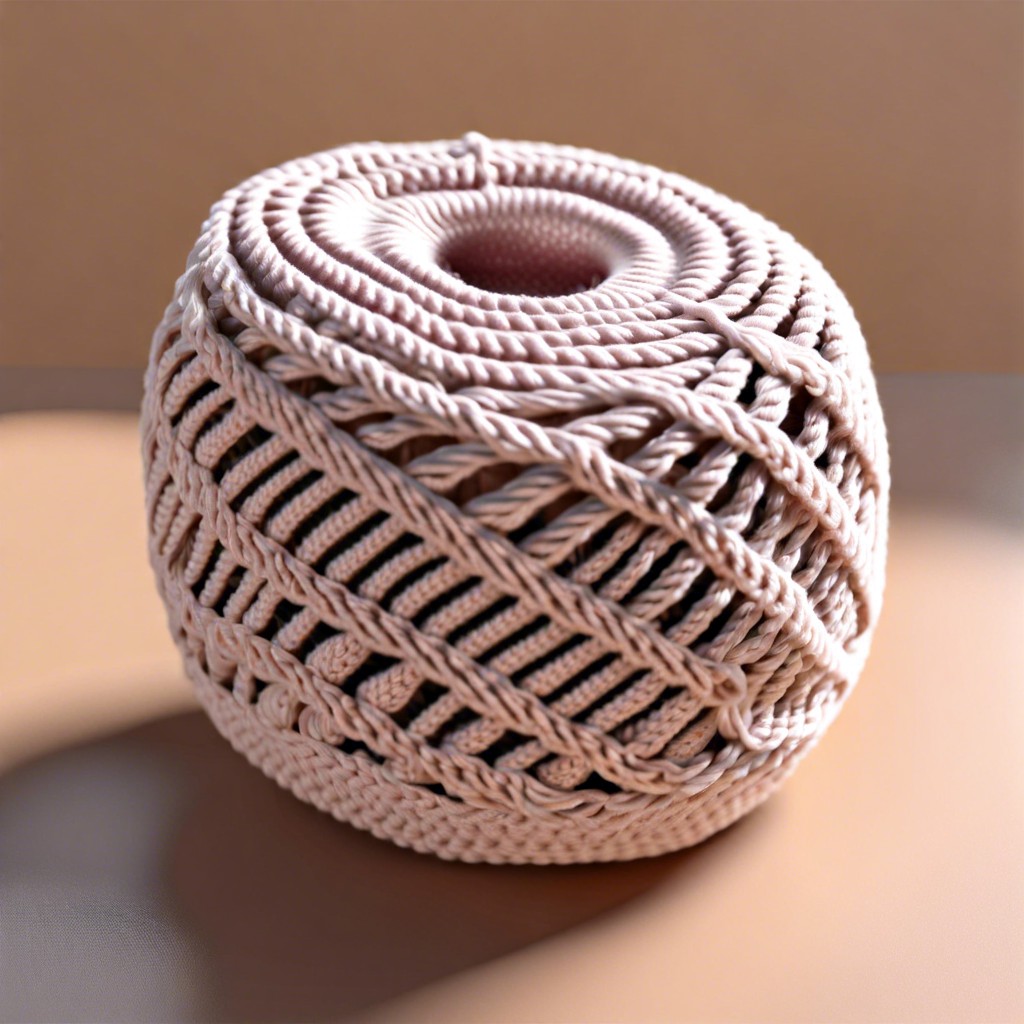
Learn how to neatly finish your crochet project with these simple steps to cast off.

Ready to wrap up your crochet masterpiece but feeling a bit knotted about the final steps? Fear not! Casting off your crochet project is simpler than untangling holiday lights. From gathering your materials to weaving in those pesky ends, our no-nonsense guide will walk you through each step with a sprinkle of humor. Ready your hook and yarn; let’s finish this project with finesse!
Key takeaways:
- Gather materials: Crochet, hook, scissors, tapestry needle, good light.
- Complete final stitch: Count, watch tension, celebrate project’s end.
- Insert hook, yarn over: Secure hook, loop yarn, pull through stitch.
- Repeat across row: Insert hook, yarn over, consistent tension, victory lap.
- Tighten, cut, secure loop: Snip yarn, pull through loop, weave in ends.
Gather Your Materials
You’ll need a few basic materials on hand:
- Your crochet project – ideally nearing completion.
- A crochet hook – the same one you’ve been using for consistency. Using a different hook at this stage is like switching shoes mid-marathon. Just don’t.
- Scissors – for snipping the yarn.
- A tapestry needle – useful for weaving in those pesky ends.
Ensure you have decent lighting. Ever tried untangling yarn in the dark? It’s a horror movie, trust us. And keep a cozy spot. You’re about to perform crochet magic and need to be comfortable. Legendary, but comfortable.
Complete Your Last Stitch
Once you’re ready, finish your current stitch as usual. Here’s a quick rundown to keep things smooth:
Double-check your stitch count. Counting stitches is like counting sheep, but more satisfying. Make sure everything adds up.
Watch your tension. Too loose, and things get floppy. Too tight, and your fingers might cramp up like they’re doing the cha-cha.
Celebrate this moment. You’ve reached the end of your project, which practically makes you a crochet wizard. Bask in that glory.
Insert Hook in Next Stitch
Slide your hook into the very next stitch. Aim for the V-shaped space at the top of the stitch. Make sure it’s not split by your hook, or things could get tangled. Double-check that your hook goes under both loops of the V; this secures your work and keeps it looking neat.
Avoid grabbing just one loop unless the pattern specifies it. Trust us, it’s a rookie mistake. If it’s too tight, gently wiggle the hook to loosen things up. Cozy up to this stitch because you’re one step closer to casting off like a pro.
Yarn Over and Pull Through
After inserting your hook into the next stitch, it’s time to yarn over. This simply means looping the yarn over your hook. Easy peasy, right?
Next, pull that yarn through the stitch on your hook. Voilà! You’ve completed a basic crochet maneuver.
- Loop the yarn over the hook: Think of it as giving your hook a cozy yarn blanket.
- Pull the loop through the stitch: Picture yourself pulling off a heroic escape from a yarn maze.
- Keep the tension steady: You’re not trying to wrangle a wild beast. Keep it controlled but comfy.
Each pull should glide smoothly. Keep your cool. Channel your inner crochet zen master.
Repeat Across the Row/Round
For each stitch, you’re essentially doing a mini victory lap.
- Insert the hook into the next stitch.
- Yarn over and pull it through both loops on the hook.
Stay zen and keep your tension consistent. Consistency is key, unless you’re going for the “unique texture” look, which, let’s be honest, can turn into a crochet horror show.
Repeat this process all the way to the end of your row or round. By now, you should see a neat finish forming, like tiny footprints marking your crochet journey.
Tighten and Secure the Final Loop
Once you’ve reached the last loop, it’s time to seal the deal.
Pull the yarn snug but not too tight. You want the final loop to be secure without ruining your work’s tension. Think of it like a handshake: firm but friendly.
Ensure it’s not a wild loop that would let your masterpiece unravel. Keep it under control, like a good plot twist in a novel.
Hold the loop with your fingers while you prepare to cut the yarn. Keeping that loop steady is crucial for the next step.
Cut the Yarn
Grab your trusty scissors and get ready for the big snip. But wait—don’t just hack away! Here’s how to make the cut like a pro:
Snip with precision: Leave a tail that’s about 6 inches long. This will give you enough yarn to weave in later without cursing yourself.
Avoid fraying: Use sharp scissors to ensure a clean cut. No one likes a frayed tail; it’s just bad manners in the yarn world.
Be mindful of tension: Keep the yarn slightly taut as you cut. This keeps everything neat and tidy.
No need for drama: This step doesn’t require any grand gestures. A simple snip will do.
Got it? Great. On to the next step!
Pull Yarn Tail Through the Last Loop
Gently tug the working yarn to tighten the last loop. Make sure it’s snug but not overly tight, as you don’t want to distort your project’s edge.
Next, hold firm to that yarn tail—like holding a precious piece of cake—and pull it smoothly through the final loop on your hook. This secures the edge and prevents any unraveling.
Visualize it like tying the last bow on a gift; it keeps everything neatly in place. No extra knots or fancy moves needed—simplicity is key.
Now, if only untangling Christmas lights were this straightforward.
Weave in Ends
Use a yarn needle or a smaller hook to weave in the ends. Here’s the deal: it helps prevent your masterpiece from unraveling.
Thread the yarn tail through the needle and work it back and forth through several stitches. Aim for areas with similar color to make it less noticeable.
For added security, change directions a couple of times. Fewer unraveling hair-pulling moments later, trust me.
Snip off any excess yarn close to your work, but please, don’t accidentally cut your stitches. No one enjoys a yarn crisis.
Inspect and Admire
Now that you’ve finished weaving in the ends, take a moment to appreciate your handiwork.
Look for even tension in your stitches; it should flow smoothly without tight spots or gaps. Check the edges to ensure they’re neat and align well. Are all the ends securely woven in, with no little yarn tails poking out? Give the piece a gentle stretch to test its durability.
Remember, tiny imperfections add character. Celebrate your creativity. Bravo, you crochet maestro!


