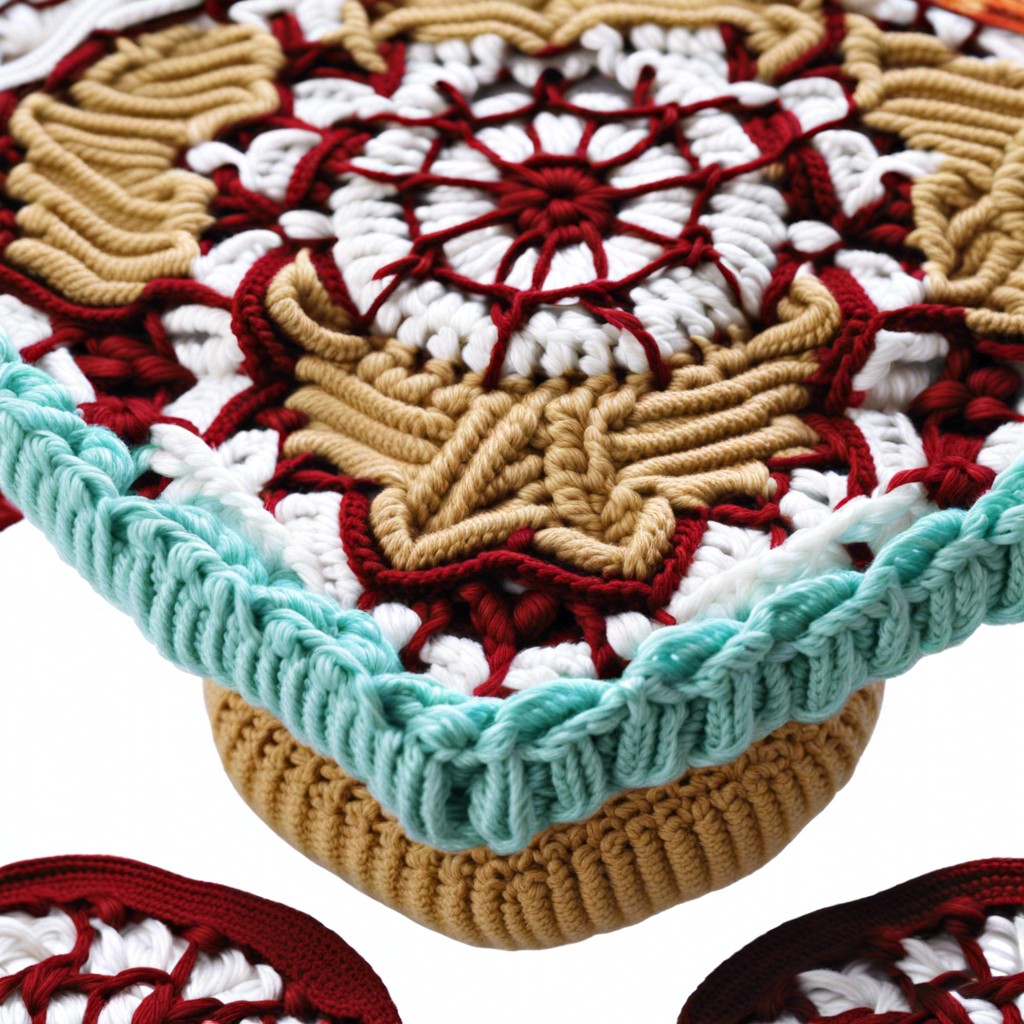
Learn how to connect crochet pieces seamlessly with a variety of techniques for a polished finish.
Key takeaways:
- Use whip stitch for easy and secure crochet seams.
- Try mattress stitch for a seamless and invisible join.
- Use a tapestry needle for sturdy and neat crochet seaming.
- Start with consistent edges and match yarn for polished seams.
- Take your time, check often, and secure ends for perfect seams.
Method 1: Whip Stitch Crochet Seam
Grab your trusty tapestry needle and thread it with your yarn. Align the two crochet pieces you want to join, making sure the stitches line up like best friends in a row.
Insert the needle through the top loops of the first stitch on both pieces. Now, pull the yarn through, but don’t yank it like you’re starting a lawnmower.
Repeat this process for each stitch along the seam. Think of it like sewing two halves of a sandwich together—if sandwiches were made out of yarn, that is. Keep the tension even as you go. Too tight, and your pieces will pucker. Too loose, and they’ll look like they’re considering a move to Splitsville.
Voila! You’ve mastered the whip stitch seam. It’s secure, effective, and satisfyingly easy.
Method 2: Mattress Stitch Crochet Seam (or Invisible Join)
The mattress stitch is like the Harry Potter of crochet joins: magical and practically invisible. Ideal for creating that oh-so-seamless look.
First, align the pieces you want to join. Make sure the right sides are facing you. Remember, nobody wants a pretty seam hidden on the inside!
Next, thread your tapestry needle with a length of yarn. Preferably the same yarn you used for your masterpiece. Color coordination is key unless you fancy the Frankenstein look.
Work under the two bars on the edge of your first piece, then immediately do the same on the corresponding edge of the second piece. Picture yourself lacing a sneaker. In and out, one stitch at a time.
Tighten gently, pulling the yarn snug but not too tight. We’re joining crochet, not tying knots!
As you work through, the seam should start to vanish like magic. Keep checking to make sure everything stays aligned. No wandering edges allowed here.
Once you reach the end, secure your yarn with a gentle knot and weave in the ends. Voilà! Seamless and invisible, like a ninja of yarn.
Seaming Crochet With a Tapestry Needle
Grab your trusty tapestry needle! This little tool is a crochet warrior’s best friend for seaming pieces together. The sturdy, blunt tip makes it easy to weave through stitches without splitting the yarn.
First, line up the edges of your crochet pieces, making sure they match stitch-for-stitch. Thread a length of yarn (long enough to seam the entire edge, plus a smidge more) through the needle.
Work your needle through the aligned loops of each piece. For a neat edge, aim for the two outer loops. Remember, it’s like a romantic dance: one piece forward, one piece back. Gentle pull, but don’t yank. We’re joining them in holy matrimony, not tearing them apart!
Every few stitches, take a moment to check your work. Admire it. Make sure nothing’s gone awry. Adjust tension as needed. Keep going until your pieces are happily married forever.
Ah, the beauty of a well-stitched seam!
Tips for Seaming Crochet
Start with a foundation chain or row that’s consistent. If your edges look like they’ve been chewing on electric cables, your seams will show it. Aim for neatness from the get-go.
Match your yarn. Yes, that means color and thickness. Using a contrasting color can be funky if it’s intentional, but yellow seams on a navy blanket might just look like you ran out of proper yarn. And no one wants lumpy seams because the yarn is too thick or too thin.
Use stitch markers. They’re like the breadcrumbs that lead you out of the forest. Place them at key points—corners or every few inches—so you can ensure everything aligns properly. There’s nothing worse than reaching the end and realizing one piece is a good inch longer than the other.
Don’t pull too tight. You’re not auditioning for a role in Spider-Man; your stitches don’t need to be that tight. Relax and allow some give. Tight seams can pucker the fabric and make it look, well, constipated.
Check often. Seam a little, check a little, like the hokey pokey but with yarn. This way, you catch mistakes early rather than crying into your project hours later.
Secure your ends. Once you’ve finished, weave in those ends like they owe you money. Loose ends can unravel over time and ruin all your hard work.
Block your pieces beforehand if possible. It’s the garment equivalent of ironing your clothes. Everything will see a new level of perfection when pieces are flat and even.
There’s no rush. If it feels like a race, the seam will show it. Take your time and enjoy the process.
Appropriate Yarn And Hook Size For Seaming
Use the same yarn you used for the crochet pieces to maintain a uniform look. Mixing yarn types can make your seams stand out like a bear at a bunny convention—not in a cute way.
Choose a yarn that’s durable. After all, no one wants their seams unraveling at the slightest tug. Wool, acrylic, or blends typically work well.
Match the hook size to your project. Just don’t go overboard with a giant hook unless you’re aiming for some avant-garde crochet art. A hook that’s too big or too small can mess with the tension and neatness of your seams.
Consider the weight of the yarn as well. Bulky yarn needs a heftier approach, while delicate laceweight yarn will call for a more refined touch. Keep everything balanced like a good crochet zen master.


