Unlock the secret to connecting granny squares seamlessly, transforming your cozy crochet projects into magnificent masterpieces.
You’ve hooked your granny squares, and now the time has come for the grand union! Connecting these beloved yarny wonders is like orchestrating a heartfelt reunion—minus the awkward small talk and potato salad. Whether you’re after a zigzag, slip stitch, or classic seam, fear not; this article has every step in the stitch spellbook to make your masterpiece come to life. With your squares ready and dance skills on standby, dive in and transform that mosaic of yarn into a glorious tapestry!
Key takeaways:
- Gather yarn, needle, scissors, and basket.
- Choose your preferred joining method.
- Arrange squares in desired pattern.
- Align squares’ right sides together.
- Fasten off and weave in ends securely.
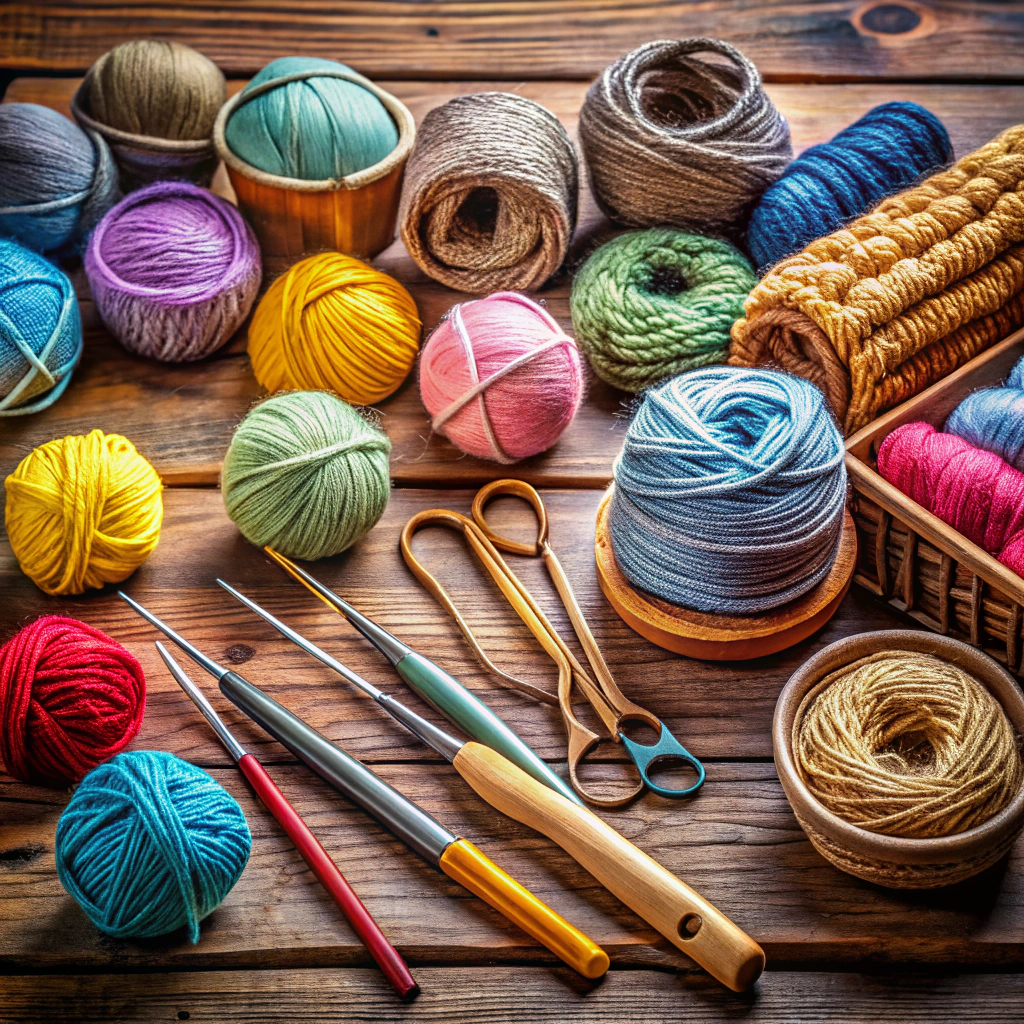
Gather Necessary Materials

Once you’ve realized granny squares aren’t just for grannies, it’s time to gather your crafty cohorts:
Yarn: Choose the same type and weight as your squares or mix it up for a dramatic twist. If mixing, ensure compatible yarn weights—the squares need to play nice together.
Darning Needle: Opt for one sturdy enough to wrestle with yarn but not so sharp that it looks suspiciously like a weapon. Eye size matters—a too-small eye might make threading feel like an Olympic sport.
Scissors: Sharper than your grandma’s wit. These should effortlessly glide through yarn, not chew through it. Frayed yarn edges will never be en vogue.
A tote or basket: Because, let’s be real, keeping your tools as organized as your sock drawer doesn’t sound enticing. Give these materials a cozy gathering spot to hang out.
You’re now armed and ready for some square-dancing action. Go forth, conjurer of cozy!
Choose a Joining Method
You’ve got options! Picking a joining method is like choosing your favorite dessert—it’s all about preference. Here are a few delicious options to consider:
Slip Stitch: Perfect for a subtle, clean look. Simply crochet a slip stitch through both loops of the squares’ edges. Easy as pie.
Single Crochet: Want a little texture? Single crochet adds a decorative raised seam, making your squares pop while ensuring they stick together like long-lost pals.
Matress Stitch: For a seamless connection, try this invisible technique that works like a charm. Ideal for the covert operation of granny square assembly.
Join As You Go: Lack patience? No problem. This method connects squares while crocheting the final round. Efficiency at its finest!
There’s no right or wrong—just go with what tickles your yarn-loving fancy.
Arrange Granny Squares in Desired Pattern
Lay your granny squares out on a clean surface, and let the fun begin. Pretend you’re the maestro of a colorful yarn orchestra.
Experiment with various layouts to determine the most eye-catching design.
Consider the color distribution. Aim for a harmonious blend, unless chaos is your middle name.
Play with different orientations like a bohemian architect on vacation.
Balance the pattern symmetry for that Zen-like perfection, or throw caution to the wind and channel your inner rebel.
Align Squares With Right Sides Facing
To prevent the infamous “inside-out” granny debatacle, ensure each square’s right side is facing upwards. This simple step avoids the sneaky misalignment trap.
The right side of a granny square is typically more defined. If your square has a wild side winking at you, that’s the right side. Keep them facing upwards together, so when you join your squares, the pretty sides show, not the behind-the-scenes backstage yarn action. Like aligning cookie sandwiches, getting the right sides together is the secret to a perfect craft confection.
Start Joining At a Corner
Corners are where the magic begins. Here’s how to start:
Pick any corner, any corner at all. This magical spot will be your starting line.
Make sure the squares’ corners match up. Like peas in a pod, they should be snug.
Remember, the first stitch you make here sets the stage for the entire show. Keep it tight, but not strangle-the-life-out-of-it tight.
If your squares had personalities, they’d want their corners aligned perfectly. Otherwise, they might gossip behind your back.
Once your yarn is on its mark, let the connecting fun commence!
Securely Fasten Yarn to the First Square
All right, time to cozy up to that first square! Here’s the secret handshake for getting started:
Begin by choosing a corner, any corner—it’s like picking your favorite donut.
Slip the hook through one of the corner spaces.
Grab the yarn tail and make a loop that’s snug, like your favorite pair of weekend socks.
Pull yarn through and tie a simple knot to secure, but don’t strangle it—it’s not a crime scene.
Now you’re ready to start joining your squares together!
Join Squares Using Chosen Method
Whether it’s the whip stitch or a crochet join, each method adds its own flair. If you’re a fan of subtlety, the whip stitch is like a quiet library—simple and invisible. On the other hand, a crochet join, such as slip stitch or single crochet, offers a decorative touch, akin to jazz hands for your blanket.
Keep these points in mind:
- Control tension like a toddler holding spaghetti, to avoid puckering or stretching.
- Work consistently, because randomness is for your yarn stash, not your joins.
- Adjust your tension based on the join method for a smooth finish.
Embrace these tips and you’re well on your way to a blanket that is not just connected but photogenic!
Fasten Off and Weave in Ends
Finishing touches are pivotal! When you’re done joining your granny squares, it’s time to ensure everything stays in place like a superhero securing their cape. Here’s how to do that effectively:
First, cut the yarn, leaving a tail long enough to lasso a small horse. An inch or two will do just fine.
Thread the yarn tail through the final loop to seal the deal. Think of it as a pinky promise with your project.
Grab a darning needle and thread the tail through it. Now, play a rousing game of hide-and-seek with that tail, weaving it in and out of stitches to make it disappear like a ninja in the night.
Be mindful: weaving in multiple directions adds strength. You want it secure enough to survive a spirited pillow fight.
Finally, trim any excess yarn, being careful not to snip your masterpiece. Admire how you’ve outwitted the yarn and tamed the ends.
Block the Connected Squares
Think of blocking as giving your granny squares a spa day. This process smooths out any bumps and ensures your squares lie flat, behaving themselves in the final creation. Here’s how blocking helps:
It evens out irregular stitches and softens the fabric.
Fixes minor shape distortions, making squares perfectly square.
Helps maintain consistent sizing across all squares.
You have options—use steam, wet, or spray blocking, depending on your mood (and resources).
Don’t forget: pin those little misfits to a blocking board to hold their shape while drying. What’s a better way to bond with your granny squares than pampering them into perfection?
Admire Your Work and Dance a Little
In the whirling world of yarn, taking a moment to step back and bask in your handiwork isn’t just satisfying; it’s essential for any fiber enthusiast. Here are a few things to keep in mind:
This is where you see the fruits of your labor come together like a harmonious yarn symphony. Marvel at how those vibrant squares have evolved from lonely motifs to a snuggly masterpiece.
Feel free to give yourself a pat on the back. It’s okay to feel like the Picasso of crochet for a moment. Nobody’s judging your enthusiastic victory dance around the room.
Take note of anything you’d like to adjust or do differently next time. Consider it a sneak peek into your future genius creations.
Celebrate! You’re creating not just with yarn, but with heart. It’s a craft fit for happy feet, so let them groove!