Learn step-by-step how to crochet a baby blanket, complete with pictures to guide you in creating a cozy masterpiece for the little one.
Dreaming of wrapping your little nugget in a handmade cuddle of love? How about creating a crochet baby blanket so irresistibly soft, it’ll have strangers cooing, “Did you make that?” You, too, can become a yarn sorcerer with just the right hooks, yarns, and a sprinkle of stitches. From picking the perfect materials to mastering those magical loops, this guide has you covered, or rather, your baby blanket will! Get ready for an adventure into stitchcraft of epic (and adorable) proportions, complete with all the steps and dazzling pictures.
Key takeaways:
- Choose soft, hypoallergenic yarn for baby blankets.
- Master basic stitches: chain, single, half double, double.
- Check gauge to ensure correct blanket size.
- Add color changes and personal touches for flair.
- Finish edges neatly and weave in loose ends.
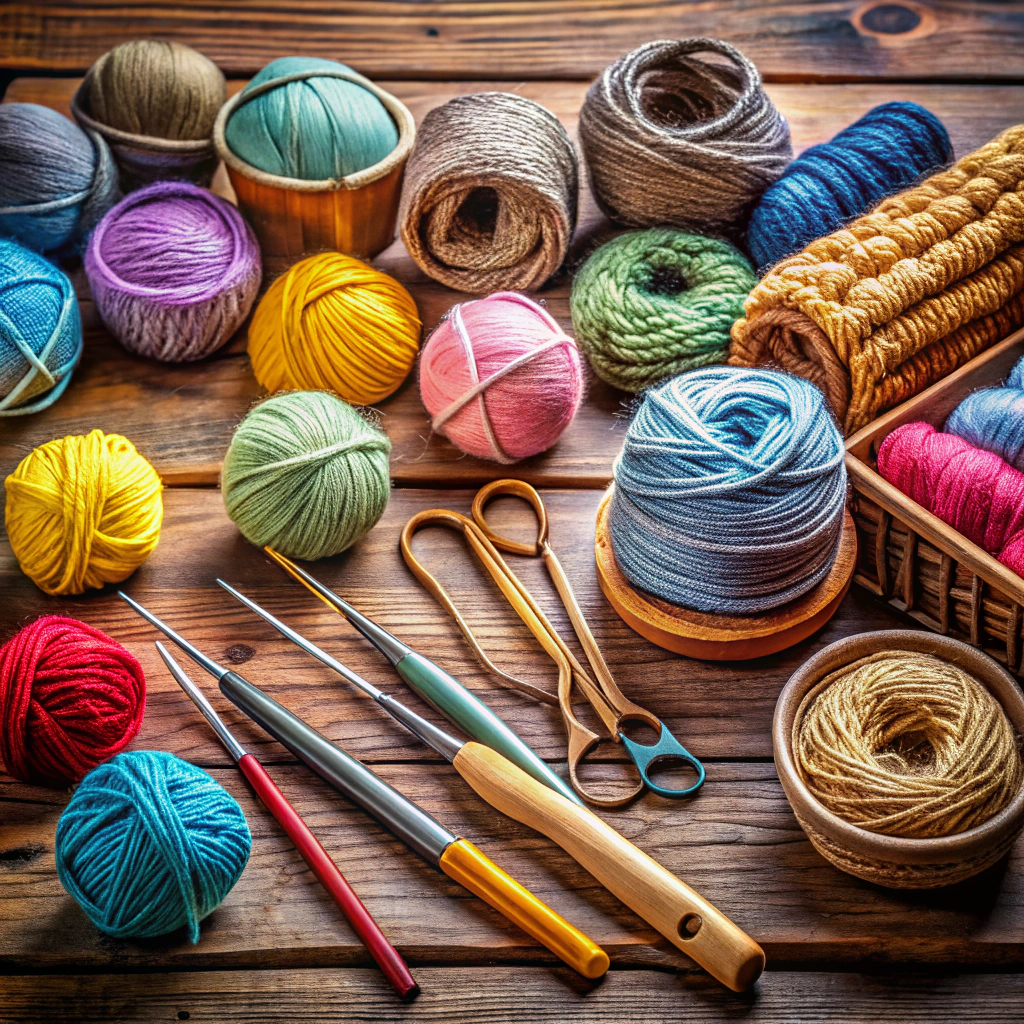
Choosing the Right Yarn and Hook Size
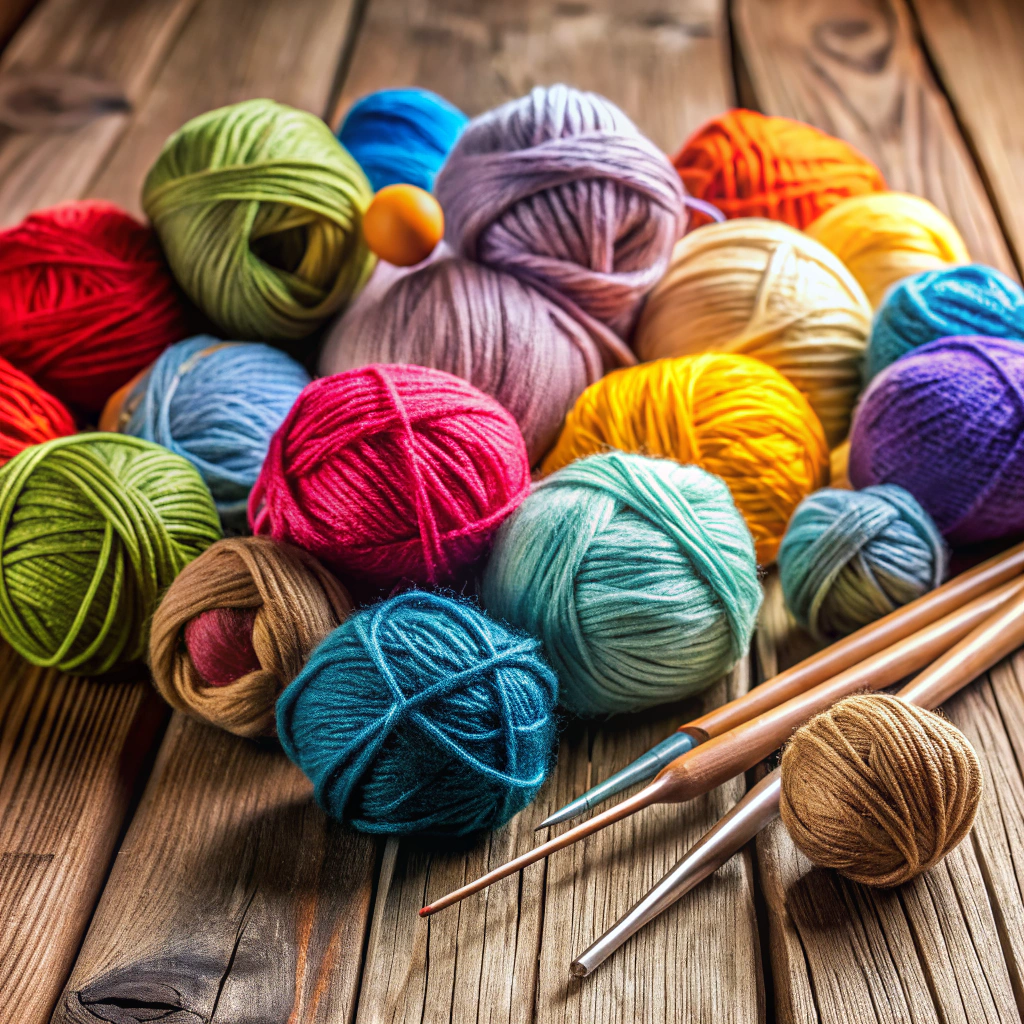
Softness is key. Baby skin is more sensitive than a reality TV star’s ego. Opt for yarn that whispers “gentle,” like cotton or baby-specific acrylic. Hypoallergenic materials are a parent’s best friend, keeping little ones happy and rashes away.
Yarn weight matters. You want something light, airy, perfect for cuddles but not too heavy to keep the little one warm, not sweaty. A sport or DK weight makes a cozy yet breathable blanket.
The right hook waltzes with your yarn like a dance partner, creating harmony. Check the yarn label for recommendations but remember: rules are merely suggestions for creative minds like ours. Usually, a 4mm to 5mm hook pairs well with baby yarn, letting you crochet without unplanned hand yoga. Happy crocheting!
Understanding Basic Crochet Stitches
Let’s dive into the crochet jungle, where loops and yarn unite in colorful harmony.
First on our adventure: the chain stitch. This little marvel is your starting point, the backbone of all your crochet dreams. Think of it as the base camp for your blanket expedition.
Next up, the single crochet. It’s like the bread and butter of crocheting, keeping things simple yet utterly fundamental. Stitch it to create a fabric as cozy as a kitten in a mitten.
Now, enter the half double crochet, the mysterious cousin of the single crochet. It’s slightly taller and adds texture without too much height—like a stylish hat that stays in place.
Brace yourself for the double crochet. It’s a skyscraper compared to its predecessors, giving height to your project that would make cacti jealous.
Each stitch has its quirks, but with hooks in hand, you’ll learn to dance with the yarn, making stitches your trusted partners in creativity.
Determining Blanket Size and Gauge
When it comes to crafting the ultimate baby blanket, size matters! But fret not, you won’t need a measuring tape the length of a dragon’s tail.
- First, consider standard baby blanket sizes:
- Receiving blanket: around 30 x 30 inches.
- Crib blanket: about 36 x 54 inches.
- Stroller blanket: approximately 30 x 36 inches. Going rogue? Measure twice, crochet once!
Think about your yarn choice too. Thicker yarn will naturally dictate larger stitches; finer yarn creates daintier loops. Like pizza crust: deep dish or thin and crispy?
Gauge is the secret ingredient here. It ensures your blanket won’t shrink to a doll’s quilt or expand to carpet size. To check gauge, crochet a test swatch. Curse gauge issues later, but at least you’ll know why the blanket fits the baby or the family elephant.
Balance size with practicality—blankets need to fit babies, not empires!
Starting With a Simple Foundation Chain
Grab your crochet hook and yarn—it’s time to lay down the groundwork for your baby blanket masterpiece. The foundation chain is your blank canvas, the starting line in this marathon of cozy crafting.
– Begin by making a slipknot on your hook. Don’t worry, it’s just a fancy loop to get you started. No slipknot? No problem—just tie a knot and pretend it’s fancier than it looks.
– Create a chain by looping yarn over the hook and pulling it through the loop already on the hook. Voilà, a chain stitch!
– Keep chaining until you reach the desired length. Think of it as counting sheep, but way more productive.
– Remember, tension is key. Too tight and your blanket becomes a catapult; too loose and it’s a hammock. Aim for that Goldilocks zone—just right.
– Don’t forget to count your stitches. Miscalculations can lead to unexpected blanket surprises, like trapezoids or modern art pieces.
A little humor, a little skill, and your blanket will be ready to move to the next step in no time.
Creating the First Row of Stitches
Establishing a Consistent Crochet Pattern
Consistency in crochet is like finding a TV show you love—once you get into the groove, you’re golden! To keep your pattern steady, follow these tips:
First, channel your inner Zen master and maintain even tension. Yarn pulled too tight will shrink your masterpiece, while loose stitches might have you unraveling more than just yarn.
Next, count your stitches at the end of each row. It’s not just for math lovers—missing a stitch is like losing a sock in the laundry. Nobody wants an uneven blanket.
Finally, mark the start of each row with a stitch marker. It’s like having a compass in the jungle of yarn. It’ll keep you on track, or at least point north!
Adding Rows With Even Tension
Now that you’ve conquered the first row, it’s time to stack those rows up like a yarny layer cake. Consistency is your best buddy here, because uneven tension can turn that blanket into a trampoline gone awry.
Keep an eye on your yarn tension. If it’s too tight, your blanket will double as a chew toy. Too loose, and it becomes a fishing net for tiny toes. Balance is key.
Check your stitches after every few rows. Pretend you’re a detective hunting for tension fugitives. Is everything looking even? Great, move on. If not, pause and adjust. Your future self will thank you.
Consider taking periodic breaks. Tension is also affected by how relaxed (or tense!) you are. A stiff upper lip might work for British nannies, but not crocheting.
Count your stitches regularly. Like counting sheep, but with a rewarding prize at the end: a flawless blanket. If the count is off, something went rogue; fix it before it spirals into crochet chaos.
Incorporating Color Changes or Patterns
Unleashing vibrant colors onto your baby blanket is like adding sprinkles to a cupcake—instant fun! Jazz things up by choosing a simple stripe pattern or dive into something more zesty, like a checkerboard.
- Consider these tips:
- Change colors at the start of a row to keep edges neat—no one wants a yarn tangle drama.
- Weave in ends as you go; think of it as tidying up your crochet party before it spirals out of control.
- Opt for contrasting or complementary colors. Your blanket deserves a color palette that sings, not screams.
If patterns are your jam, try alternating between block stitches or creating a playful motif. Whimsical designs add charm and character, ensuring your blanket stands out in the nursery. Give your creativity a whirl, and don’t be shy about being bold with your choices!
Finishing the Blanket Edge
Here comes the part where we add a little flair to your blanket project. Think of the edge as the frame to a masterpiece, or the crust to a pie! An edge can make or break your baby blanket, just without the actual breaking part, hopefully.
First, consider the border stitch you’ll use. Single crochet gives a simple, clean look, while shell stitches add a ruffled, playful vibe. For the ultimate crochet diva, picot edges offer an ornate finish that screams, “Yes, I’m *that* blanket.”
Keep the tension gentle. Too tight, and your blanket will curl like a frightened armadillo. Too loose, and it flops around unreasonably like a sleepy kitten.
Match or contrast. Try using a contrasting color for the border. It’s like choosing a hat for an outfit, either a perfect match or a spicy contrast, just don’t go too wild unless you’re feeling particularly rebellious.
Finally, weave in those yarn ends. A neat edge is like giving your blanket a goodnight kiss—sweet and tender, leaving everything snug and finished.
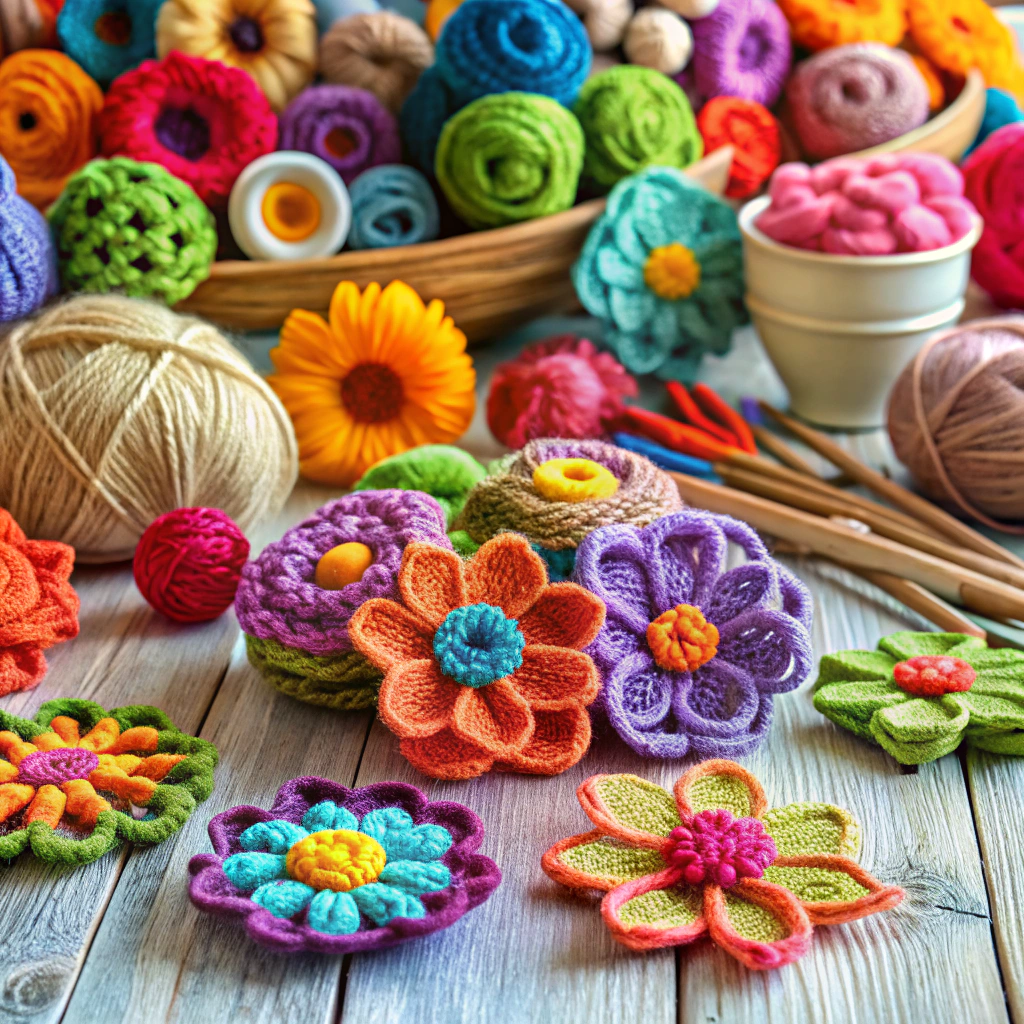
Adding Personal Touches or Embellishments
Why stop at basic when you can jazz up that baby blanket? Let your creativity fly with a few personalized touches. Here are some knockout ideas:
Appliqués: Add small crochet shapes like stars, hearts, or animals. They’re like tattoos for your blanket—minus the parental disapproval.
Edgings: Try picot, scalloped, or shell edging to give your baby blanket a fabulous frame. It’s the crochet equivalent of accessorizing with a really great hat.
Initials or Names: Stitch the baby’s initials or name into a corner. They’ll feel like royalty with a custom giggle-worthy monogram.
Buttons and Ribbons: Sew on a few friendly buttons or weave in ribbons for a playful pop of texture. But remember, nothing too small that could become a choking hazard during chew time.
Experiment and have fun. Your crochet hook is the wand, the yarn is the magic.