Learn how to crochet a ball with this simple guide that covers the basics and key techniques you’ll need.
Key takeaways:
- Use a magic ring to start crocheting a ball.
- Increase and decrease stitches for the perfect shape.
- Fill the ball with stuffing or soft filler.
- Secure yarn and weave in ends for a clean finish.
What You’ll Need
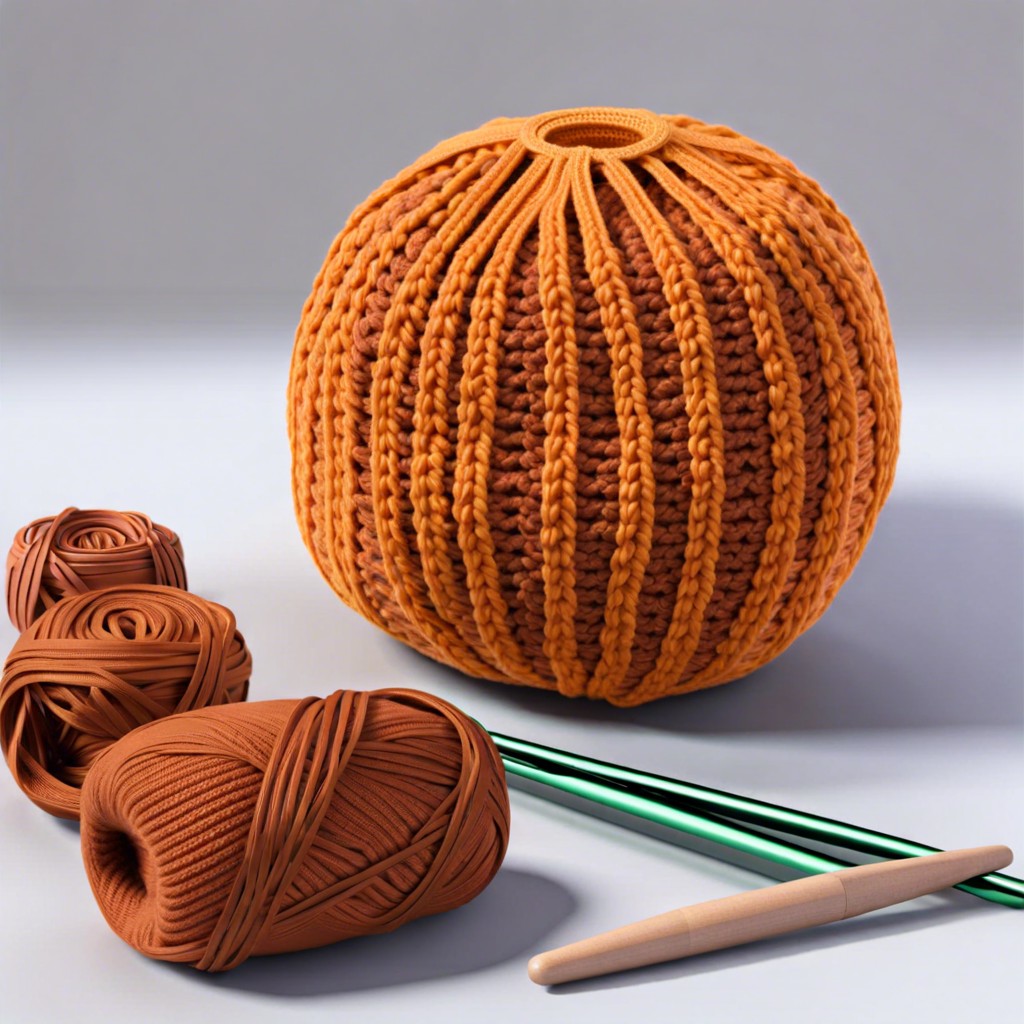
To crochet a ball, gather your supplies: yarn in desired colors, a crochet hook appropriate for the yarn weight, scissors, a tapestry needle for weaving in ends, and stuffing. Opt for a smooth, machine-washable yarn for easy maintenance. Ensure your crochet hook matches the yarn weight for a consistent tension in your stitches. A tapestry needle with a blunt tip will help neatly secure your yarn ends. Stuffing can be traditional polyester fiberfill or even recycled materials like fabric scraps or old pantyhose. With these essentials in hand, you’re ready to start crocheting a ball.
Start the Ball With a Magic Ring
To start crocheting a ball, use a magic ring. The magic ring allows you to begin crocheting in the round without leaving a hole in the center of your work. To create a magic ring, loop the yarn around your fingers, insert the hook under the first loop, yarn over, and pull up a loop. Chain one to secure the magic ring. This technique gives you a tight and seamless start for your crocheted ball project.
Increase and Decrease the Stitches in Each Round
To shape your crochet ball, you’ll need to increase and decrease stitches in each round. Increasing involves adding more stitches to make the ball rounder, while decreasing helps maintain the shape as you progress. To increase, simply crochet two stitches in the same stitch. To decrease, combine two stitches into one by crocheting them together. This process creates a smooth, rounded finish to your ball, ensuring it looks just like the real deal. Experiment with different combinations of increases and decreases to achieve the perfect shape.
Fill the Ball With Stuffing or Other Filler
When you have crocheted your ball to the desired size, it’s time to fill it up! Choose a soft filling like polyester fiberfill or yarn scraps. Be generous, but not too full to keep the shape soft and squishy. Gently push the filling to the edges for a smooth finish. Avoid overfilling to prevent distorting the shape. Secure the final stitches tightly to keep the filling intact.
Secure the Yarn and Weave the Ends
Once you’ve finished crocheting your ball, it’s essential to secure the yarn properly and weave in the ends neatly. To do this, cut the yarn, leaving a tail of around 6 inches. Thread the tail through a yarn needle and weave it through the stitches on the inside of the ball to secure the final loop. Repeat this process with the starting tail to ensure both ends are securely fastened. Trim any excess yarn carefully to give your ball a clean finish. This step ensures your hard work stays intact and your ball keeps its shape.
Related Posts
 Easy Crochet Gnome Pattern Free: Transform Yarn into Whimsical Friends
 Crochet Star Blanket: A Stellar DIY Guide
 How to Crochet Slippers for Beginners Step by Step with Pictures: Cozy Feet Awaits
 Adjustable Ring Crochet: Master the Magic Circle
 How to Crochet Without a Hook: Hands-On Creativity