Learn how to crochet a beanie with this step-by-step guide.
Key takeaways:
- Select the right materials and tools for crocheting a beanie.
- Follow step-by-step instructions to create a beanie.
- Watch a video tutorial to clarify the crocheting techniques.
- Learn how to attach a pom pom to a crochet hat.
- Ensure the pom pom is securely attached using a simple method.
Materials
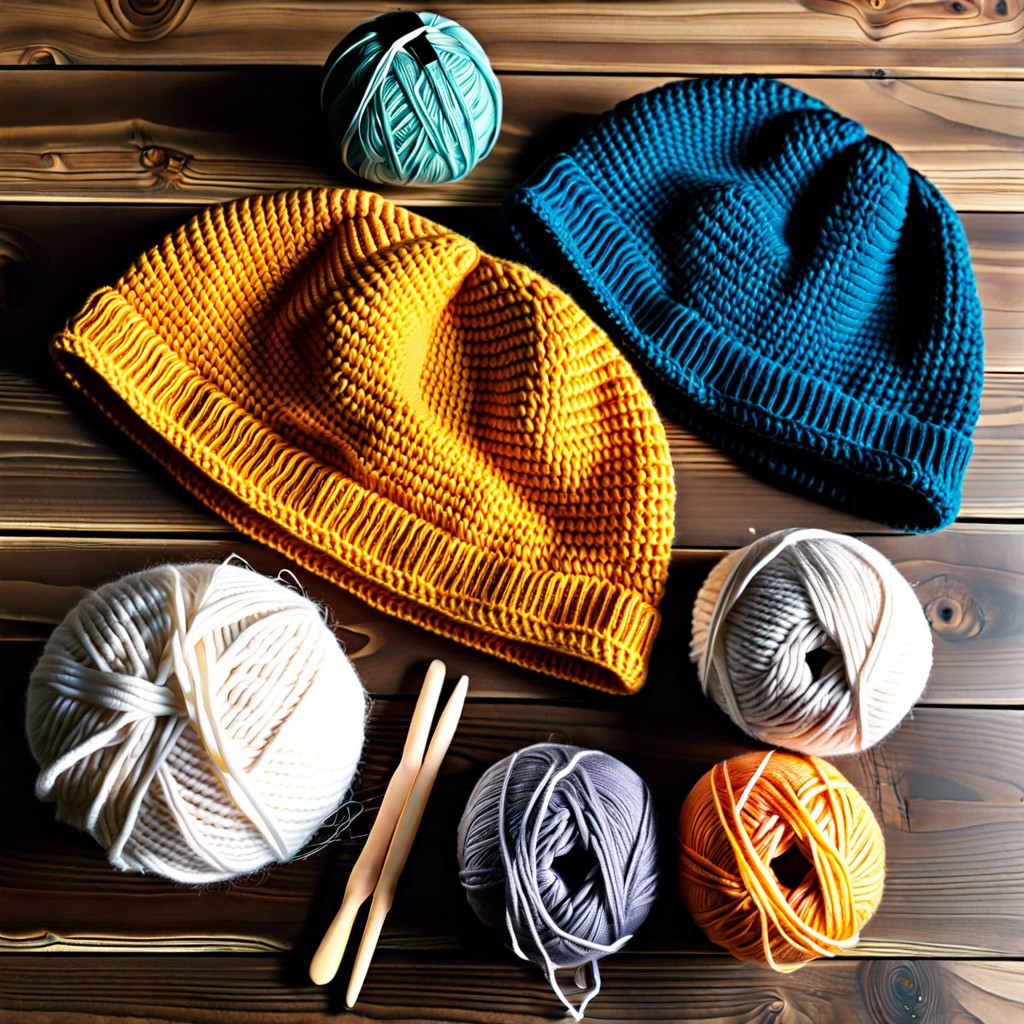
You’ll need a few basic items to start your beanie. Select a yarn that feels good against the skin since it will be worn on the head. Wool or acrylic yarns are great choices due to their warmth and durability. For beginners, a medium-weight yarn (Category 4) works well because it’s easy to handle.
Choose a crochet hook that matches your yarn’s recommended size, typically listed on the yarn label. For most medium-weight yarns, a 5 mm (H-8) hook is suitable.
Also, gather a yarn needle and scissors. The needle is for weaving in ends of the yarn once your beanie is complete, and the scissors, of course, are for cutting the yarn when needed.
Lastly, consider if you’d like to add any embellishments like a pom-pom or buttons, and have those handy as well.
This guide will help you ensure you have everything you need before diving into the crocheting process.
Instructions
Begin by creating a slip knot and chaining enough stitches to wrap around the head comfortably, usually between 55 and 65, depending on the yarn thickness and desired tightness. Join the chain with a slip stitch to form a circle, ensuring there are no twists.
Use double crochet stitches for the first row, working into each chain around. Continue adding rounds, increasing the number of stitches in each round until the crown reaches the desired width. Generally, increase by making two double crochets in the same stitch at regular intervals.
Once the crown is large enough, stop increasing and crochet around without adding extra stitches. This creates the sides of the beanie. Continue until the hat covers the head up to just above the ears.
To shape the brim, switch to a smaller crochet hook and stitch one or two more rounds. This technique will tighten the edge, providing a snug fit.
Finally, cut the yarn, leaving a long tail. Use a yarn needle to weave in this tail through the last round stitches, then pull to secure and knot the end. Trim any excess yarn.
Step-By-Step Video Tutorial
Watching a video tutorial can clarify the techniques that written instructions might leave vague. For visual learners, seeing the yarn and hook in action helps solidify the steps involved in crocheting a beanie. Look for tutorials that focus on the type of stitch you’re using and the style of beanie you want.
Ensure the video has clear, close-up views of the crocheting process. Good lighting and high-quality video make it easier to follow along. The instructor should explain and demonstrate each stitch slowly and repeat critical parts for emphasis.
Use pause and rewind liberally. Work along with the video to perfect your technique in real-time. This hands-on approach not only solidifies learning but also gives you immediate practical experience with the craft.
How to Attach a Pom Pom to a Crochet Hat
Adding a pom pom is a fun way to give your crochet hat a touch of flair. First, you’ll need a pom pom, which you can either make with yarn and a pom pom maker or buy pre-made. Here’s how to attach it:
- Thread the Tails: ** Most pom poms come with long tails of yarn. Thread these tails through the top of your hat using a yarn needle.
- Secure the Pom Pom: ** On the inside of the hat, tie the tails in a tight knot. For extra security, you can tie it a couple of times.
- Hide the Ends: ** Weave in the ends of the tails through some of the stitches inside the hat to hide them and prevent the knot from loosening.
This method ensures your pom pom stays firmly in place, even through the roughest winter winds!
Related Posts
 Easy Crochet Gnome Pattern Free: Transform Yarn into Whimsical Friends
 Crochet Star Blanket: A Stellar DIY Guide
 How to Crochet Slippers for Beginners Step by Step with Pictures: Cozy Feet Awaits
 Adjustable Ring Crochet: Master the Magic Circle
 How to Crochet Without a Hook: Hands-On Creativity