Learn how to crochet a button in a few simple steps for a charming touch to your handmade creations.
Dreaming of the perfect crochet button to add that finishing touch to your handmade masterpiece? Look no further! This guide will walk you through everything—from starting with a magic ring to playing with yarn weights and hook sizes. Your unique buttons await!
Key takeaways:
- Choose smooth, medium-weight cotton yarn for crochet buttons.
- Start with a magic ring and single crochet 6 stitches.
- Experiment with different yarns and hook sizes for unique buttons.
- Use techniques like increasing and slip stitches to shape buttons.
- Resize buttons by adjusting yarn weight, hook size, and stitch count.
What You Will Need
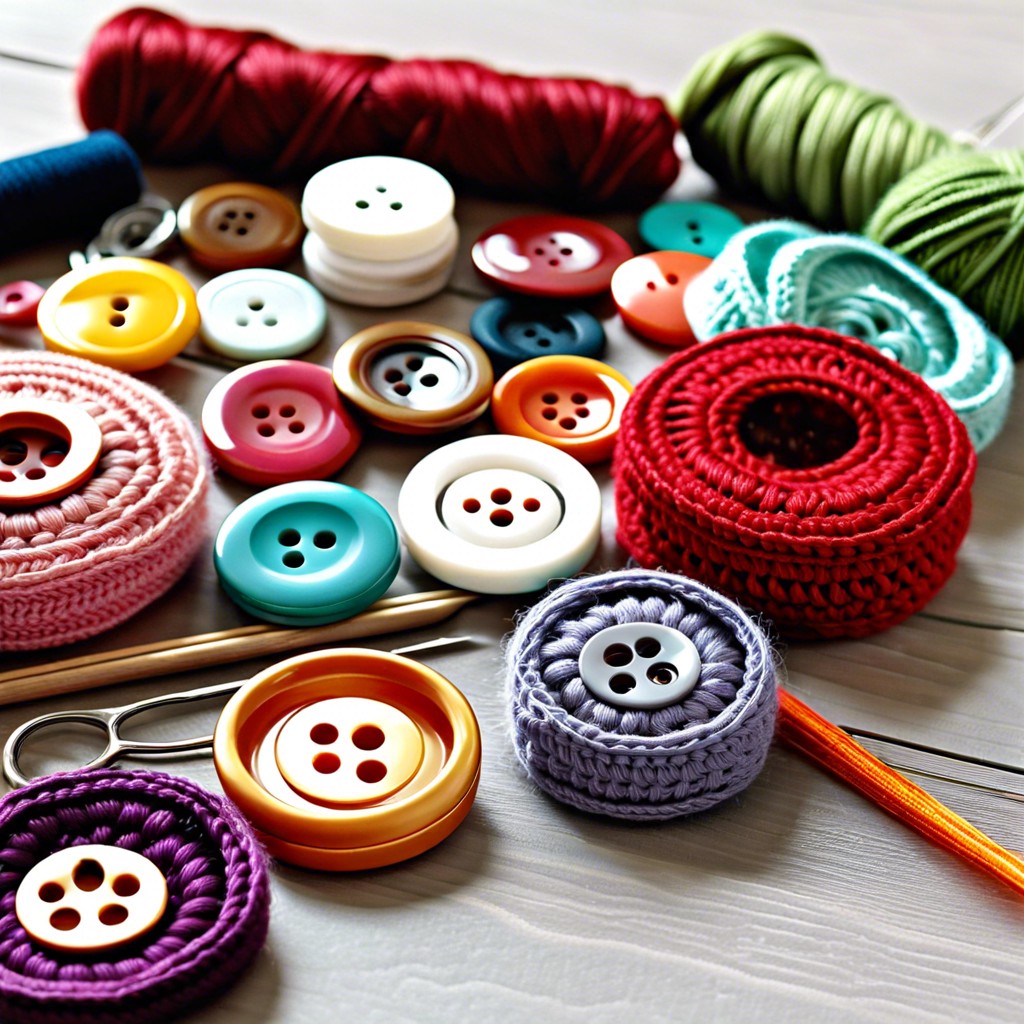
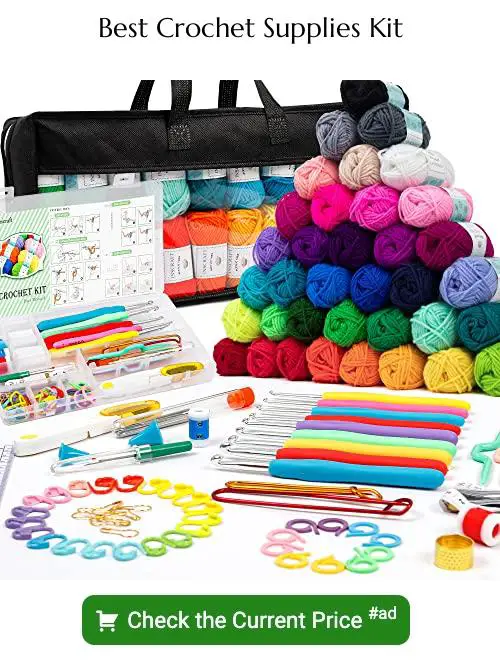
To create your crochet button, gather a few key items. First, you’ll need yarn. Choose a smooth, medium-weight yarn for an easy project. Cotton yarns work best for buttons, giving you good structure and stitch definition. Grab a matching crochet hook, usually indicated on your yarn label. Have a yarn needle handy for weaving in ends later. Scissors, of course, are essential. Finally, don’t forget a flat working surface. For an extra spritz of fun, add beads or decorative threads if you’re feeling snazzy. Ready, set, crochet!
A Simple Crochet Button
Start by creating a magic ring. If the term “magic ring” sounds like something out of a fantasy novel, fear not! It’s simply a way to start your round with an adjustable loop. Feel free to sprinkle in a little imagination, though.
After magic-ring mastery, single crochet about 6 stitches into that loop. Don’t worry if your first stitches are a bit wobbly. Buttons, like humans, have character.
Pull the tail to tighten the loop. It should look more like a button and less like an existential question.
Slip stitch into the first stitch to close the round. Voila, you have the beginnings of something button-ish!
Get fancy by adding a second round of stitches if you want a larger button. Experiment with different yarns and hook sizes to find your button personality.
Lastly, leave a long tail for sewing on to your project or to show off when someone inevitably says, “Did you make that button?!”
Pattern Instructions
Start by making a slip knot and then crochet a foundation chain of around four stitches. The number of chains determines the size of the button, so adjust as needed.
Next, join the ends of your chain with a slip stitch to form a small ring. Take a moment to admire your tiny lasso before moving on.
Using the magic of single crochet, work about six single crochets into the center of the ring. Pull them tight to close the ring. Don’t panic if it looks like a miniature UFO. That’s exactly what we’re going for here.
After making your tiny circle, continue by working single crochets in a spiral around the base. It helps to forget counting here. Keep adding stitches until the button achieves the desired thickness.
To finish off, simply pull the yarn through the last stitch, trim, and tuck the ends neatly. Voilà — you’ve got yourself a cute crochet button.
Techniques Used in This Stitch
To create your fabulous crochet button, you’ll rely on a couple of trusty techniques. First, you’ll need the magic ring. This nifty trick allows you to start projects in the round without leaving a gaping hole in the center. Just like magic, only with yarn.
Next up: single crochet stitches. Picture this as the bread-and-butter of your crochet skills. It’s simple, straightforward, and gives your button a solid structure.
Also, increasing stitches. You might be thinking, “add more stitches?” Exactly. Increasing stitches means popping two stitches into the same spot, which helps your button bloom into shape.
Finally, slip stitches. These little guys are perfect for tightening everything up at the end. Think of them as the cherry on top, securing your creation with finesse.
Master these techniques, and your crochet button will be the star of the show!
Sizing and Adjustments
Moving on to size and adjustments, you can easily resize your crochet button to fit various projects. Here’s how:
- Change the yarn weight. Chunkier yarn, bigger button. Dainty yarn, teeny tiny button.
- Adjust your hook size. Larger hooks make larger stitches, smaller hooks make… well, you get it.
- Add or subtract stitches. If your pattern calls for 12 single crochets and your button looks like it’s been hitting the gym, try 10 or 8 stitches.
- More or fewer rounds. Stop early for a petite button or keep going for something more robust.
- Remember, not all buttons are created equal, and that’s the fun part.
More Techniques and Tips
Experiment with different yarns and hook sizes to achieve unique textures and finishes. Opt for thicker yarn for a chunky, statement button or finer yarn for a delicate one.
Add beads or sequins while crocheting for extra sparkle. Just thread them onto your yarn before starting.
Use a magic circle to start instead of a chain ring for a tighter button center.
Practice makes perfect, but also perfectly unique. Embrace the quirks of handmade buttons.
Mix and match stitch types to create interesting patterns. Single crochet mixed with half-double crochet can provide a fun, textured look.
Video Tutorial: Right Handed
Grab some popcorn (or perhaps yarn treats) and get cozy. If you’re a right-handed crocheter, this video tutorial breaks it down stitch by stitch, knot by knot.
- Clear visual guides for each step.
- Close-ups, because who doesn’t love seeing yarn up close?
- Handy tips to keep your button looking fabulous.
Get ready to pause and rewind as much as you need. Your fingers will be dancing through those stitches in no time.


