Unleashing creativity becomes infinitely rewarding when crocheting a circle with chunky yarn because it results in beautiful, cozy creations in a considerably swift manner.
Crocheting a circle with chunky yarn is a simple and satisfying project, perfect for beginners or experienced crafters looking for a quick and cozy make.
This article will guide you through the process step-by-step, from choosing the right yarn and hook, to creating a magic ring, increasing stitches to maintain a flat circle, and finishing your project neatly.
You’ll find helpful tips and tricks along the way to ensure your crocheted circle turns out just right.
So, whether you’re crafting a rug, a pillow, or just a simple coaster, stay tuned for all the details you need to create a perfect crocheted circle with chunky yarn.
Key takeaways:
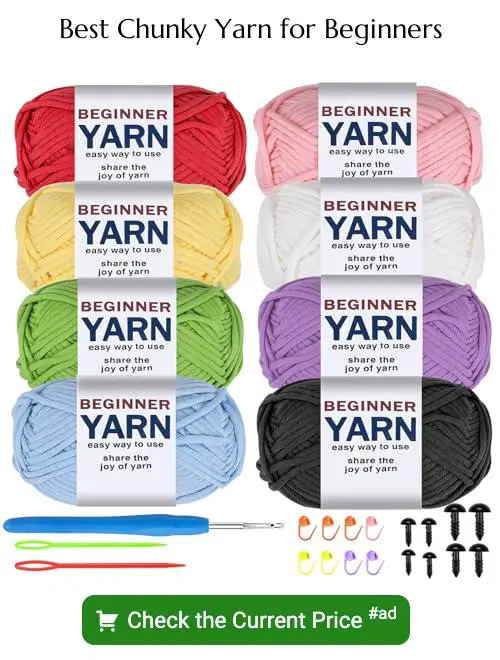
- Select the right chunky yarn for your project
- Use essential tools: crochet hook, chunky yarn, scissors, yarn needle
- Follow clear step-by-step instructions to start your crochet circle
- Understand and apply different stitch types for texture and patterns
- Increase stitches to maintain a flat and even circle shape
Choosing the Right Chunky Yarn for Your Project

Selecting the right yarn is crucial. For beginners, a chunky yarn in a solid color is recommended. Lighter shades can make it easier to see details in the stitches. The texture of the yarn also matters. A smoother yarn might be easier to work with than a fuzzy or complexly textured yarn. Lastly, consider the yarn’s material. Acrylic is a good choice due to its durability and ease of care, whereas wool might offer a warmer, denser outcome. Each type of yarn will provide a different look and feel to your crochet circle, so choose according to your project’s requirements.
Essential Tools Needed for Crocheting a Circle
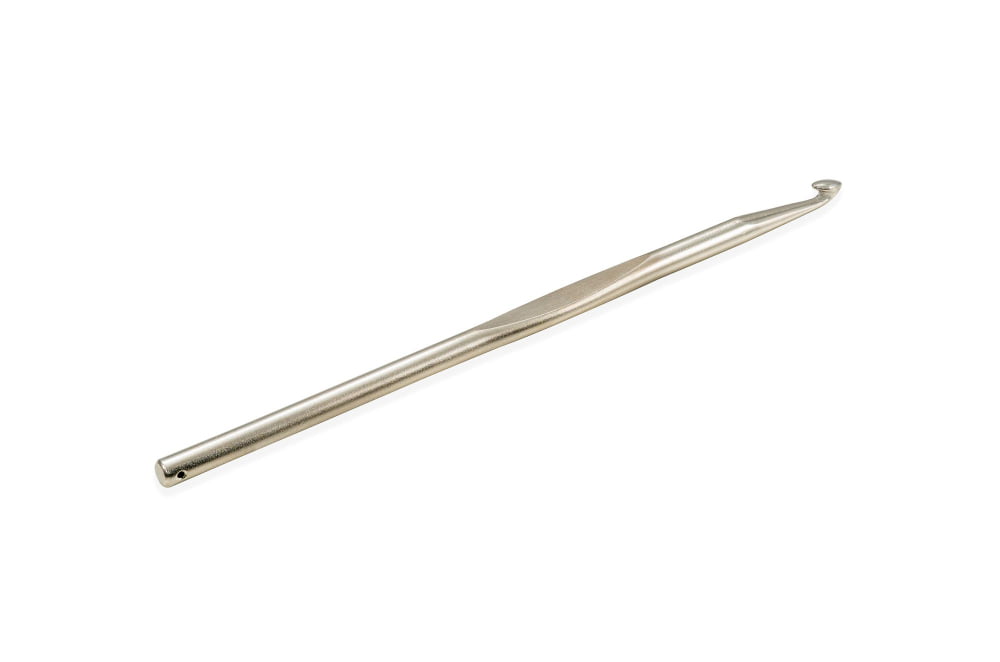
Without the appropriate tools, even the simplest crochet project can quickly become a challenge. The first thing you’ll require is a crochet hook that matches your chunky yarn. Look at the yarn’s label for the recommended hook size to ensure the best project outcome.
Next is the actual chunky yarn. Heavier than worsted weight, this type of thread is favored for its speediness and the thickness it adds to the product. Experiment with different brands and colors until you find one that fits your liking.
Also crucial are a pair of scissors to cut the yarn and a large-eye yarn needle for weaving in ends. A stitch marker might be handy to mark your starting stitch in each round, crucial for maintaining the correct count and ensuring an even circle.
Lastly, many crochet enthusiasts find a row counter beneficial when working on a project with multiple rows or rounds – it’s easy to lose track otherwise. With these tools on hand, you’ll be well-equipped to start crocheting your circle with chunky yarn.
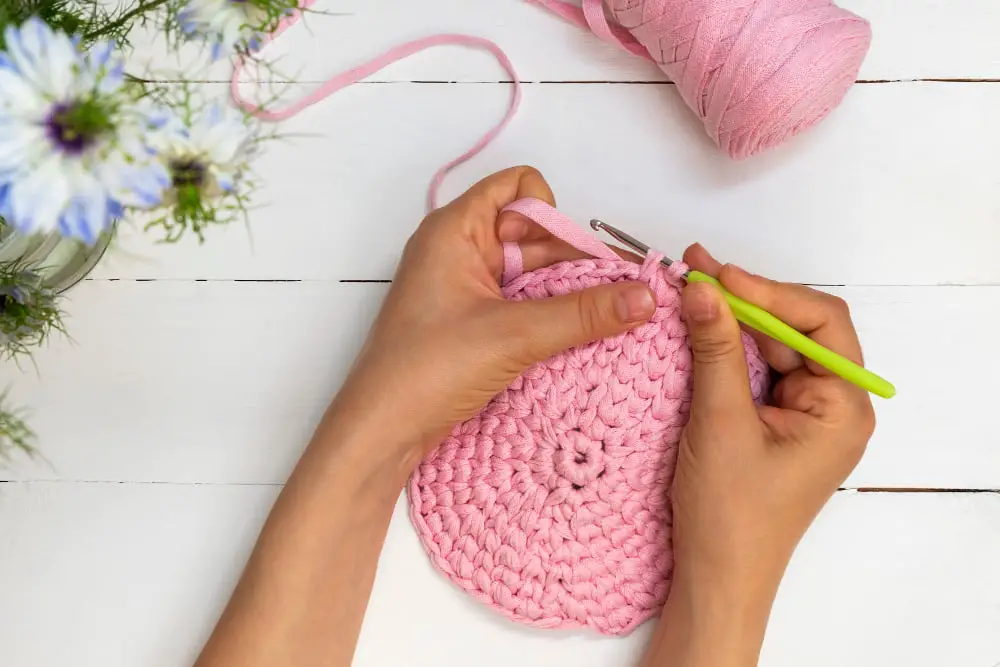
Start a Crochet Circle With Clear, Step-by-step Instructions
Commence by creating a slipknot. Insert your crochet hook into the loop, positioning it so the knot tightens when the long end of the yarn is pulled.
Invoke a magic circle. Wrap the yarn around your fingers, crossing over at the base. Move the end of the yarn under the loop and pull it through with your hook to form a loop on the hook. This creates a circle or loop of yarn you can pull tight after the first round of stitches to close the center of the circle.
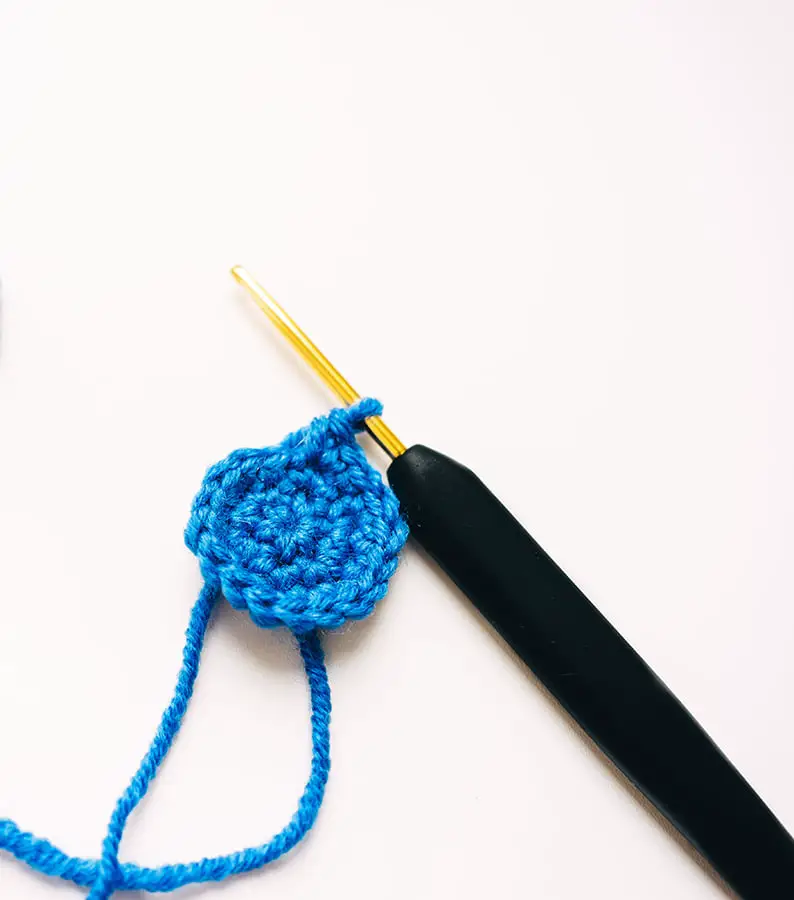
Start the first round. Create six single crochets (US terminology) into the circle. Ensure the hook is under both the loop and the end of the yarn. Each stitch forms a loop on your hook. Pull the last loop through the second last loop to complete each stitch.
To finish the round, insert your hook into the first single crochet stitch you made. Create a slip stitch to join the end of the round to the start. Now you have a small circle of six stitches.
Remember to pull the loose end of your starting circle to close the gap. This completes your first circle. This process can seem daunting at first, but with practice, it becomes second nature.
Understanding and Applying Different Stitch Types
Slip Stitch (sl st): This minimalist stitch gains its stature by primarily being used as a connector between rounds. The stitch is formed by inserting the hook into the stitch, yarning over, and pulling the yarn through both loops on the hook in one go.
Single Crochet (sc): A fundamental stitch, ideal for the initial round. You start by inserting the hook, yarning over, then pulling through to have two loops on the hook. Yarn over again and pull through both loops.
Half Double Crochet (hdc): Producing a medium-sized stitch, insert your hook into the stitch, yarn over before and after. You should have three loops on the hook, yarn over and pull through all three at once.
Double Crochet (dc): This gives a slightly taller stitch. After yarning over, insert the hook, yarn over again pulling through the first loop. You will have three loops, yarn over, pull through the first two loops, yarn over again and pull through the last two.
These are the building blocks of crochet. Varying these stitches and their arrangements can create a vast array of textures and patterns, providing the leeway to create a truly unique circle with chunky yarn.
Methods to Increase Stitches to Maintain Circle Structure
To create a perfect circle shape, adjustments are needed in each subsequent round. Usually, this implies adding more stitches.
1. Round 1: Start with six single crochet stitches in a magic ring or an alternative start.
2. Round 2: Make two single crochet stitches into each stitch from the previous round. This doubles stitch count to 12.
3. Round 3: Alternate between single crochet in one stitch, then two single crochet in the next stitch. You should now have 18 stitches in total.
4. Round 4: Follow the pattern of two single crochet stitches, then two single crochet in one stitch. Your count should now be 24 stitches.
The trick is to increase six stitches every round. Staying consistent keeps the circle from rippling or curling up, ensuring a flat, even design. Remember, the goal is to retain the circle’s integrity as it expands. Don’t be discouraged if the process seems tricky at first—practice makes perfect!
Note: This pattern works for single crochet, if you’re using double crochet or treble, you might need to adjust the number of stitches in your first few rounds, but the theory remains the same: increase with consistency.
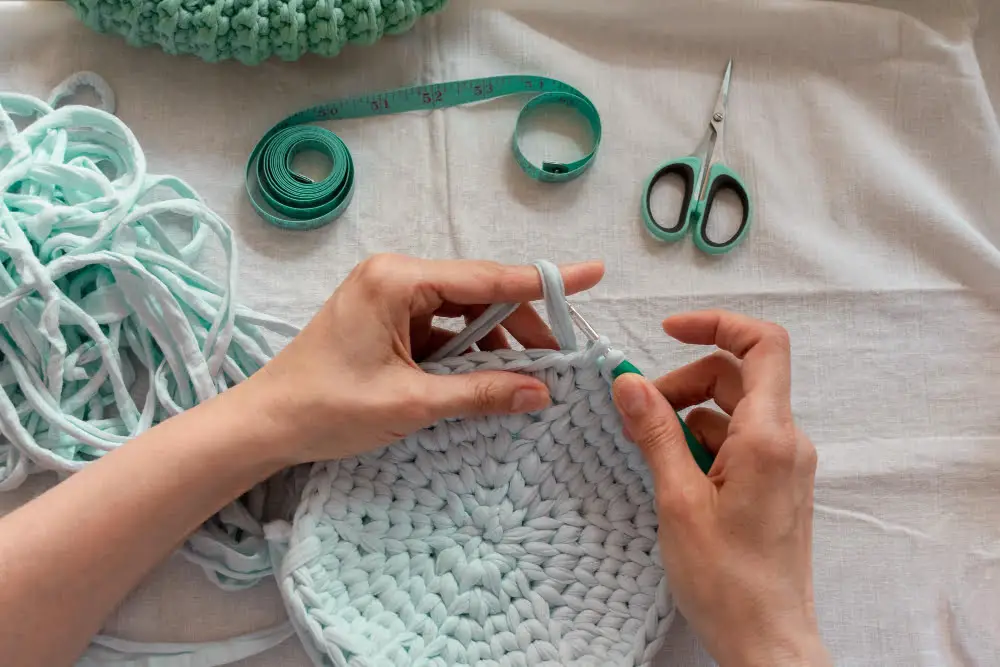
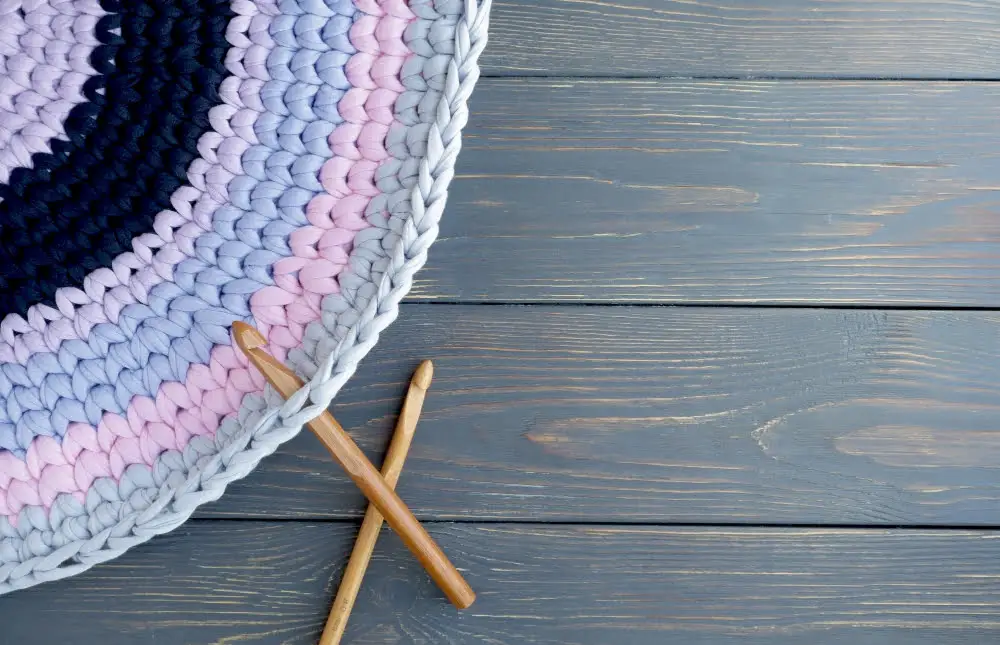
Ensuring the Circle Stays Flat and Round While Using Chunky Yarn
Successfully maintaining a flat circle while increasing stitches can often be challenging with chunky yarn. Your crochet circle can start to ruffle or cup if not done correctly. Here are a few critical points to remember to ensure a perfect shape:
1. Consistency in tension: This is vital in preserving the shape of your circle. Unvarying pressure while looping the yarn ensures even stitches which contribute to a flat circle.
2. Regular stitch increase: Increase stitches in each round following a steady pattern. This counters the natural tendency of the work to curl upwards.
3. Stitch markers: These are your best friends to track your increases and avoid mistakes, preventing shape distortion.
4. Checking your work: Every few rounds stop and lay your work on a flat surface. This allows you to see if the circle is starting to ruffle or cup, and you can make adjustments accordingly.
By adhering to these points, you can confidently maintain a flat and round shape in your crochet circle, even when using chunky yarn.
Finishing Your Crochet Circle for a Polished Look
Before cutting off the excess yarn, make sure to leave a significant tail, about six inches long, which you’ll need for weaving in ends. Using a yarn needle, thread the tail through and make a knot discreetly into your work, ensuring the end is secure. Proceed to weave the tail in and out of your stitches several times. This process helps to hide the tail and also prevents your work from unravelling.
For a more professional touch, consider blocking your crocheted circle. This involves wetting your finished item and pinning it to a flat surface in the correct shape to dry. It’s a particularly useful technique with chunky yarn as it can help reduce bulkiness and give your circle a smoother finish.
Remember, the aim is to make your finished crochet circle look as polished and professional as possible, so take your time with these finishing touches. They make all the difference in the final presentation of your work.
FAQ
What are the main differences when crocheting a circle with chunky yarn vs fine yarn?
When crocheting a circle, chunky yarn creates larger, more textured stitches and works up more quickly, while fine yarn results in a smaller, tighter, and smoother circle, but requires more stitches and time to complete.
Are there any specific crochet stitches that work best for creating a circular shape with chunky yarn?
The single crochet stitch is often the best for creating a circular shape with chunky yarn due to its sturdy and tight structure.
How can you avoid common mistakes when crocheting a circle using chunky yarn?
To avoid common mistakes when crocheting a circle with chunky yarn, ensure consistent tension, use a hook size suitable for the yarn weight, and perform an increase in every round to keep the work flat.
Related Posts
 Easy Crochet Gnome Pattern Free: Transform Yarn into Whimsical Friends
 Crochet Star Blanket: A Stellar DIY Guide
 How to Crochet Slippers for Beginners Step by Step with Pictures: Cozy Feet Awaits
 Adjustable Ring Crochet: Master the Magic Circle
 How to Crochet Without a Hook: Hands-On Creativity