Learn how to crochet a doily step by step, from choosing the right materials to mastering essential stitches.
Ready to craft a fabulous doily that’ll make your grandmother’s jaw drop and your cat a loyal admirer? You’ve landed in the right spot. From gathering yarn and hooks to finalizing delicate lacy edges, we’ve got every nitty-gritty detail you need. Let’s unravel the mystery of doily-making and have a ball while doing it!
Key takeaways:
- Choose cotton thread size 10 and a steel hook 1.75 mm.
- Master single, double, half-double, and treble crochet stitches.
- Start with a center ring, even and not too tight.
- Increase stitches, mind patterns, count, and stitch markers.
- Use chain spaces, picots, shell stitches for lacework.
Materials and Tools Needed
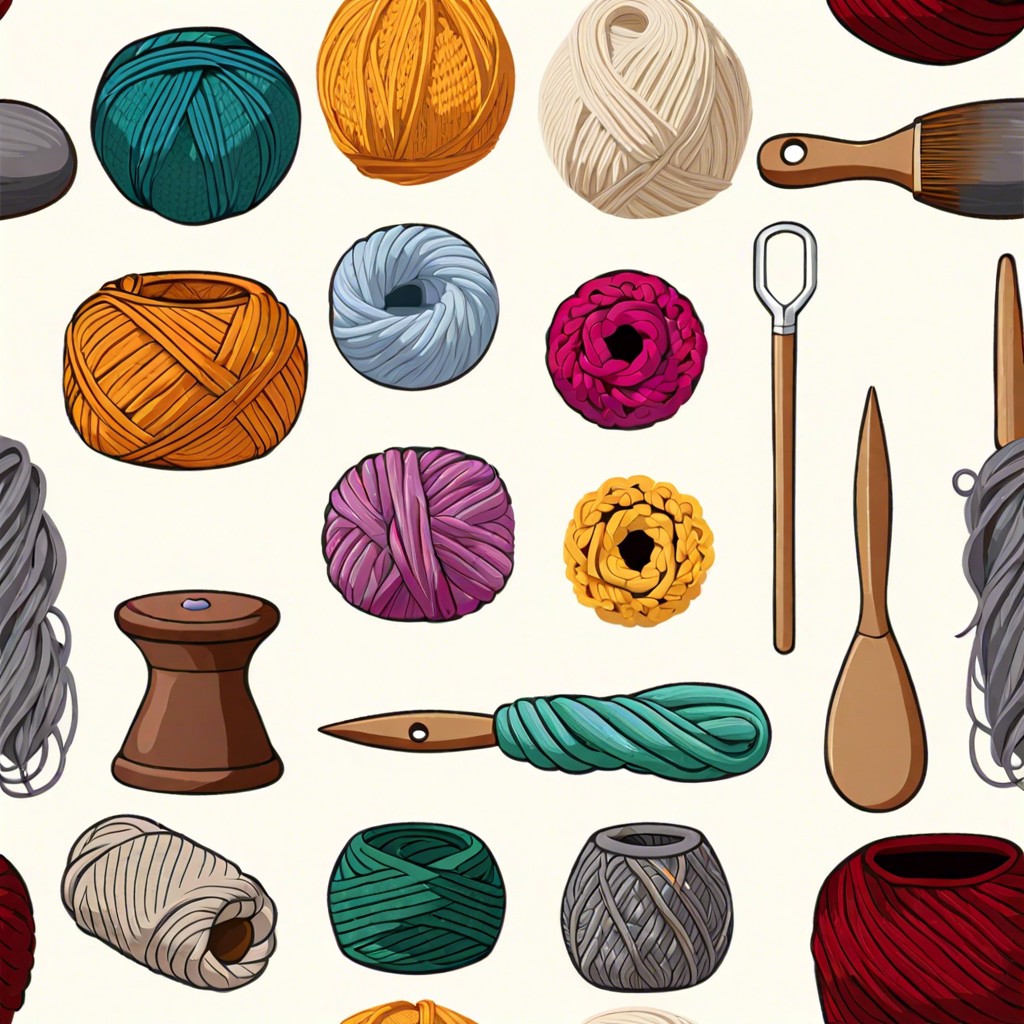
Get ready to rustle up these essentials to kickstart your crochet doily adventure.
First, yarn! Choose cotton thread—size 10 is a crowd favorite. It’s perfect for that classic, lacy look. Next, arm yourself with a steel crochet hook, size 1.75 mm, for those fine details. Think of it as your magic wand.
Grab some sharp scissors. Crocheting a doily isn’t a crime scene, but your yarn won’t cut itself. A tapestry needle, big enough to thread your yarn but small enough to weave through stitches, will be your trusty sidekick for those finishing touches.
Last but not least, don’t forget a tape measure. Because, just like in fashion, size matters!
Basic Crochet Stitches Overview
Crocheting involves a few foundational stitches, each with its own charm. The single crochet is the bread-and-butter stitch, easy to learn and super versatile. It’s as simple as popping your hook into a stitch, pulling up a loop, and then working through two loops. Presto, you’ve got a single crochet.
Next up, the double crochet—a bit taller and great for creating lacey patterns. Yarn over, insert the hook, pull through a loop, then work through two loops twice. It’s like the single crochet’s taller, more elegant cousin.
Let’s not forget the half-double crochet, sitting cozily between the single and double. Yarn over, insert the hook, pull through a loop, then work through all three loops in one go. Quick, simple, and satisfying.
And for the show-offs, we have the treble crochet. Yarn over twice, insert the hook, pull through a loop, and then work through two loops three times. Voilà, instant bragging rights.
Master these stitches and you’ll have an arsenal ready for any doily-making adventure.
Step-by-Step Instructions for Starting the Center
Begin by creating a slip knot and chain 6 stitches. This is going to form the basis of your doily’s center. Next, you’ll join the chain into a ring with a slip stitch. Voilà, you’ve got the tiny nucleus of your soon-to-be masterpiece!
Now, it’s time to build up the center. Crochet a number of double crochets (dc) into the ring. Typically, 12 double crochets spread evenly work wonders, but always check your pattern. Be sure to insert your hook into the center ring for uniformity.
After you’ve made the first round of double crochets, finish it off by joining to the top of the first double crochet with a slip stitch. Now, you’ve closed the circle and created a solid base to work from.
Remember: the center needs to be snug but not tight. Loosey-goosey might be great for a relaxed weekend, but not for a doily center.
Creating the Initial Ring and Establishing Base Stitches
To kick off our doily adventure, you’ll first need to wrangle that initial ring into submission. Here’s how:
Start with a slip knot. It’s the crochet equivalent of turning on the ignition.
Chain a small number of stitches, usually around 4 to 6. These create your foundation.
Slap those chains together with a slip stitch to form a ring. Think of it as giving your project a tight little hug.
Next, crochet into the center of that ring. This is where it gets exciting! You’re basically filling the void with stitches, often single or double crochets, depending on your pattern.
Pro tip: Don’t yank the yarn too tight. We’re making a doily, not a trampoline.
Remember to count your stitches meticulously. Miscount now, and your doily might end up looking like a lopsided pizza.
Keep a consistent tension, because tension tantrums are for toddlers, not crocheters.
Well done! You’ve just mastered the dark art of doily foundation. Now let’s see where your yarn takes you next.
Working the Successive Rounds With Increasing Patterns
As you move beyond the initial ring, each round will introduce new stitches and patterns. The key is to expand your work evenly, making sure your doily lays flat. Here’s how to keep things in check:
– Increase Strategically: Add more stitches in each round to keep up with the expanding circumference. Often, this involves doubling up in some stitches from the previous round.
– Pattern Repeats: Many doilies rely on repeating motif patterns. This helps maintain symmetry and ensures the design spreads out consistently.
– Count Your Stitches: Get cozy with your stitch count. Double-checking your numbers helps prevent wonky edges that look like a toddler went wild with a SPAGHETTI MY SALAD approach.
– Mind the Gaps: Chain stitches and spaces are friends, not foes. They allow room for future stitches and add to the delicate lacey look of your masterpiece.
– Markers Are Magic: Use stitch markers to note the beginning of each round. This prevents that “where did I start and where am I going” panic.
– Deep Breaths: If things get tangled or confusing, take a pause and admire your work, then jump back into the fray.
Take your time, enjoy the process, and soon you’ll see your doily start to bloom like a lovely crocheted flower.
Adding Intricate Lacework Techniques
Ready to step up your doily game? Time to infuse some delicate lacework into your creation! Lacework may look intricate, but breaking it down is surprisingly straightforward.
First, start incorporating chain spaces. These airy gaps are your best friend for achieving that classic doily look. Crochet a few chains and skip stitches below, working into every third or fourth stitch instead.
Next, mix in picots. These tiny loops add charming details. Usually, picots are made by chaining three, then slip stitching into the last chain stitch you made. Easy peasy!
Shell stitches are another must-have. A shell stitch is typically five double crochets placed into the same stitch. It creates a beautiful, fanned-out effect. Picture mini rainbows all around your doily!
Also, consider adding clusters for texture variation. Yarn over, insert the hook into the stitch, pull up a loop, and repeat until you have a small group (or cluster) of loops on the hook. Finally, pull through all loops.
Remember, practice makes perfect and imperfections add character. So, dive in and let your doily dazzle with delightful lacework!
Guidelines for Shaping and Adjusting Tension
Imagine tension as the Goldilocks of crocheting: it has to be just right. Too tight, and your doily might resemble a wavy potato chip. Too loose, and it transforms into a floppy, sad pancake. Balance is key.
Each stitch needs a consistent tightness. Practice a few stitches on a scrap yarn to gauge your natural tension. Adjust your grip if you find it varies.
When shaping, remember to count stitches meticulously. Wrong count, wrong shape. It’s like baking—imagine a cake without precise measurement. Let’s avoid crochet chaos.
If it starts puckering (not in the cute way), try loosening up a smidge. If it flattens out more than your morning hair, tighten up slightly. A little tweak can do wonders.
Finally, regularly lay your doily flat to inspect the shape. Corrections mid-project are far easier than post-finish regrets. Happy shaping!
Finishing the Edge With Decorative Stitches
To give your doily that extra oomph, jazz up the edge with some decorative stitches. Think of this as putting the cherry on your crochet sundae.
Start with a simple Picot Stitch. After each double crochet, chain three, then slip stitch into the first chain of the set. This results in cute little loops all around the edge.
For a more elegant finish, consider the Shell Stitch. Create a shell by placing five double crochets into a single stitch, skip a couple of stitches, and repeat. These little fans will have everyone ogling your masterpiece.
If you’re feeling adventurous, try the Picot Shell Combination. It’s just like the Shell Stitch, but with a Picot in the center of each shell. Fancy, right?
Lastly, don’t forget to maintain the same tension throughout. Nothing spoils a gorgeous edge like uneven loops.
Get hooky with it!
Blocking and Setting the Doily for Best Shape
Keep those elbows greased, because blocking is where the magic happens. It’s like a spa day for your doily, a bit of pampering to show off all that hard work.
First, give your doily a gentle bath. Use lukewarm water and mild detergent. It’s not the time to unleash your inner Hulk—be gentle.
Gently squeeze out excess water. Don’t wring it like it owes you money.
Lay the doily flat on a towel and roll it up like a sushi roll to remove more water.
Pin the damp doily to a blocking mat or foam board. Channel your OCD and stretch it evenly into shape. Pins are your best friends here.
Let it dry completely. Patience, my friend. Good things come to those who wait.
Blocking tames wobbly edges and unleashes the doily’s full, glorious lacy potential. Your granny would be proud.
Troubleshooting Common Mistakes
Missed a stitch and now your pattern’s off? Don’t worry, it happens to the best of us. Carefully count your stitches and compare them to the pattern. If you spot an error early, you can usually just pull a few stitches back to fix it. It’s like hitting rewind on a crochet movie.
Uneven tension giving your doily that wavy look? Relax your hands and try to keep a consistent rhythm. Take breaks to shake out any crocheting cramps. Your doily wants to be flat, not auditioning for a role as a ruffled potato chip.
Got a rogue loop sticking out? That little renegade can be brought in line. Use a smaller hook to finesse it back into place or give it a gentle tug. Think of it as crocheting diplomacy.
Accidently made a doily big enough to double as a flying saucer? Rounds got away from you. Measure as you go to compare it to the intended size, and don’t be afraid to frog (that’s crochet-speak for unraveling). Frogs have a great sense of humor about these things.


