Learn how to crochet a doll with this simple step-by-step guide that will take you from yarn novice to doll-crafting hero.
Key takeaways:
- Gather necessary materials: yarn, crochet hook, stuffing, scissors, safety eyes.
- Learn basic crochet stitches: single crochet, increase, decrease, magic ring.
- Create the doll’s body parts: head, upper body, legs, arms.
- Sew body parts together securely, stuff firmly, add final touches.
- Embroider simple faces with small stitches, use black thread for eyes.
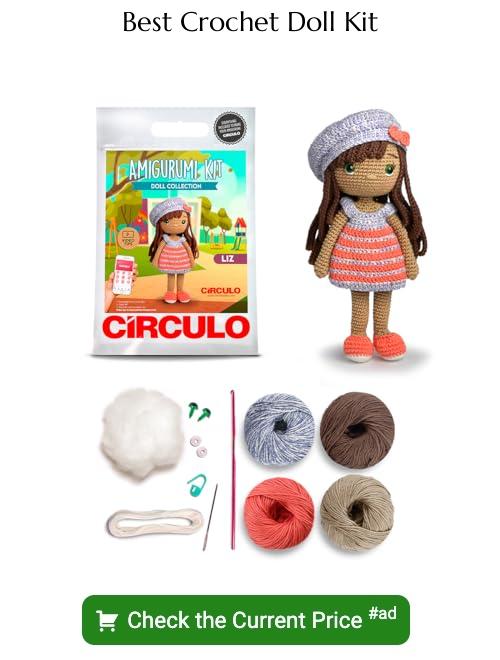
Needed Materials and Tools
To begin crocheting a doll, you’ll require some essential materials and tools. You’ll need various colors of yarn to create the doll’s body and clothing, a crochet hook suitable for the yarn weight you choose, stuffing material to fill the doll, scissors to cut the yarn, and yarn needles to sew the parts together securely. Make sure to have safety eyes or embroidery thread to create the doll’s eyes, and if you’d like, blush or yarn to add some color to the cheeks. Be sure to gather all your materials before you start your crochet doll project for a smooth crocheting experience.
Basic Amigurumi Crochet Doll Instructions
To get started on your amigurumi crochet doll, familiarize yourself with the basic crochet stitches like single crochet, increase, and decrease. Understand the magic ring technique for starting projects in the round. Use stitch markers to keep track of your rounds and counting stitches is key. Practice creating a tight tension to ensure the stuffing doesn’t show through your stitches. Experiment with different yarn weights and hook sizes to achieve varying doll sizes. Enjoy the process and have fun bringing your crochet doll to life!
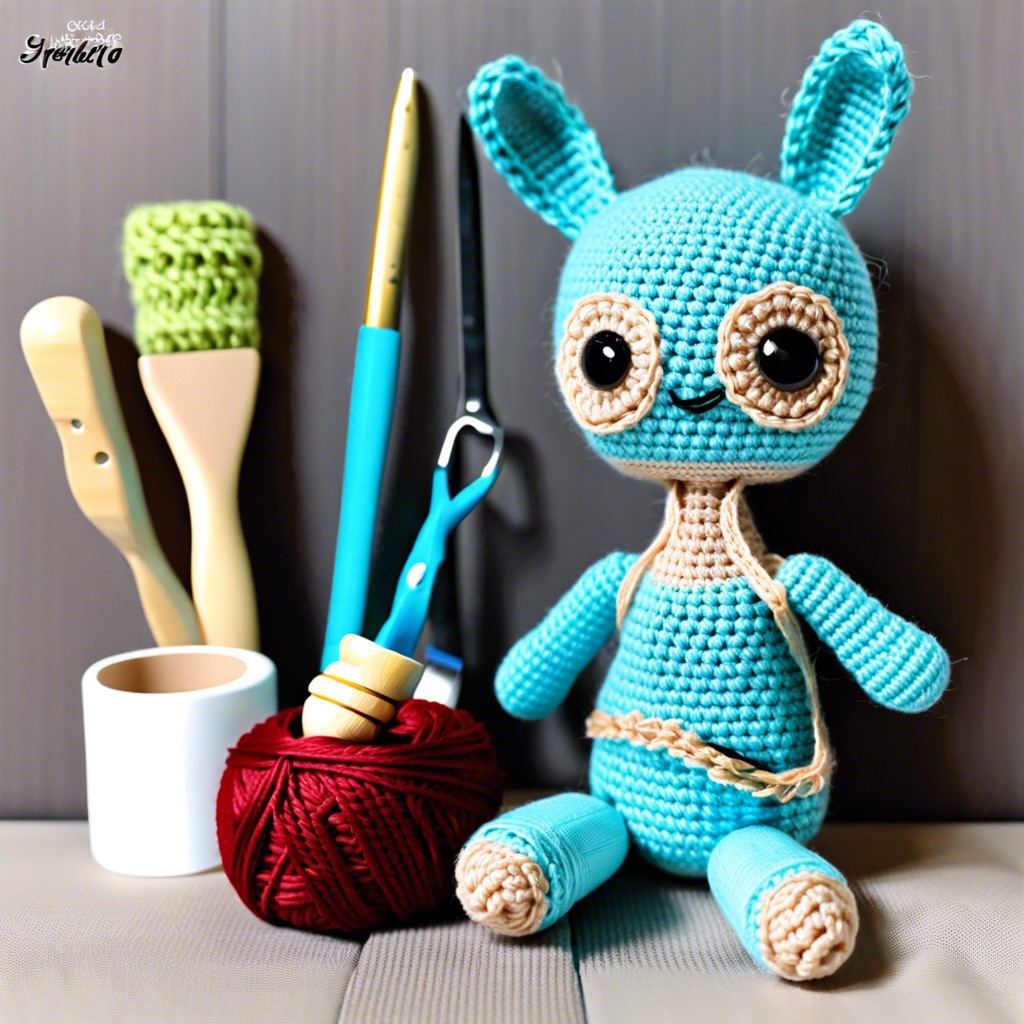
Crochet the Doll Body Parts (Head, Upper Body, Legs, Arms)
When it comes to creating the body parts of your crochet doll, you will want to start with the head by working in continuous rounds. For the upper body, you will build on the head and create the torso by adding increases and decreases strategically.
Moving on to the legs, you will crochet them separately from the body and eventually attach them securely. The arms are crafted similarly to the legs, but with different dimensions and attachment points on the upper body.
Remember, each body part requires careful attention to detail, proper stuffing with fiberfill, and sewing securely to bring your crochet doll to life. With patience and practice, you’ll master crafting these elements to produce a charming finished doll.
Finishing the Crochet Doll
To finish your crochet doll, start by sewing the different body parts together using a yarn needle and the same yarn color. Stuff the doll firmly, making sure all parts are well-filled. Sew any remaining openings closed neatly. Add any final touches like hair, clothing, or accessories to personalize your doll. Lastly, take a step back and admire your adorable crocheted creation!
How to Embroider Easy Faces On Crochet Toys and Amigurumi
When embroidering faces on crochet toys and amigurumi, keep it simple. Start with small stitches for eyes, nose, and mouth. Use black embroidery thread for eye details. For rosy cheeks, add a small amount of blush with a cotton swab. Experiment with different facial expressions to give your crochet doll a unique personality. Remember, practice makes perfect!
Related Posts
 Easy Crochet Gnome Pattern Free: Transform Yarn into Whimsical Friends
 Crochet Star Blanket: A Stellar DIY Guide
 How to Crochet Slippers for Beginners Step by Step with Pictures: Cozy Feet Awaits
 Adjustable Ring Crochet: Master the Magic Circle
 How to Crochet Without a Hook: Hands-On Creativity