Learn how to easily crochet a cute little frog following step-by-step instructions below.
Key takeaways:
- Use green yarn and a crochet hook for the perfect froggy texture.
- Increase and decrease stitches to shape the frog’s body.
- Create eyes with a magic ring, then sew on pupils for vision.
- Crochet arms and legs, stuffing lightly as you go.
- Attach eyes, arms, and legs securely to the frog’s body.
Materials
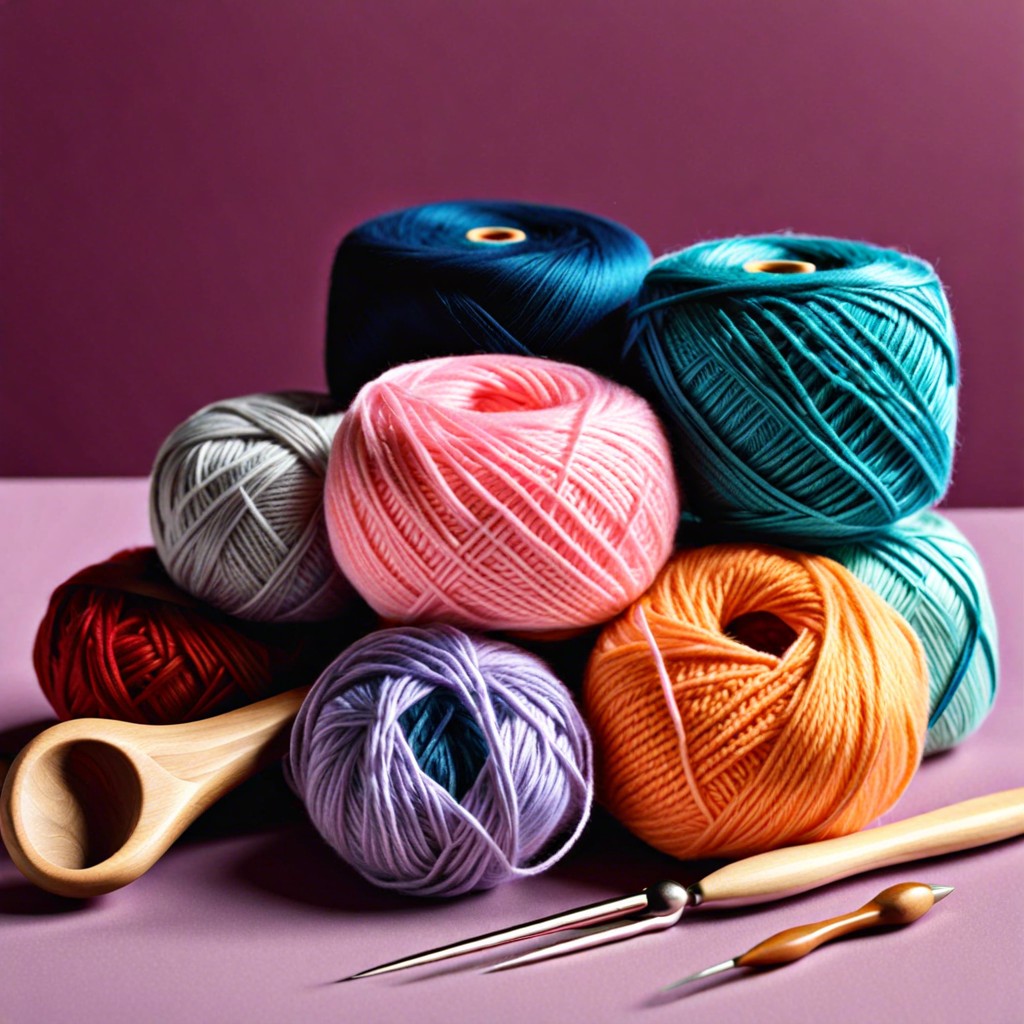
You’ll need some basic supplies to get your frog hopping. Start with green yarn—can’t have a frog without green, right? A medium-weight yarn works best for that perfect cuddly texture.
Next, grab a crochet hook that matches your yarn weight. Typically, a 4.0 mm to 4.5 mm hook pairs well with medium-weight yarn. But hey, if you like a denser frog, go smaller. Want it fluffier? Go bigger. It’s a froggy free-for-all!
Don’t forget stuffing to give your amphibian some squishability. Polyester fiberfill is standard, but if you’re eco-conscious, try wool or scrap yarn.
You’ll also need safety eyes. These usually come in pairs (obviously, frogs need two), and a yarn needle for stitching everything together. Maybe some pink yarn for a cheeky little tongue?
And scissors! Because we don’t want to be gnawing through yarn with our teeth. We’ve got a tadpole to raise!
Body
Start with a magic ring and single crochet (sc) around to form a tight loop. You might wonder, “Is this a spell?” Almost. It magically prevents a gaping hole at the bottom.
Increase each round by adding stitches evenly. Think of it as giving your frog some proper heft—like a good meal. Keep your count steady; no one wants an asymmetric amphibian.
Use green yarn for the quintessential froggy feel, or go wild with colors. Rainbow frog, anyone?
Stop increasing when you hit the desired diameter. Then, crochet evenly around to build up the height. Like stacking pancakes, but fewer calories.
Finish off by decreasing stitches to close the top, leaving a small opening for stuffing. Frog malnourished? No bueno. Fill with polyfill until it’s pleasantly plump.
Finally, fasten off and weave in the end. Voilà! Your frog body is ready for its limbs and eyes.
Eyes (make 2)
Now for the eyes, where the magic happens. Start with a magic ring (abracadabra!).
- Chain 2, then crochet 6 single crochets into the ring. Close it up tight like a mischievous secret.
- In the next round, increase in each stitch by doing 2 single crochets in each. You should have 12 stitches now—like a tiny pizza with 12 delightful slices.
- After that, one more round: single crochet in the next stitch, then increase in the following one. Repeat this all the way around, giving you 18 stitches.
Once you’ve got your eye discs, you’ll need pupils: small black buttons or embroidered dots work perfectly. Sew them onto the center of each eye, giving your frog a keen sense of vision.
Lastly, stuff them lightly. Don’t overdo it unless you want your frog to look perpetually surprised. Sew them onto the top of the frog’s head, making sure they’re aligned. Crooked eyes belong on chameleons, not regal amphibians.
Done. Your frog can now see its new world. And maybe judge your crochet skills.
Arms/Legs (make 4)
Start with green yarn and your trusty crochet hook. Each limb begins with a magic ring. Magic indeed, it’s like pulling a rabbit (or in this case, a frog) out of a hat!
First, crochet 6 single crochets into the ring. Pull it tight—frogs hate loosey-goosey limbs. Next, continue with a single crochet into each stitch around. You’re basically creating little green sausages. Delicious, but less edible.
Do this for about 8-10 rounds, depending on how long you want those froggy appendages to be. If your frog looks like it’s ready to join the NBA, you’ve gone too far.
Stuff lightly with fiberfill as you go. Not too fluffy—more like frog muscles, less like marshmallows.
For the feet, flatten the end and crochet together to make that classic froggy flipper look. Think webbed, but not webbed-toed shoes fancy.
Now you’ve got one limb down, three more to go! Repeat the steps and soon your frog will be ready to boogie.
Putting the Pieces Together
Now that you have all the frog parts, let’s make this amphibian hop to life. First, place the eyes onto the head and attach them securely with a few well-placed stitches. Be sure they are spaced evenly to avoid any frog with a squint.
Next, attach the arms. Position them on either side of the body, just below the head. A couple of secure stitches will keep them in place, so your frog can give enthusiastic high-fives.
Finally, sew on the legs. These should be attached at the bottom of the body. Making sure they are symmetrical will save your frog from any odd, perpetual waddle.
Voilà! You now have a cuddly crochet frog. If it starts ribbiting, you’ve probably done something right.
Related Posts
 Easy Crochet Gnome Pattern Free: Transform Yarn into Whimsical Friends
 Crochet Star Blanket: A Stellar DIY Guide
 How to Crochet Slippers for Beginners Step by Step with Pictures: Cozy Feet Awaits
 Adjustable Ring Crochet: Master the Magic Circle
 How to Crochet Without a Hook: Hands-On Creativity