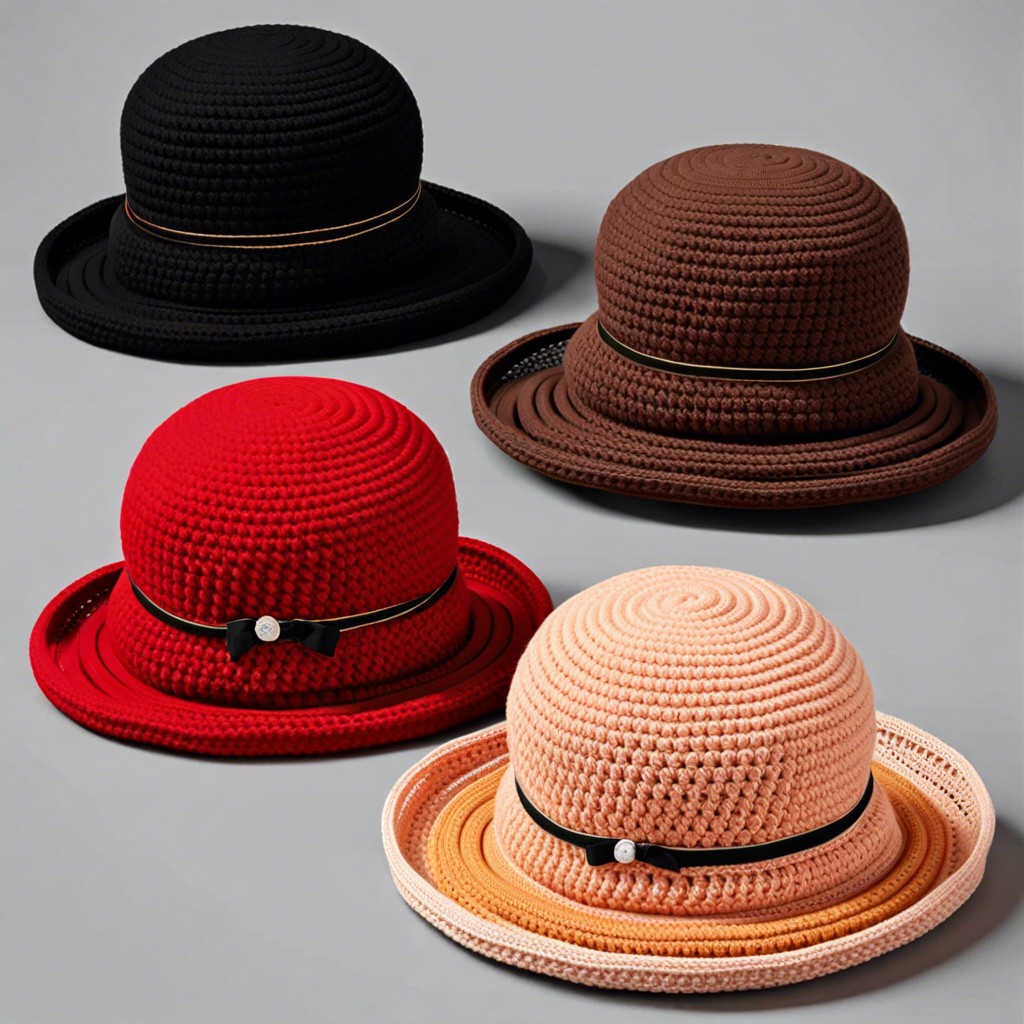
Learn how to crochet a cozy hat step by step with easy-to-follow instructions.
Key takeaways:
- Choose smooth, medium-weight yarn in your favorite color.
- Use a 5.5mm crochet hook and sharp scissors.
- Pay attention to gauge and count your stitches.
- Start with ribbing using slip knots and single crochet in back loops.
- Watch video tutorials for clear instructions and guidance.
Materials

Grab a skein of your favorite worsted-weight yarn. Choose a smooth, medium-weight yarn for a crisp stitch definition. Go wild with colors—it’s a hat, not a court appearance.
Next, a trusty crochet hook. Size 5.5mm (I-9) works well with most worsted-weight yarns. Check the yarn label if you’re unsure.
Scissors—make sure they’re sharp. No one wants to saunter around with frayed ends sticking out like uninvited guests.
A yarn needle for weaving in those pesky ends. You can also employ it to sew the hat together when the magic’s done.
A stitch marker. Not essential, but it can be a knight in shining armor, sparing you from endless counting and recounting. Using a bobby pin works too. Yes, we’re innovative like that.
That’s it! Fancy-schmancy gadgets aren’t necessary. Keeping it simple makes for a joyful, stress-free crochet adventure.
Pattern Notes
Remember, the right hook size and yarn weight can make or break your hat. Look for your pattern’s recommended materials.
Pay attention to gauge. It’s how many stitches and rows fit into a specific measurement. Too big? The hat swallows your head. Too small? It’s now a hat for your cat.
Count your stitches every now and then. It’s easy to lose your place while binge-watching that latest show, and suddenly you’ve got a lopsided beanie.
Read through the pattern before you start. Feel like a speed-reader, but slower. It’ll save you from any oops-moments later.
Creating the Crochet Ribbing Stitch
Grab that yarn and your trusty hook. It’s showtime!
- Start with a slip knot on your hook.
- Chain the number of stitches needed for your ribbing. Let’s say 10 for kicks.
- Turn your work and single crochet in the second chain from the hook, all the way across.
- Here’s where the magic happens: turn your work again and crochet into the back loops only. It gives that stretchy, ribbed look. Perfect for a snug hat fit!
- Repeat this back-loop-only single crochet until you’ve got a length that can comfortably wrap around your head.
Now you have it—wibbly-wobbly, yarny-warny ribbing!
Step-by-Step Video Tutorial
Watching a video tutorial can be a game-changer. Seeing the process in action helps those tricky stitches suddenly make sense. Here are a few things to look out for in a good video tutorial:
- Clear view of the hands: You want to see every twist and loop.
- Pause and rewind: Your new best friends when learning something new.
- Step-by-step instructions: Ideally, with a pleasant, non-robotic voice guiding you.
Remember, it’s not a race! Feel free to replay sections until you’ve got it down. And hey, don’t be afraid to wear that confused-but-determined look on your face. It’s all part of the fun.
Seaming Rectangle Into a Tube
Lay your crocheted rectangle flat and fold it lengthwise. You’re essentially making a rectangle taco, but tastier for craft enthusiasts.
Line up those edges neatly. We don’t want a wonky hat.
Grab your needle and yarn—time to get sewing. Use a whip stitch or mattress stitch, whichever floats your crochet boat.
Be gentle but firm. You want the seam tight but not so tight it puckers.
Work your way from the bottom to the top, keeping it straight and even. No zig-zagging off-course.
Once at the top, secure the yarn with a knot. Don’t overthink it; a good knot does the trick.
And voila! You’ve got a tube, my friend. The hat is nearly born.


