Learn how to crochet a charming pumpkin that will amp up your fall decor, perfect for beginners looking for a seasonal project.
Key takeaways:
- Basic supplies needed: yarn, crochet hook, stuffing, optional detailing.
- Learn crochet techniques: slipknot, chains, half double crochets, increasing and decreasing stitches.
- Free crochet pumpkin pattern in small, medium, or large sizes.
- Small size instructions: chain 12, double crochet stitches, tapered shape.
- Medium size: magic ring, increase stitches, follow pattern closely.
Materials Needed
For this crochet project, you’ll need some basic supplies that are easy to find and work with. Grab your favorite yarn in orange (or any color you like for a unique touch), a crochet hook in a suitable size for your yarn, a yarn needle for weaving in ends, and some stuffing material to give your pumpkin its plump shape. Optionally, consider getting some green yarn for the stem and brown yarn for extra detailing. With these supplies in hand, you’re all set to create your own adorable crochet pumpkin!
Crochet Techniques to Know
To begin your crochet pumpkin journey, familiarize yourself with a few basic techniques. First, get comfy holding your crochet hook – it’s your magical wand for creating. Remember, to start each piece, you need a slipknot; think of it as your crafting cape – you can’t be a crochet superhero without it. Chains are like the bread and butter of crochet; they’re the foundation of most projects. Half double crochets – not to be confused with halfway done croissants – are taller stitches that add texture and height. Lastly, increasing and decreasing stitches help shape your pumpkin; they’re like the squats and stretches for your crochet creation.
Free Crochet Pumpkin Pattern
For beginners looking to crochet a pumpkin, having a free crochet pattern is key. You can choose from three different sizes: small, medium, or large, depending on your preference. Each size comes with easy-to-follow instructions, perfect for those new to crocheting pumpkins. With these patterns, you’ll have a variety of options to create the perfect crochet pumpkin for your fall decor.
Small Size
For the Small Size crochet pumpkin, begin by chaining 12 stitches. Then work double crochet stitches into each chain to form the base of your pumpkin. To create the sides, alternate between stitching 2 double crochets in one stitch and then 1 double crochet in the next stitch. This will give your pumpkin a tapered shape. Once you reach your desired height, fasten off the yarn and leave a long tail for sewing. Gather the top of the pumpkin and pull tight before sewing it closed.
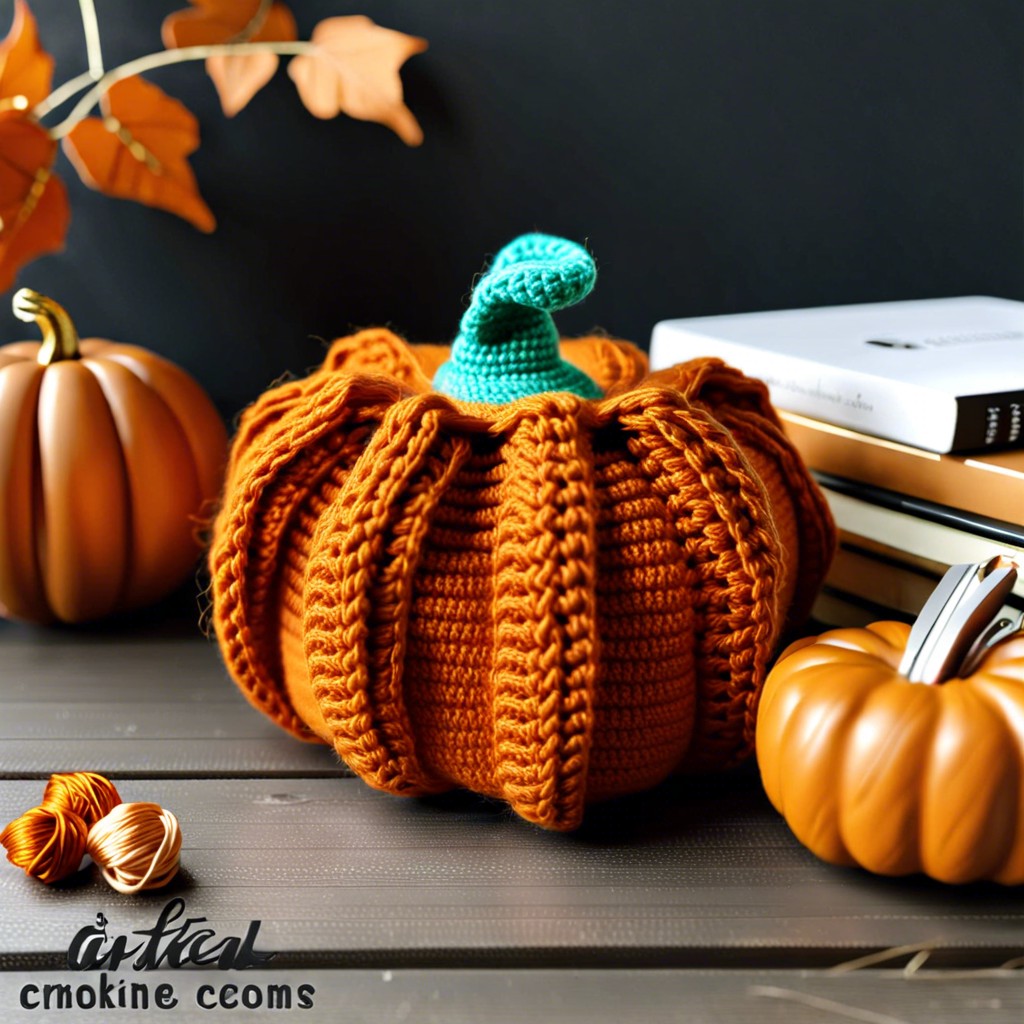
Medium Size (pictured)
When crocheting the medium-sized pumpkin, it should measure around 4 inches in diameter. Use yarn in fall colors for a festive touch. Start with a magic ring and work in rounds to create the pumpkin body. Increase stitches evenly to shape the pumpkin. Follow the pattern closely to achieve the desired size and shape. This size is perfect for tabletop displays or stringing together as garland for Halloween. Don’t forget to enjoy the process and have fun creating your crochet pumpkin masterpiece.


