Learn how to crochet a cozy rug by following these simple steps and tips!
Ready to turn that pile of yarn into a fabulous crochet rug that’ll make your floors look less like a garage sale and more like a cozy haven? Whether you’re dealing with bare tile or wooden floors that whisper, “Cool, but chilly,” this guide is here to help you create a durable, eye-catching new rug. From choosing the perfect hook and yarn combo to putting the finishing touches on your masterpiece, we’ve covered all the steps to keep your toes warm and your home stylish. Dive in and let’s make something spectacular!
Key takeaways:
- Choose a crochet hook and yarn that’s durable and comfortable.
- Consider factors like weight, materials, texture, and color when selecting yarn.
- Start by creating a foundation chain with a slip knot and steady tension.
- Increase stitches to make the rug bigger, decrease stitches to control size.
- Finish off by securing the yarn, weaving in loose ends, and adding a non-slip backing.
Materials Needed
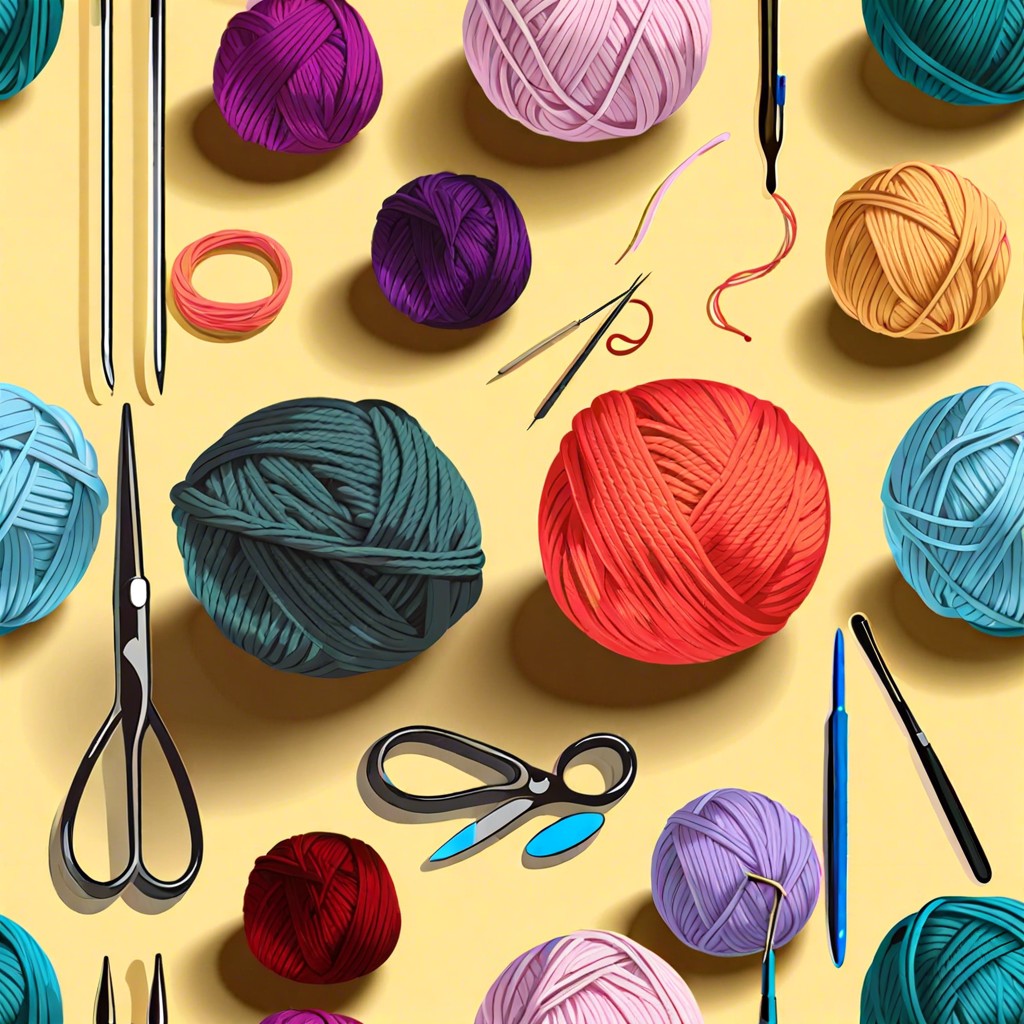
Gathering the right materials is crucial. Start with a crochet hook that feels like it was custom-made for your hands—nothing too large or too small. You don’t want hand cramps halfway through your Netflix binge, right?
Next, select yarn that can take a beating. Think chunky and durable. Cotton yarns or t-shirt yarns are your best pals here. They can withstand foot traffic better than most, plus they come in a zillion colors.
Don’t forget a tapestry needle. This little tool is your secret agent for hiding those pesky yarn ends. It’s like a comb-over but less embarrassing.
You’ll also need a good pair of scissors. Dull ones will make you question all your life choices. Opt for something sharp and precise.
Lastly, a tape measure will keep your ambition in check. It’s easy to get carried away—you don’t want to end up making a rug that doubles as a football field.
Better safe than sorry, right?
Choosing the Right Yarn
Picking the perfect yarn is crucial because rugs need to endure a lot of foot traffic and loving wear-and-tear. Opt for a yarn that’s sturdy and durable but still offers a touch of comfort underfoot. Here are a few factors to consider:
Weight: Bulky or super bulky yarn works best. While a lace-weight rug sounds delicate and dainty, it’s not doing anyone any favors in the durability department.
Materials: Go for natural fibers like cotton or wool for durability. Synthetic blends can add both strength and budget-friendly vibes.
Texture: Smooth yarns are easier to clean. Fancy fluffy textures might trap more dirt than a Roomba in a sandbox.
Color: Think about your home decor and choose a color that complements your space. Darker colors may hide stains better, a plus if you have pets or kids channeling their inner tornadoes.
Now that you’ve got your yarn, let’s dive into the magic of creating that cozy, stunning centerpiece.
Starting the Rug: Creating a Foundation Chain
Grab your hook and your yarn, because it’s time to kick things off! First, make a slip knot. It sounds fancy, but it’s really just a yarn loop with a knot at the end. Got it? Great. Now, slide that loop onto your crochet hook — congrats, you’re halfway there!
Next, you’ll start chaining. This just means looping the yarn over the hook and pulling it through the loop you already have. Think of it like making a daisy chain, but this one won’t wilt. Aim for a chain that’s a bit longer than the width you want for your rug.
Keep your tension steady. Too tight, and you’ll be wrestling with the yarn; too loose, and it might look like your rug had one too many cups of coffee. No one wants a jittery rug.
Count your stitches, but don’t stress if you lose count. You can always add a few more chains if needed. For a rug, precision isn’t life or death. Enjoy the process — you’re creating a rug that will make your floor happy!
Building the Rug: Increasing and Decreasing Stitches
Have you ever tried scaling a mountain made of marshmallows? Neither have I, but that’s a little what increasing and decreasing stitches can feel like! Here’s the lowdown:
- When increasing stitches:
- Add extra stitches to make your rug bigger, wider, or just plain more majestic. To increase, simply crochet two stitches in the same spot where there was previously just one. Think of it like inviting a friend over—the more, the merrier.
- When decreasing stitches:
- Sometimes you need to rein in the chaos. To decrease, crochet two stitches together like they are having a cozy little coffee date. You’ll insert your hook into the first stitch, then the second, pull yarn through both, and voila—fewer stitches!
- Mind the balance:
- Increasing too much will turn your rug into a sprawling kingdom. Decrease too much, and it might just fold up on itself. Aim for the Goldilocks zone—not too many, not too few, just right.
Remember, practice makes perfect. If it looks wonky, that’s okay! Wonky gives it character.
Finishing Off the Rug
Once your rug has reached the desired size, it’s time to wrap things up. Snip your yarn, leaving a tail that’s long enough to weave in later. Pull this tail through your final loop to secure it. Voilà, no unraveling nightmares!
Grab your trusty yarn needle to weave in those loose ends. Don’t just thread them through a couple of stitches—give them a good three or four inches of stealth weaving. This way, the ends will stay hidden and your rug will look neater than your living room on laundry day.
Now, give your rug a gentle tug to even out any bumps or wonky stitches. Consider blocking your masterpiece to ensure it lies flat and behaves itself. Blocking is like giving your rug a friendly nudge to be on its best behavior. A light misting with water and a bit of pinning down should do the trick.
Optional but recommended: add a non-slip backing. No one wants to take an impromptu journey to the floor. Use a rug pad or a bit of hot glue to keep the rug behaving on slick surfaces.


