Learn how to crochet a whale with this easy-to-follow guide that takes you step-by-step from choosing your yarn to finishing your adorable sea creature.
Ready to embark on a whimsical ocean adventure from the comfort of your cozy nook? Look no further! With soft, worsted weight yarn in delightful nautical shades, you’ll crochet an adorable whale that’s ready to make waves in your heart. From creating a magic ring to perfectly positioning those charming fins and expressive eyes, this guide will ensure every stitch and stuff is spot on—whether you’re a seasoned sea-crafter or a just-dipping-your-toes newbie. Anchors aweigh, let’s dive into the crochet fun!
Key takeaways:
- Use soft, worsted weight yarn in nautical shades.
- Start with a magic ring and increase stitches strategically.
- Assemble the whale by sewing on fins, tail, and eyes.
- Personalize your whale with accessories and colors.
- Check tension, use stitch markers, stuff properly, and weave ends.
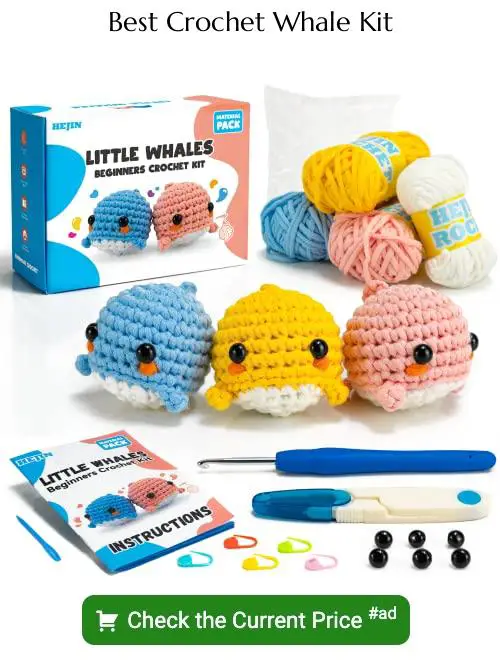
Materials Needed
Grab your crochet hook and let’s dive into the underwater world of crafting! First on our list is yarn. Opt for a soft, worsted weight yarn; it’s like the Goldilocks of yarn—just right. You’ll need about two colors, one for the whale’s body, and a contrasting one for the belly. Classic nautical shades like blue and white bring out that sea vibe.
A size G/4mm crochet hook pairs perfectly with worcestershire, I mean, worsted weight yarn. Stitch markers may sound like tiny knitting ninjas, but they’ll help you keep track of rounds. Safety eyes are optional, but they add a cute touch. Instead of the real thing, you could sew on buttons if you prefer.
Stuffing is the fluff that gives your whale its plump, huggable form. Polyester fiberfill works wonders. Finally, a tapestry needle for weaving in ends and sewing parts together rounds out our toolkit. Now, let’s get cracking – or should I say, crocheting!
Starting the Body
Begin with a magic ring; it’s like summoning yarn magic! This lets you crochet in the round with no hole in the center. Make six single crochets into the ring and pull it tight.
Next up, increase a stitch in each round. For round two, do two single crochets in each stitch, ending with twelve stitches. Your whale’s body will start to take shape – just imagine it wiggling its little tail already!
In rounds three and four, increase strategically. One single crochet in the first stitch, then two in the next, and so on. Keep track of your stitch count. Before you know it, you’ll have a growing, yarny blob.
Continue working in smooth rounds until the body looks whale-sized. Remember, no one likes a lopsided whale, so maintain those neat increases!
Happy crocheting. Your whale is already dreaming of ocean waves and plankton parties!
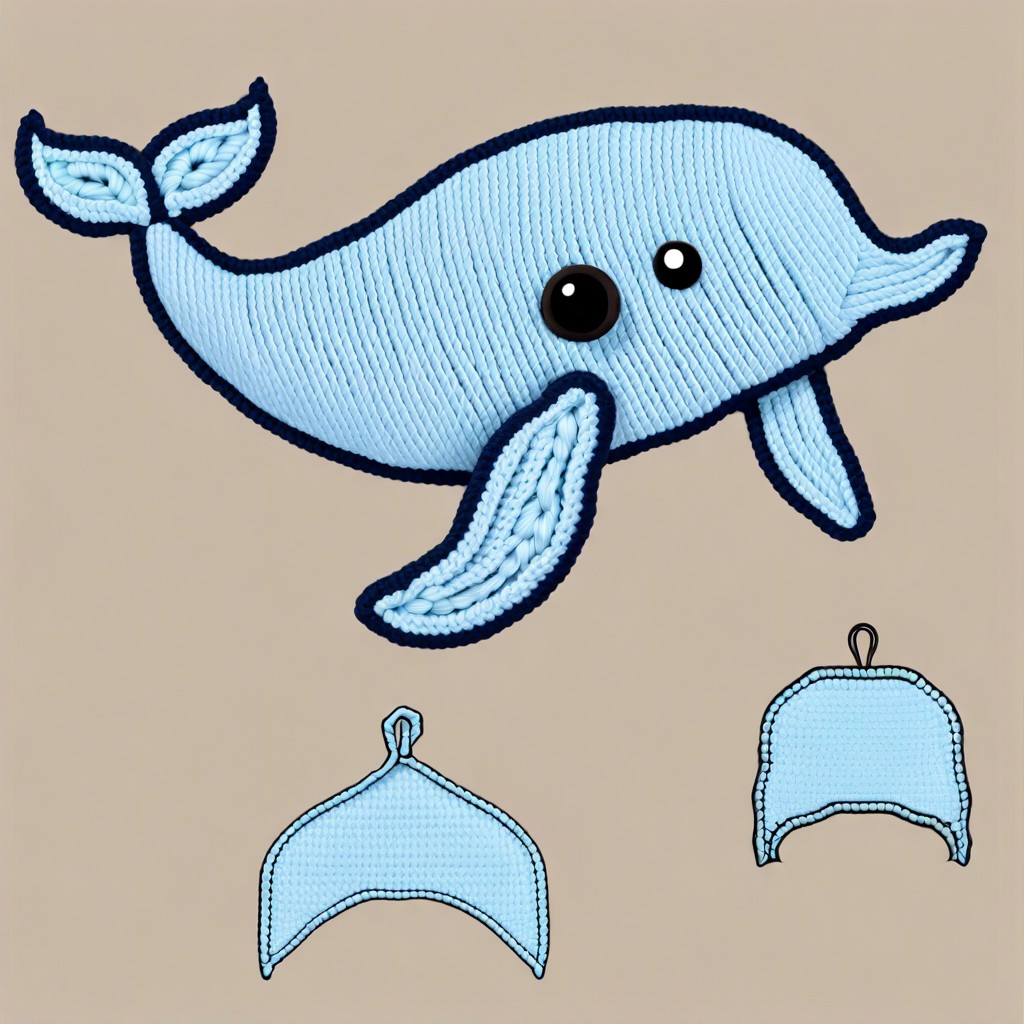
Assembling the Whale
Now that you’ve got all your pieces, it’s like a puzzle, but way squishier. Start by placing the belly on a flat surface and arrange the fins on either side; think of them as the whale’s high-fives. Pin them down to keep them from escaping.
Next, take a deep breath and thread your yarn needle. Sew the fins securely. Feel free to mutter encouraging words to your yarn – it helps.
Now, attach the tail. Position it at the back and sew it on. Make sure it’s firmly attached so your whale can swish through imaginary seas without a hitch.
Finally, position the eyes. Space them out evenly above the belly. Sew or glue them on, ensuring your whale looks friendly and not like it’s had too much caffeine.
Give the whale a gentle squeeze to make sure everything is tight. And voila, your whale is now sea-worthy!
Personalizing Your Whale
Go wild with your creativity. Your whale can be anything you dream!
Consider adding a tiny sailor hat or a jaunty scarf. Got some felt? Whip up some cheerful fins in vibrant colors. Experiment with different yarn colors for the body to create your own unique design—who says whales can’t be rainbow-colored?
Add some pizazz with sequins or beads for eyes that sparkle. Embroider a little smile or even a cheeky grin. You could even crochet a mini friend—perhaps a little fish sidekick—because every whale needs a buddy.
To make your whale extra special, think about adding a little bell or squeaker inside. This is especially fun if the whale is for a child, adding an interactive element to your crochet masterpiece.
Mix and match these ideas, and don’t be afraid to innovate. After all, your whale is a one-of-a-kind creation.
Notes and Tips
Check your tension regularly. Loose stitches might make your whale look like it’s had too much plankton!
Use stitch markers. Whales don’t have to swim in circles, but your crochet stitches might. Avoid the spiral of confusion.
Stuffing matters. Overstuffing can make your whale look like it needs to hit the gym. Understuffing makes it look like it needs a hearty meal.
Choose the right yarn. A fuzzy yarn might make your whale look like it’s growing seaweed. Smooth yarn works best.
Keep weaving your ends properly. Loose ends can unravel your project. And trust me, you don’t want a whale with a tail-end issue.


