Learn how to crochet step by step with this detailed guide tailored especially for beginners.

Ever stared at a ball of yarn and wondered how to turn it into something fabulous? Well, wonder no more! Whether you’re dreaming of crafting cozy scarves or adorable amigurumi, this guide spills all the beans on how to get your crochet game on. From nailing that first slip knot to weaving in those mischievous yarn tails, we’re covering it all. Ready to turn yarn into magic? Let’s hook you up!
Key takeaways:
- Choose medium weight yarn in light colors for easy visibility.
- Start with a slip knot, chain stitches, and single crochet.
- Finish off by cutting yarn, pulling through, and weaving in ends.
- Beginners should start with simple projects like dishcloths or scarves.
- Granny squares, amigurumi, cowls, and headbands are great options.
What Do You Need to Start Crocheting?
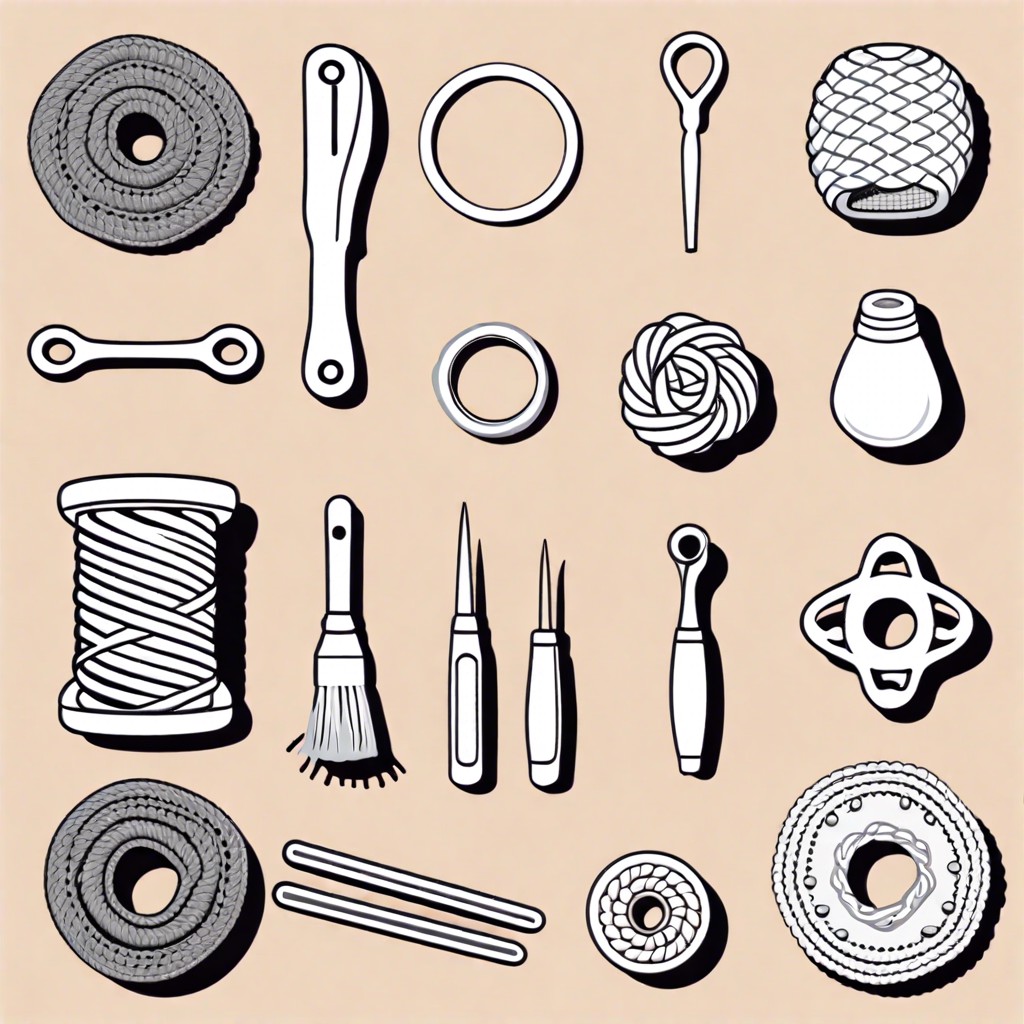
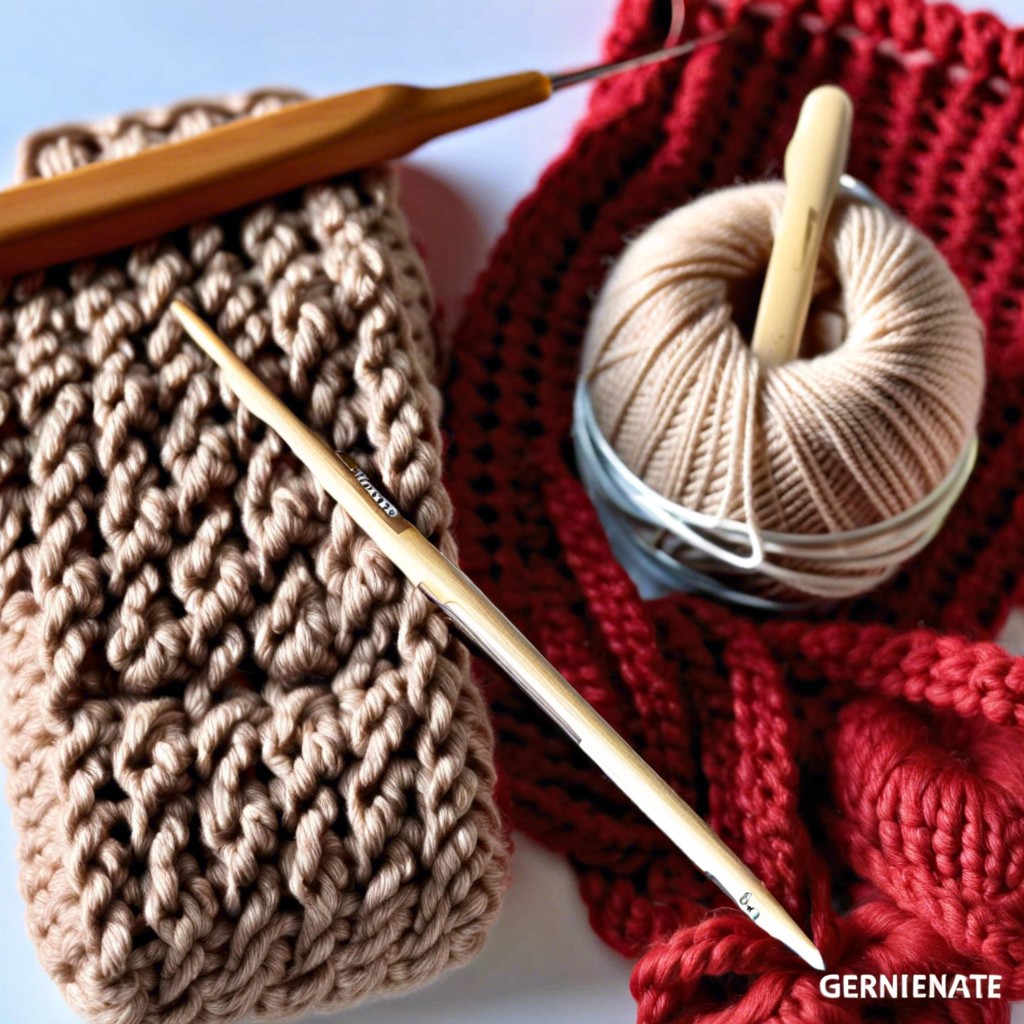
You’ll need some basic supplies to begin your crochet journey. First on the list is yarn. Pick a medium weight, also known as worsted weight, which is super friendly for newbies. Go for light colors; it’s easier to see stitches with them.
Next, grab a crochet hook, size H-8 (5mm) is ideal to start with. Not too tiny, not gigantic. Just Goldilocks right. You’ll need scissors for snipping yarn. Remember, safety first – those scissors are not for your haircut experiments.
A yarn needle is essential for weaving in those pesky ends. Finally, a good attitude and patience are your best buddies here. Hooking up rows of knots can be tricky, but it’s all part of the fun.
Step-by-Step Guide

Picture yourself as a magician, with yarn and a hook instead of a wand. Abracadabra, it’s crochet time! Here’s a breezy, step-by-step guide:
- Slip Knot Magic: Start by making a slip knot on your hook. This isn’t Hogwarts; it’s simpler. Wrap the yarn around your fingers, pull a loop through, and presto! You’ve got your start.
- Chain Gang: Create your foundation chain. Do this by wrapping the yarn over the hook and pulling it through the existing loop. Keep going until you have a row of little V’s.
- Single Crochet Sorcery: Insert your hook into the chain, pull the yarn through so you have two loops on the hook. Magic moment: yarn over and pull through both loops. Hey, that’s a single crochet!
- Finishing Touches: When you’ve stitched your heart out, it’s time to fasten off. Cut the yarn, leave a tail, pull it through the final loop, and tug. End of the spell.
Repeat these steps, add some practice, and you’ll soon conjure up crochet wonders!
How to Tie a Slip Knot
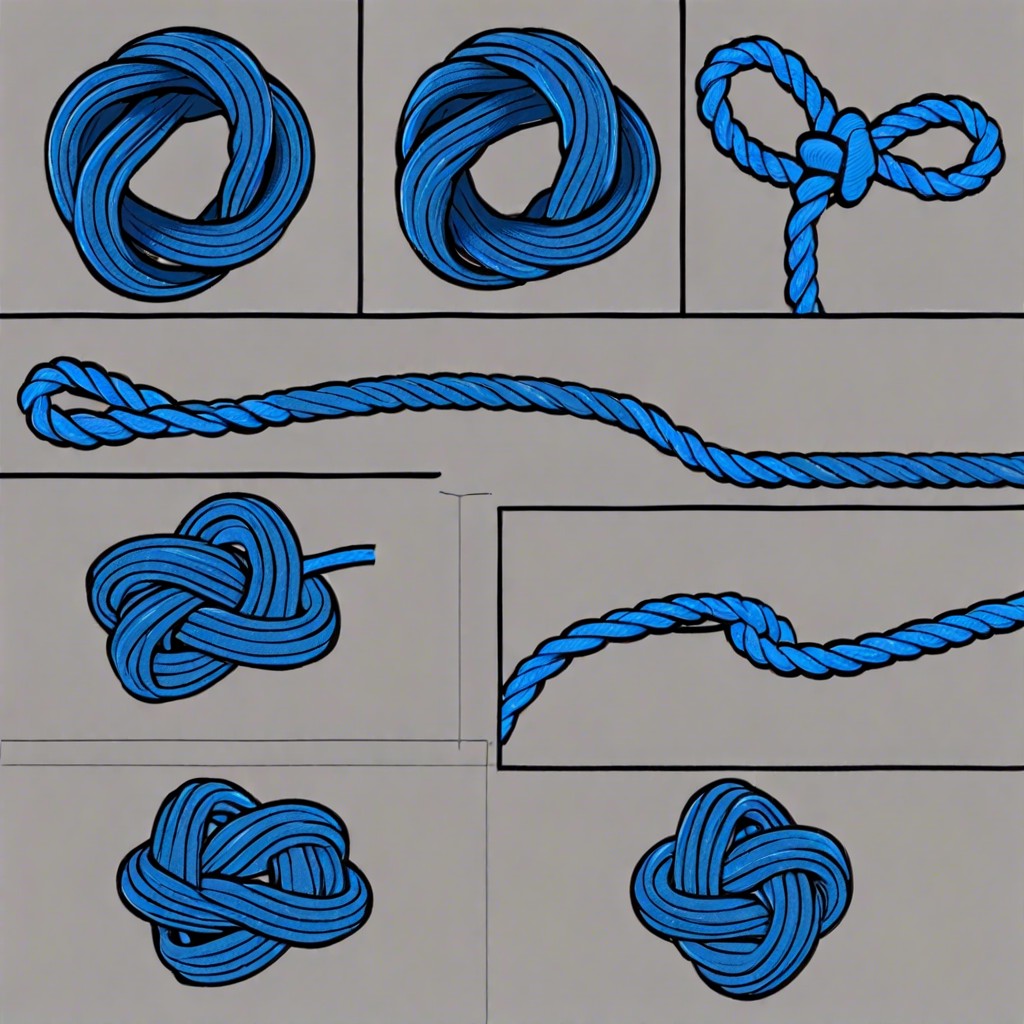
Picture this: you’re about to embark on your crochet journey, and the first step is what some might call “The Glorious Slip Knot.” Here’s how you make it happen:
- First, grab your yarn. Hold the loose end in one hand (yes, you’re a yarn whisperer now).
- Make a loop by crossing the yarn over itself. Think of this as a mini roller coaster for ants.
- Pinch the crossover point with your fingers. You’re now in control of the situation.
- Grab that yarn tail hanging out and pull it gently through the loop. You’ve got the essence of a slip knot forming.
- Tighten the knot by pulling both ends of the yarn. But don’t Hulk out – you want the knot snug, not invincible!
You’ve got it—your first step in the crochet dance is complete, and you did it without even breaking a sweat. Time to savor this little victory before moving on.
How to Make a Starting Chain
Hold your crochet hook like a pencil and grab the yarn with your non-dominant hand. It’s showtime.
Wrap the yarn around the hook from back to front. This is called a yarn over. Get used to that phrase; you’ll be hearing it a lot.
Now, pull the hook and yarn through the loop of the slip knot. Voilà! You’ve just made your first chain stitch.
Keep repeating the yarn over and pull-through process until you have a row of chain stitches. Aim for the length stated in your pattern or just wing it if you’re feeling rebellious.
Make sure each stitch is even. Remember, consistency is key. Nobody wants a lopsided scarf.
Pro tip: Don’t make your chains too tight. The tension should be just right, like a firm handshake—confident, not crushing.
How to Single Crochet
Alright, you’ve got your slip knot and your starting chain—you’re on fire! Now, let’s talk about taking that next step. Here’s how you rock a single crochet stitch.
Insert your hook into the second chain from the hook. Yes, skip the first one! It’s like jumping into the pool from the middle of the diving board, not the edge.
Yarn over, pulling the yarn through the chain. You should now have two loops on your hook. It’s a tiny victory; you’re practically a wizard.
Yarn over again and pull through both loops on your hook. Voila, a single crochet stitch has been born, and it feels like magic every time.
Repeat this process across the entire row of chains you’ve made. Consider it the yoga of hand movements—calming, rhythmic, and surprisingly satisfying.
At the end of the row, give yourself a mini high-five and then “turn” your work around. Chain one and continue single crocheting into each stitch across the new row. Think of it as reading a book, gotta turn the page eventually!
Keep going until you’ve created a masterpiece—or at least something vaguely rectangular. Remember, confidence is key. You’re nailing it!
How to Fasten Off
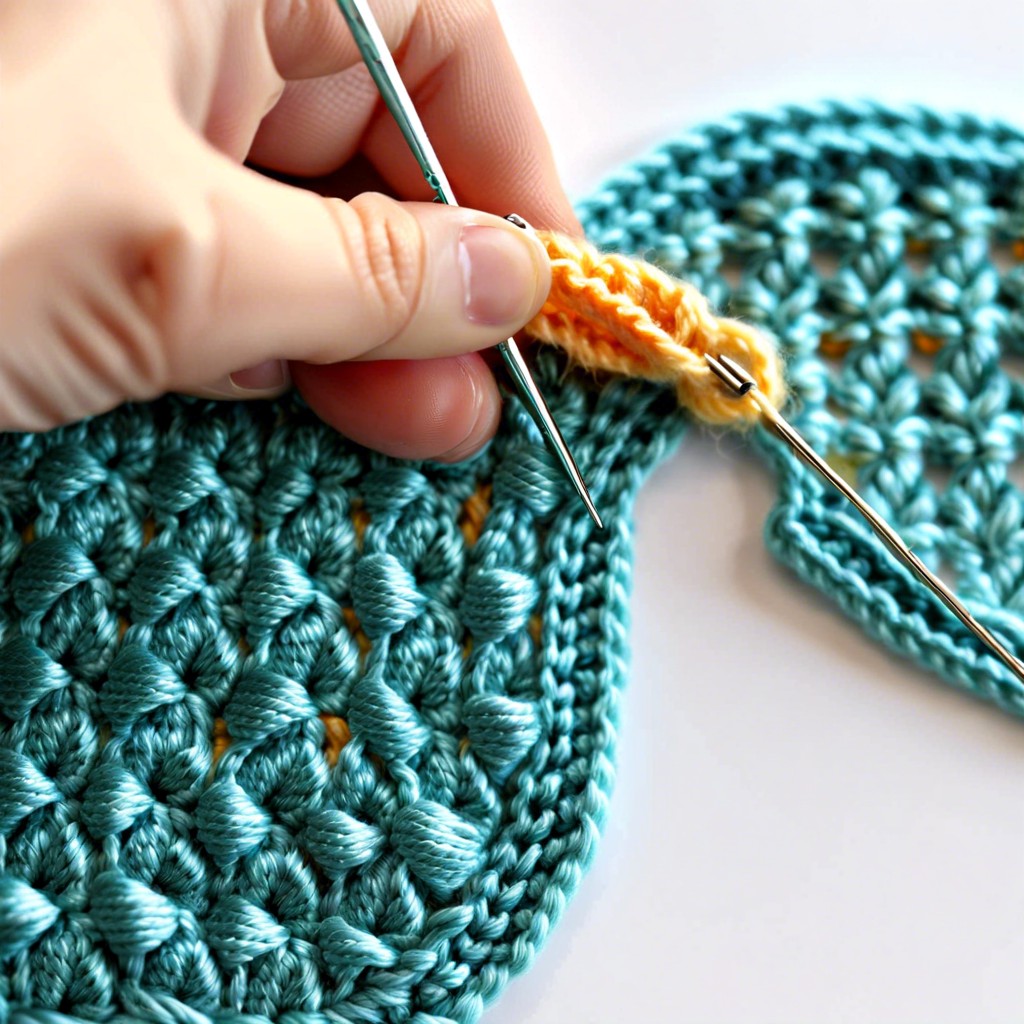
Alright, so you’ve finished your crochet masterpiece (or at least a mighty fine coaster). Now, it’s time to tie it all up nicely.
First, cut your yarn. Leave around six inches of tail, sort of like giving your project a teeny, tiny scarf.
Next, yarn over one last time. But instead of crocheting, pull that loop all the way through the last stitch.
Gently tug the yarn tail to snug things up. A bit like tucking someone into a cozy yarn blanket. Not too tight, not too loose. Think Goldilocks.
Grab your trusty yarn needle. Thread the yarn tail through it and weave it back into your stitches, hiding the tail like a ninja.
Snip any extra yarn. Admire your work. You’ve just fastened off!
Best Patterns for Beginners
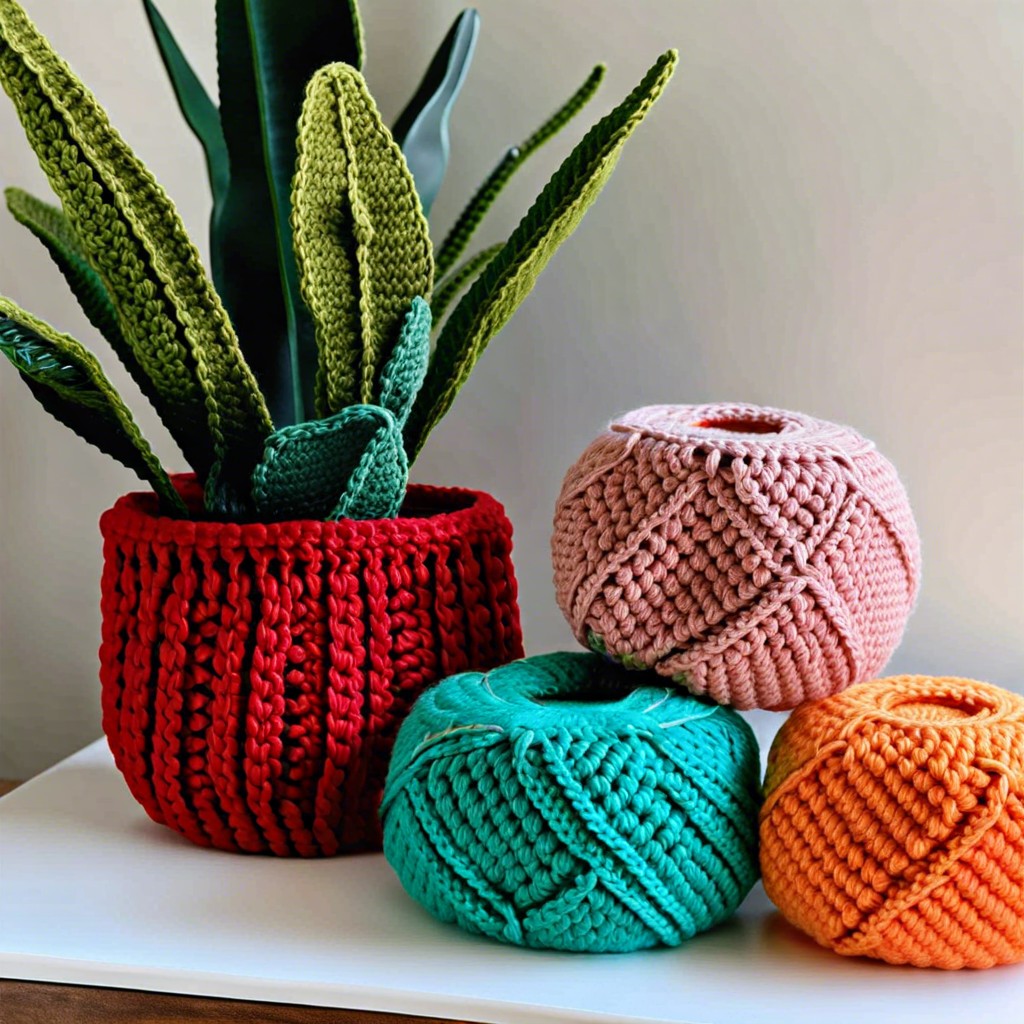
Start with a simple square or rectangle. Think dishcloths, scarves, or blankets. These projects let you practice basic stitches without worrying about complex shapes or fancy techniques. Plus, everyone needs a million dishcloths, right?
Granny squares are another excellent option. They might sound like something your grandma would make (hence the name), but these bad boys are like the Swiss Army knives of crochet. Once you get the hang of them, you can whip up colorful squares that can be pieced together to create larger items like blankets, bags, or even jackets.
If you’re feeling ambitious but not ready to wrestle an octopus, try a basic amigurumi pattern. Think simple stuffed animals or shapes that use basic stitches but teach you the magic of increasing and decreasing.
Cowls and headbands are your new best friends. They’re quick, they’re cute, and they’re winter wardrobe staples. Plus, they’re a great way to gift yourself (or someone else) a cozy accessory while learning to join and work in the round.
Finally, try a pillow cover. Take two squares, stitch them together, stuff it with fluff, bam! You’ve got a cozy, homemade statement piece. This project will make your living room look like an artisanal wonderland and provide practice on stitching pieces together neatly.
Related Posts
 Easy Crochet Gnome Pattern Free: Transform Yarn into Whimsical Friends
 Crochet Star Blanket: A Stellar DIY Guide
 How to Crochet Slippers for Beginners Step by Step with Pictures: Cozy Feet Awaits
 Adjustable Ring Crochet: Master the Magic Circle
 How to Crochet Without a Hook: Hands-On Creativity