Learn how to crochet hair without a hook by using just your fingers and some creativity for a stylish and natural look.
Key takeaways:
- Use soft and realistic yarn or hair extensions
- Start with clean, dry, and detangled hair
- Divide hair into small, manageable sections
- Thread the yarn or extension through with your fingers
- Secure the yarn or extension with knots close to the scalp
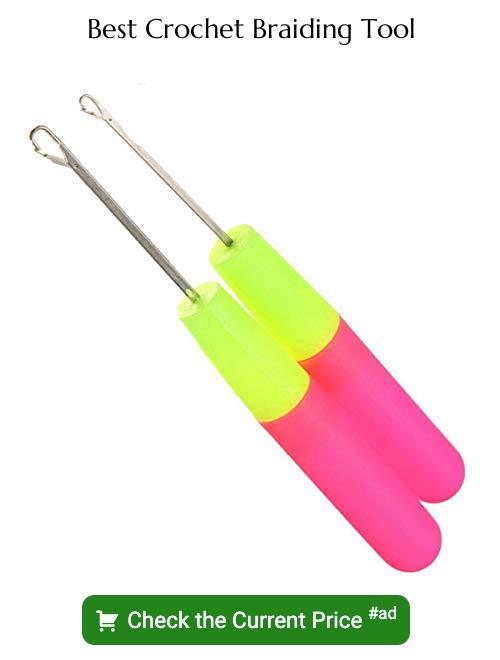
Materials Needed
Ready to dive into a hook-free crochet adventure for your hair? Here’s what you’ll need:
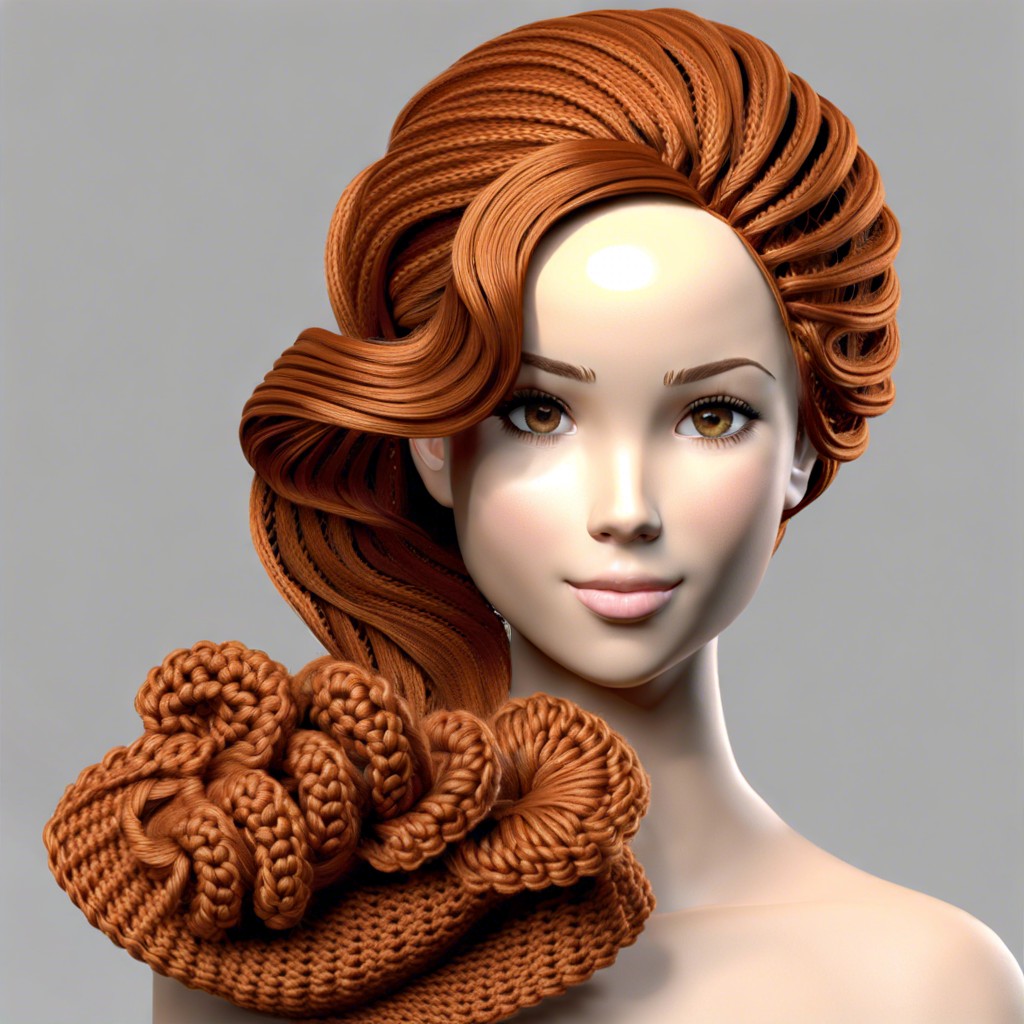
Yarn or hair extensions: Opt for something soft and realistic. Nothing screams fabulous like yarn in rainbow colors, but natural tones work too.
Scissors: Because you can’t cut yarn with sheer willpower.
Bobby pins or hair clips: To keep those pesky hair sections out of the way.
Elastic bands: Small and discreet, just like your ability to resist another crafting project.
A mirror: Unless you have superhuman vision that lets you see the back of your head without one.
Prepping the Hair
Before diving in, it’s crucial to start with clean, dry hair. You wouldn’t want to crochet on a greasy canvas, would you? Give those locks a good wash and let them dry completely.
Detangling is next. Think of this like finding treasure—minus the pirates and parrots. Gently brush through with a wide-tooth comb to rid the hair of knots and tangles. Trust me, your fingers will thank you later.
Lastly, grab a little leave-in conditioner or a spritz of detangling spray. A little goes a long way in making the hair smooth and manageable. Smooth sailing ahead!
Sectioning the Hair
Grab a comb and channel your inner architect—it’s time to divvy up those luscious locks. Proper sectioning leads to less tangling and more fabulousness.
Start at the nape of the neck and work your way up. This ensures even coverage and no funky bald spots.
Create small, manageable sections. Aim for sections about the width of a pencil. Small sections help keep things neat and tidy.
Use clips or hair ties to keep sections out of your way. Seriously, trying to crochet with hair flying everywhere can turn you into a tangle monster.
Voilà! Your hair is now ready for the crocheting magic.
Threading the Yarn or Hair Extension
Picture this: You’re about to thread the yarn or hair extension through your hair, but instead of a hook, you have your trusty fingers. Here’s how to make it a breeze:
First, twist the end of the yarn or hair extension to make it easier to handle. Think of it like threading a needle, but, you know, without the needle.
Next, make a small loop at the end of the yarn. This loop will act like a mini-grabber. Use your fingers to guide the loop under the section of hair you’ve already prepped.
Once the loop is through, pull the rest of the yarn or extension through the loop, creating a neat and secure knot. Imagine you’re lassoing a tiny ponytail. Because who doesn’t love the idea of tiny ponytails?
Finally, give a gentle tug to make sure everything is snug. You don’t want the yarn slipping out halfway through the day and turning you into an accidental trendsetter of yarn shedding.
And voilà! The yarn or hair extension should be in place, ready to flaunt.
Securing the Hair
Pull the threaded yarn or hair extension through the sectioned hair, making sure it’s taut but not painfully tight. You want a secure grip, not an accidental facelift.
Make a simple knot close to the scalp. This helps keep the yarn in place, making sure it doesn’t slip away like your grip on reality during a yarn sale.
Optional: For extra security, tie a double knot. It’s like adding a second lock on your door—keeps everything firmly in place.
If your yarn is particularly slippery, a small dab of hair gel or styling cream can add extra hold. But remember, we’re not going for the gel-helmet look.
Keep repeating these steps for each section of hair until you’ve achieved the desired look. Whether it’s a full head of colorful strands or a few highlights, you’ll be all set.


