Learn how to crochet letters to personalize your projects with a touch of whimsical charm.
Key takeaways:
- Choose the right supplies for crocheting letters
- Learn the basic stitches for crocheting letters
- Follow a step-by-step guide to crochet specific letters
- Explore different methods to join crocheted letters
- Apply crocheted letters to personalize various projects
Necessary Supplies for Crocheting Letters
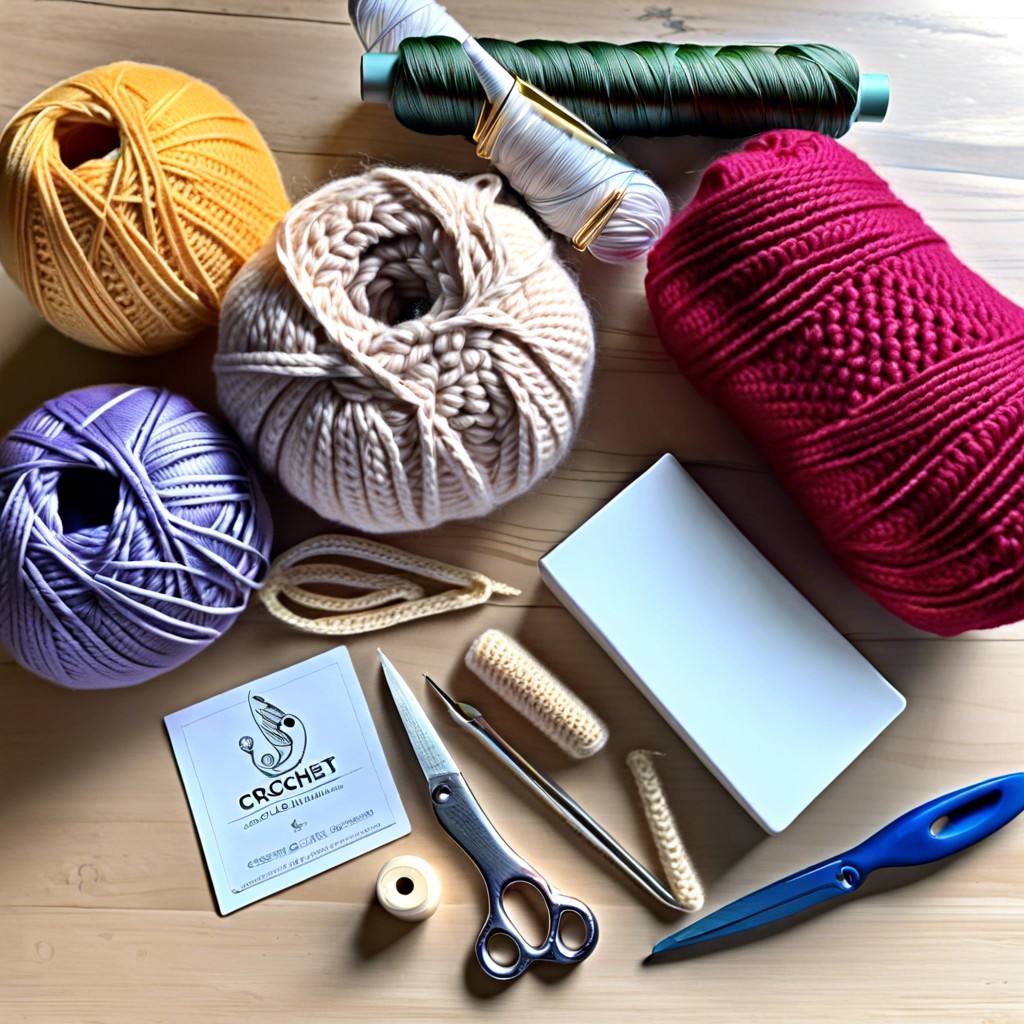
To crochet letters, you’ll need basic supplies like yarn and a crochet hook. Choose a yarn color that makes your letters stand out, and a hook size that complements your yarn weight. Consider using a soft, pliable yarn for better letter definition. A yarn needle is handy for weaving in ends, and scissors are essential for trimming yarn. With these simple supplies, you’re all set to start crocheting your favorite letters!
Basic Stitches Used in Crocheting Letters
To crochet letters, you will primarily use basic crochet stitches like chain stitch, single crochet, and slip stitch. The chain stitch forms the foundation of your work, the single crochet creates solid lines, and the slip stitch is handy for neatening edges. By mastering these fundamental stitches, you’ll be well-equipped to crochet a wide range of letters and shapes with ease. Experimenting with stitch combinations can lead to more intricate designs, allowing you to get creative with your crocheted letters.
Step-by-Step Guide to Crocheting the Letter A
When crocheting the letter A, start by creating a foundation chain with the number of stitches needed for the height of the letter. Then, work your way up using single crochet stitches evenly in each row.
To create the angled top of the letter A, work decrease stitches at the beginning and end of the rows. This will give your letter a clean and defined shape.
Incorporate color changes if desired to make your crocheted letter A more visually appealing. Simply switch yarn colors at the beginning of a row to add a pop of color.
Finish off your crocheted letter A by fastening off the yarn and weaving in any loose ends. Enjoy the satisfaction of seeing your completed letter taking shape!
How to Join Crocheted Letters
When it comes to joining crocheted letters, there are several ways to bring your individual pieces together seamlessly. One method is to use a tapestry needle and yarn to sew them together. You can also slip stitch the letters together to create a smooth finish. Additionally, consider using the mattress stitch technique, which involves weaving the two pieces together in a way that hides the seam. Experiment with these methods to find the one that works best for your project. Joining crocheted letters is a fun and creative way to customize your projects and add a personal touch.
Applying Crocheted Letters to Different Projects
Once you’ve mastered crocheting letters, you can apply them to various projects to personalize and add a special touch. Consider crocheted letters for adding names to blankets, bags, or hats. They also work wonders for creating decorative wall hangings or banners for special occasions. For a unique twist, try crocheting letters in different colors or mixing them with other crochet motifs. The possibilities are endless!
Related Posts
 Easy Crochet Gnome Pattern Free: Transform Yarn into Whimsical Friends
 Crochet Star Blanket: A Stellar DIY Guide
 How to Crochet Slippers for Beginners Step by Step with Pictures: Cozy Feet Awaits
 Adjustable Ring Crochet: Master the Magic Circle
 How to Crochet Without a Hook: Hands-On Creativity