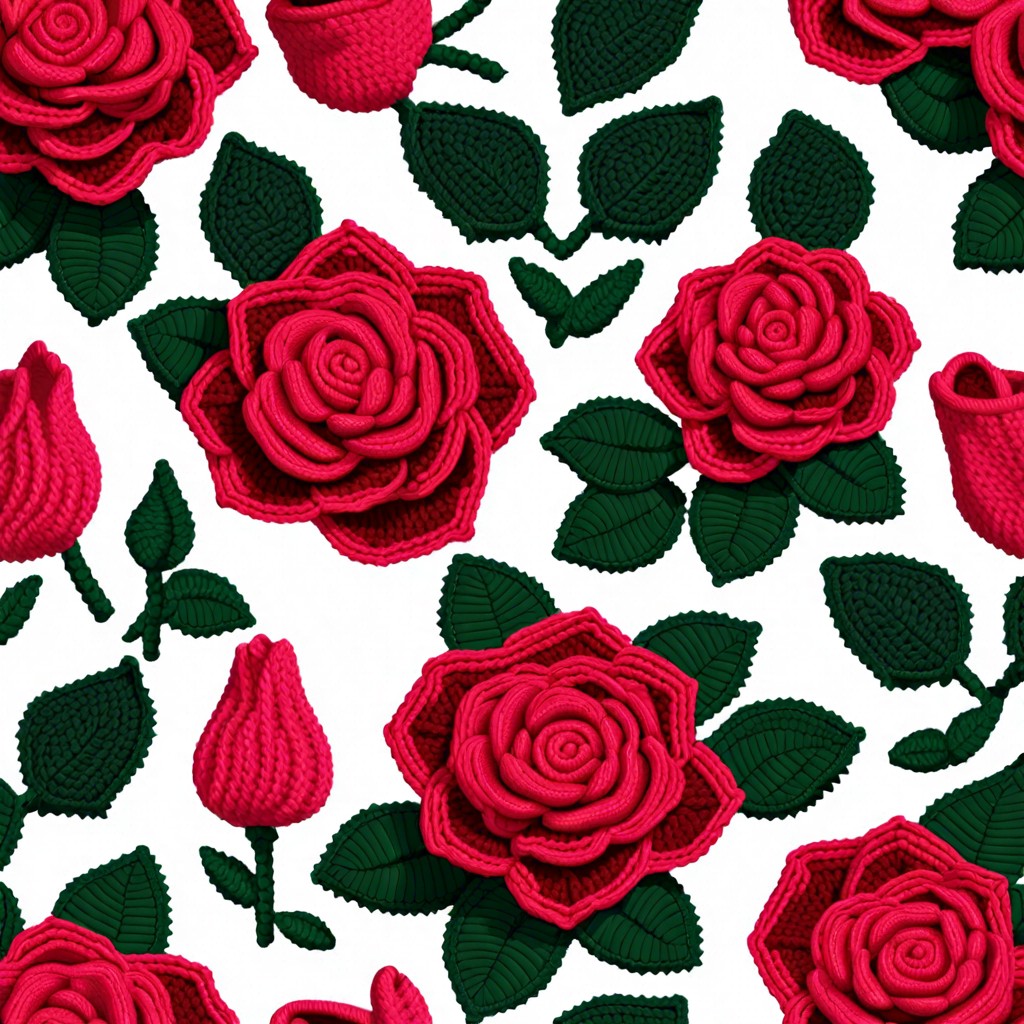
Learn how to crochet a rose that will outlast any garden variety, using simple steps and yarn instead of water and sunlight.
Key takeaways:
- Gather necessary materials: yarn, crochet hook, scissors, tapestry needle
- Choose a smaller crochet hook for tighter, defined petals
- Follow the pattern step by step for a successful crochet rose
- Adjust the starting chain length for desired rose size
- Secure and shape the rose by sewing through layers, experimenting with tightness
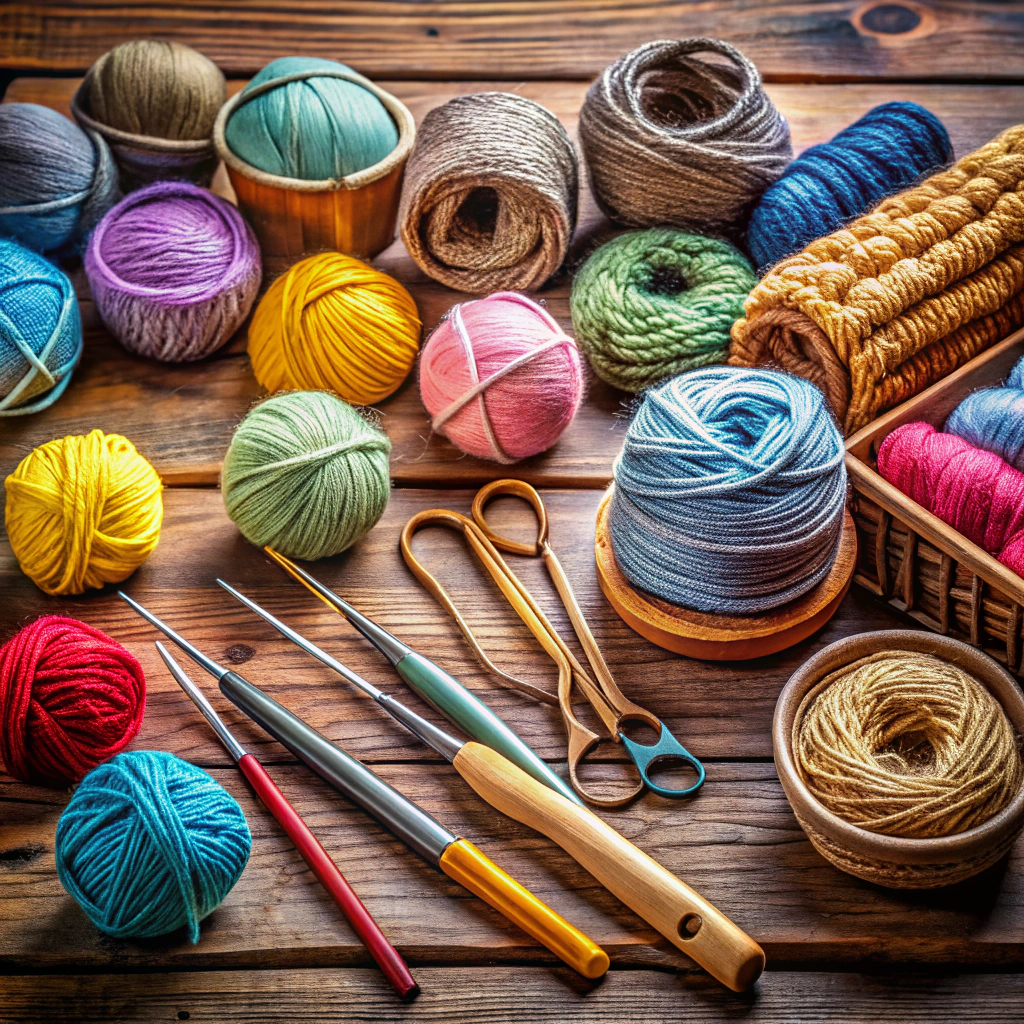
Materials Needed for Crochet Roses
To create adorable crochet roses, gather the necessary materials. You will need some yarn in your preferred color, a crochet hook of the appropriate size for your yarn weight, a pair of scissors to trim off any excess yarn, and a tapestry needle for sewing the rose together. Having these items ready will make your crocheting experience smooth and enjoyable.
Crochet Hook Selection
Choosing the right crochet hook is crucial for crocheting a rose. It’s best to use a smaller hook size than what is recommended on the yarn label to achieve a tight, firm fabric for the petals. A smaller hook will give your rose a more defined shape. Opt for a hook that feels comfortable in your hand to prevent discomfort or cramping during the project. Experiment with different hook sizes to find the one that works best for you.
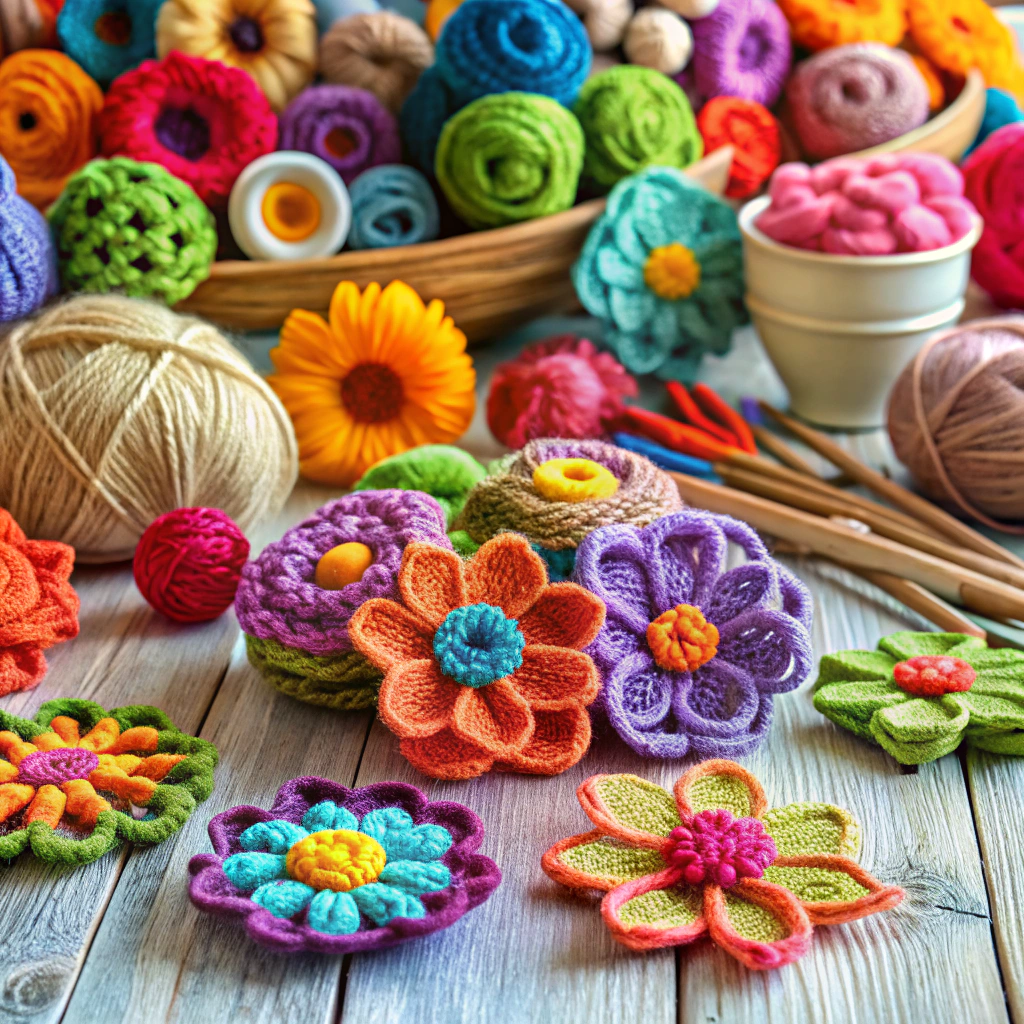
Pattern Overview
In the Pattern Overview, you will find that crochet roses are made up of several components that are stitched together to create a beautiful flower. Each component is crocheted separately and then assembled at the end. The pattern will guide you on how to create each part and how to put them together to form the rose. Following the pattern step by step is crucial to ensure your crochet rose turns out just right. Be sure to pay attention to details such as stitch count and color changes as indicated in the pattern. This section will give you a general idea of what to expect as you embark on creating your very own crochet rose.
Starting Chain
When starting to crochet a rose, begin by creating a foundation chain. The length of your starting chain will determine the size of your rose, so adjust accordingly. Remember, more chains mean a larger rose, so experiment until you find your desired size. This starting chain forms the center of your rose, so ensure it’s the size you want before moving on.
Sewing the Rose Together
- To sew the crochet rose together, start by rolling the crocheted strip tightly.
- Secure the rolled strip by sewing along the bottom edge.
- Use a tapestry needle and matching yarn for a seamless look.
- Ensure the rose is secure by sewing through the layers as you go.
- Experiment with different tightness levels to create varied rose shapes.
- Practice sewing until you achieve the desired look for your crochet rose.