Learn how to crochet the second row of your project with our step-by-step guide and handy pictures to keep your hooks flying right.
Key takeaways:
- Turn your work and position your yarn correctly.
- Insert your hook in the top of the first stitch.
- Follow the pattern instructions for the stitch needed.
- Check tension and count stitches to troubleshoot.
- Use a gauge swatch to ensure the right size.
How Do I Start a Second Row in Crochet?
To start the second row in crochet, simply turn your work after completing the first row. Ensure your yarn is positioned correctly to prevent tangling. Insert your hook into the first stitch of the previous row to begin. Follow the pattern instructions for the type of stitch needed. Remember to keep your tension consistent throughout to maintain an even look. Stay relaxed, enjoy the process, and embrace any mistakes as learning opportunities.
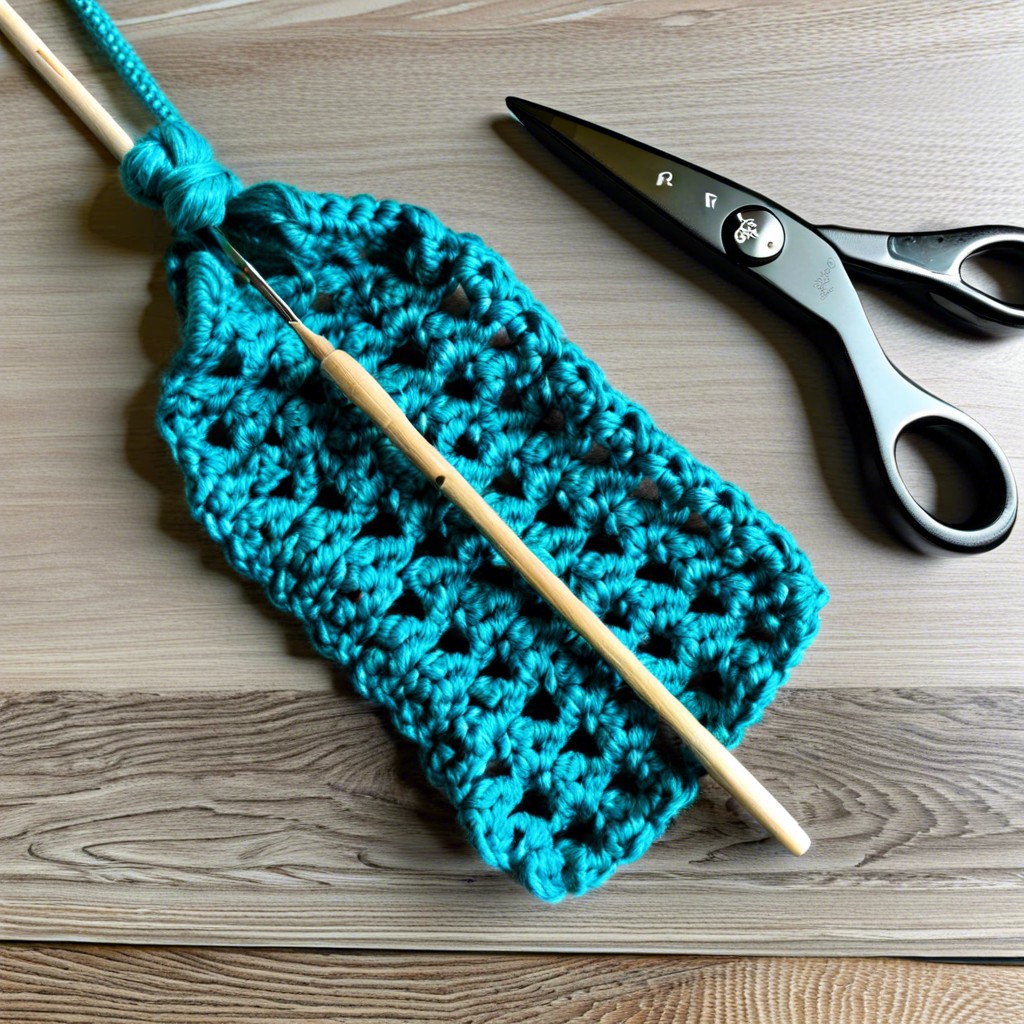
Where to Insert Your Hook When You Crochet the Second Row
When starting the second row in crochet, ensure your hook is inserted in the top of the first stitch from the row below. This helps maintain an even and consistent appearance to your project. By placing your hook in the correct position, you’re setting yourself up for success as you continue crocheting. Remember, this small detail can make a big difference in the overall look of your work. Pay attention to where you insert your hook to avoid any unnecessary errors or inconsistencies in your crochet pattern. Keep this tip in mind as you progress through your crocheting journey.
Directions for Single Crochet
In single crochet, insert your hook under the top two loops of the stitch from the row below. Yarn over and draw up a loop. Yarn over again and pull through both loops on the hook. Repeat this process across the row.
Make sure to maintain the correct tension to prevent your work from becoming too tight or loose. Practice consistent stitching to create a uniform look in your project. Remember, practice makes perfect!
How to Crochet the Second Row: Troubleshooting and Possible Problems
Encountering some hiccups while crocheting the second row? No worries, it happens to the best of us! If your work seems a bit wonky, check the tension. Tension too tight? Loosen up a bit. Tension too loose? Tighten up your stitch game. Don’t forget to count your stitches after each row to ensure you’re on track. If you find yourself short (or with extra) stitches, gently backtrack to spot where things veered off course. Remember, practice makes progress, so keep at it!
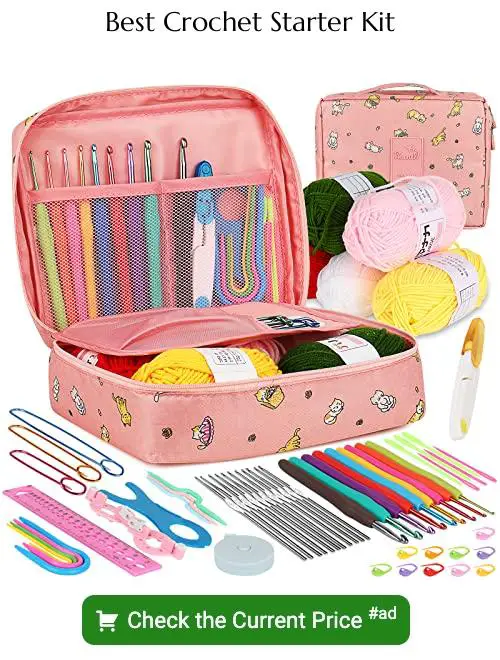
Crochet Gauge Swatch: How to Make It Perfect From the Beginning
- To ensure your crochet project turns out the right size, always start with a gauge swatch. Here are some tips for making a perfect gauge swatch every time:
- Use the recommended yarn and hook size.
- Crochet a swatch that’s at least 4×4 inches.
- Block your swatch before measuring.
- Measure the number of stitches and rows carefully.
- Adjust your hook size if needed based on your measurements.
Related Posts
 Easy Crochet Gnome Pattern Free: Transform Yarn into Whimsical Friends
 Crochet Star Blanket: A Stellar DIY Guide
 How to Crochet Slippers for Beginners Step by Step with Pictures: Cozy Feet Awaits
 Adjustable Ring Crochet: Master the Magic Circle
 How to Crochet Without a Hook: Hands-On Creativity