Learn how to do a slip stitch in crochet with clear and easy-to-follow steps for a flawless finish.
Key takeaways:
- Slip stitch joins rounds seamlessly.
- It transitions yarn without adding height.
- Slip stitches create tight, closed spaces.
- Use slip stitches for clean edges and color changes.
- Slip stitch adds patterns and joins granny squares discreetly.
What Is a Slip Stitch in Crochet?
The slip stitch is like the unsung hero of the crochet world. Imagine it as the secret agent of stitches—sleek, discreet, and essential for undercover operations. It’s the flattest stitch you’ll find, perfect for zipping things up seamlessly.
- It helps join rounds without a hitch.
- Perfect for moving your yarn to a different spot without adding height.
- Essential for creating tight, closed spaces.
If crochet stitches were a band, the slip stitch would be the bass player. Subtle but vital for keeping the whole gig together!
Materials
You’ll need just a few essentials:
A crochet hook. Any size will do, but beginners often find medium-sized hooks (like H or I) more manageable.
Yarn. Choose a yarn that complements your hook size. Worsted weight is a great all-rounder for practice.
Scissors. Snipping yarn with your teeth is not recommended. Unless you secretly dream of being a yarn ninja.
A yarn needle. For weaving in those sneaky little ends that like to unravel.
That’s it! You’re ready to slip stitch your way to crochet magic.
Instructions
Grab your yarn and hook, and let’s get this show on the road. Here’s the lowdown:
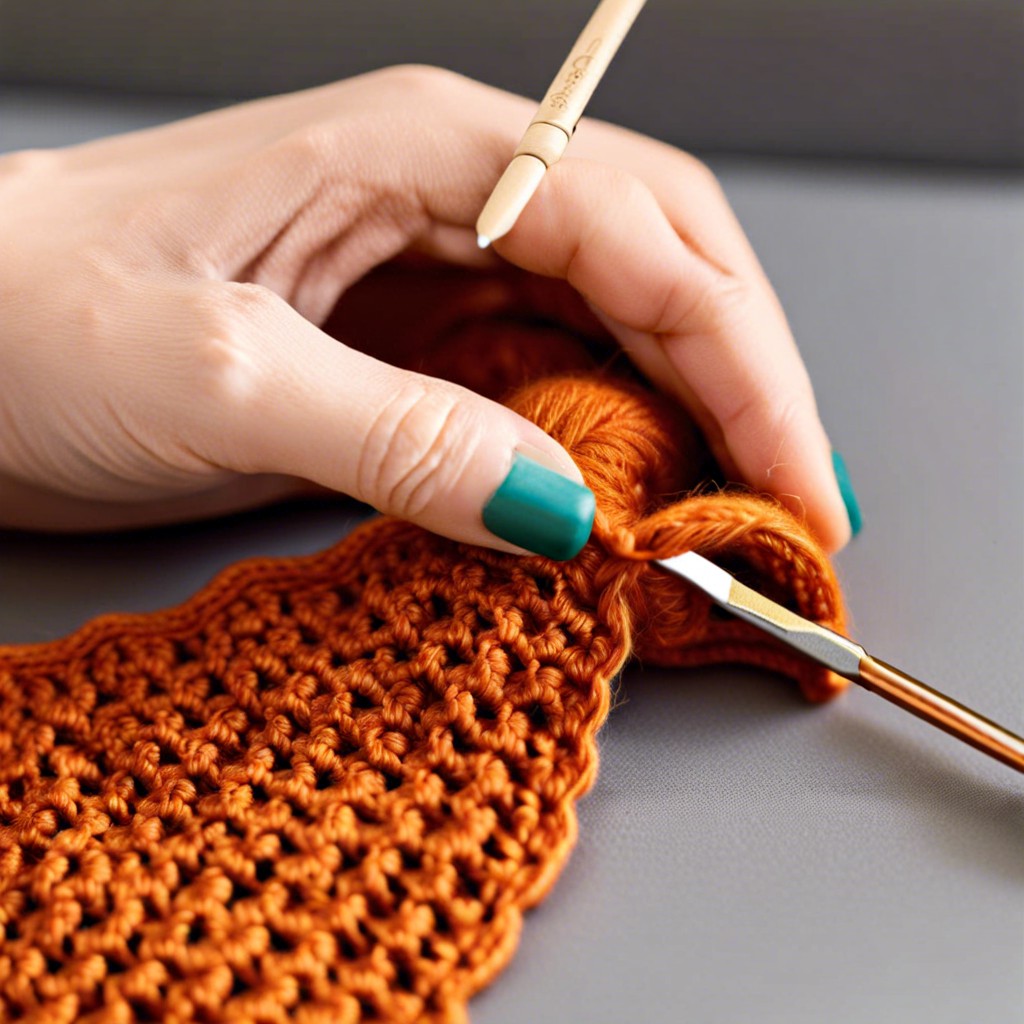
First, insert your hook into the stitch you want to slip stitch into. Simple as finding the TV remote in the couch cushions.
Next, yarn over. That’s crochet talk for wrapping the yarn around your hook. Think of it as giving your hook a little scarf.
Now, pull that yarn through the stitch you inserted the hook into AND the loop already on your hook. All in one swift move! Boom. Slip stitch magic.
And voilà, you’ve done it! Rinse and repeat as needed.
Pro tip: Don’t pull too tight, unless you’re into unraveling your work for sport. Keep it loose, folks!
Now you’re ready to slip stitch like a crochet wizard.
Finishing a Slip Stitch
To finish a slip stitch properly:
First, make sure the stitch is snug but not too tight; it should glide easily through the loops.
Next, insert your hook into the specified stitch and yarn over.
Pull the yarn through both loops on your hook in one fluid motion. Voilà, you’re done with the stitch!
Double-check that the stitch lies flat and blends seamlessly with the rest of your work.
Trim the yarn, leaving a small tail if ending your project, and weave in any loose ends to keep it tidy.
Patterns Using Slip Stitch
Feeling fancy? Slip stitches can be your best friend. Imagine creating a sleek, nearly invisible join in your projects. That’s the magic right there. Here are some splendid uses for this crafty trick:
Edge Perfecting: Slip stitch along the borders to give a clean, finished look.
Color Change Magic: Seamlessly switch colors without the awkward bump. Pro tip: Make your transitions flawless.
Texture Play: Use slip stitches to add unique patterns, like cables and ribbing, without the bulk.
Join Granny Squares: Create a flat, nearly undetectable seam when assembling those colorful squares.
Craft on, knowing that this humble stitch can elevate your crochet game to new heights. Watch your projects marvelously transform!
Related Posts
 Easy Crochet Gnome Pattern Free: Transform Yarn into Whimsical Friends
 Crochet Star Blanket: A Stellar DIY Guide
 How to Crochet Slippers for Beginners Step by Step with Pictures: Cozy Feet Awaits
 Adjustable Ring Crochet: Master the Magic Circle
 How to Crochet Without a Hook: Hands-On Creativity