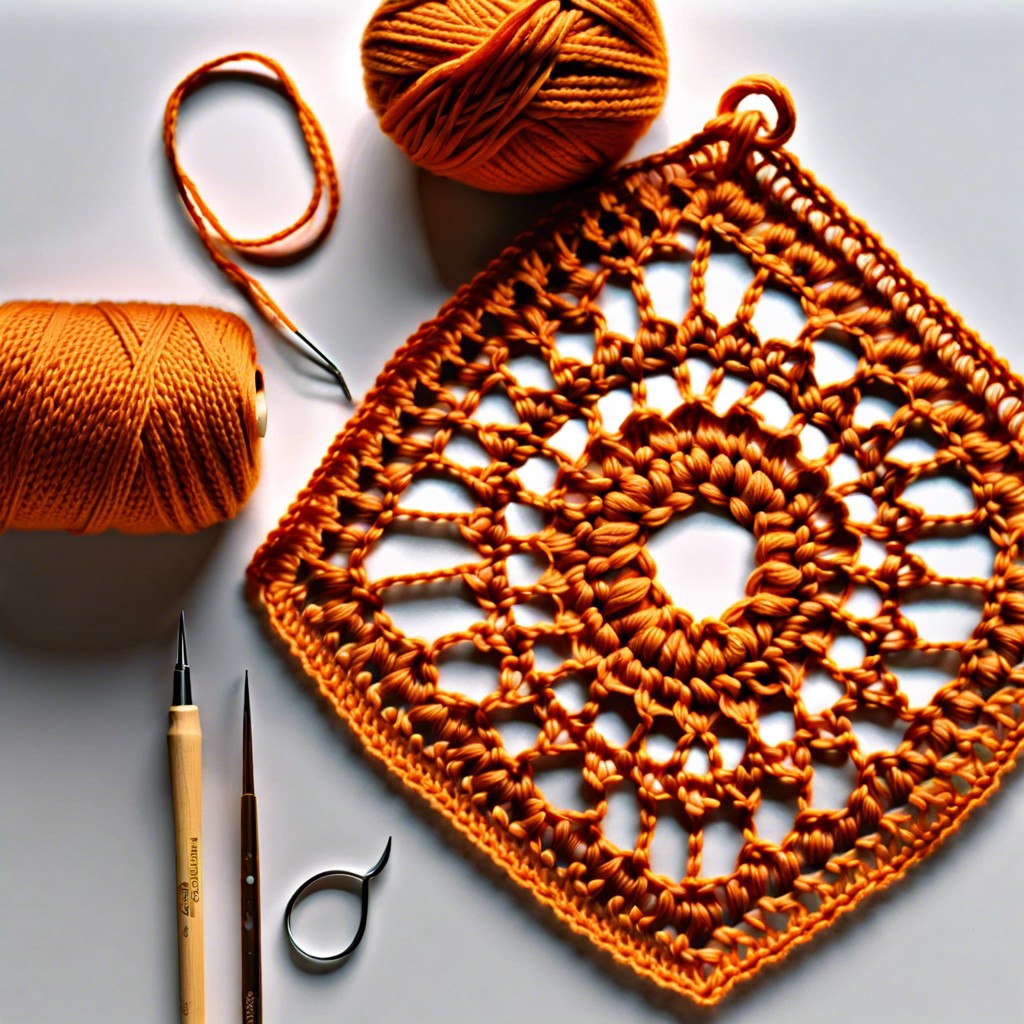
Learn how to expertly finish your crochet square with a clean edge for a polished project.
Key takeaways:
- Regular Fasten Off: Cut yarn, pull through loop for secure finish.
- Needle Join Fasten Off: Thread needle, insert under stitches, weave in.
- Basic: Weaving in the Ends: Thread needle, weave through stitches.
- Blocking and Connecting Multiple Pieces: Pin, spritz, and connect.
- How to Tie Off Crochet: Secure with loop and tight knot.
Regular Fasten Off
Snip, pull, done. That’s the beauty of a regular fasten off.
Once you’ve finished your last stitch, simply grab your scissors and cut the yarn, leaving about 6 inches of tail. This tail is like your ticket to a secure finish.
Now, grab that newly cut yarn tail and pull it through the loop on your hook. The loop vanishes, and the yarn end is firmly anchored in place. Magic! No Houdini needed here.
Next, gently tug on the yarn to tighten the last loop. A firm tug, but don’t Hulk out – you want secure, not shredded yarn. This ensures that your beautiful square doesn’t unravel itself in the wash.
And there you have it. Easy-peasy.
Needle Join Fasten Off
The Needle Join method gives your square a seamless finish that looks almost magical. If Harry Potter were into crochet, this would be his go-to move.
Start by cutting your yarn, leaving a tail long enough to weave in. Thread this tail onto a tapestry needle.
Insert the needle under both loops of the stitch next to the one you just finished. Pull the yarn through.
Go back to the very last stitch that you made, inserting the needle through its back loop. Pull through again.
These steps create a faux stitch, blending everything perfectly. Finally, weave in the tail through the back loops of neighboring stitches.
Basic: Weaving in the Ends
Grab your trusty yarn needle. Thread the yarn tail through the eye of the needle. Here comes the fun part – or maybe the tedious part, depending on your mood. Start weaving the needle in and out through the stitches of your project, trying to follow the general direction of the stitches. Think of it as playing hide-and-seek with the yarn tail.
Change directions at least once to make it more secure. If your yarn tail is particularly rebellious, you may want to knot it, but generally, weaving back and forth a few times does the trick. Snip off any excess yarn close to the fabric, without snipping your masterpiece. And voila! Your ends are all neatly woven in, like the crochet wizard you are.
Blocking and Connecting Multiple Pieces
When your squares are done, they may look a bit like they’ve had too much coffee—wild and unruly! Blocking tames them. Lay each square flat on a foam board or a soft surface. Pin it to the desired shape and size. Spritz with water and leave to dry. Voilà, perfect squares!
While they’re drying, let’s chat about connecting these beauties. You could go old-school with sewing methods, but let’s spice things up with a slip stitch or single crochet join. Slip stitch joins are subtle, perfect for when you want the attention to stay on your gorgeous squares. Single crochet joins add a fun ridge – perfect for a little texture!
Lastly, join-as-you-go is the multi-tasker’s dream. Each square meets its neighbor while you’re still crocheting. This one’s for the impatient crafters who want that blanket finished yesterday! Bringing it all together is half the fun—watch it transform from pieces to a masterpiece.
How to Tie Off Crochet
Secure the last stitch by pulling up a loop of yarn, about six inches. Snip the yarn from the skein, leaving the loop intact. Carefully pull the free end of the yarn through this loop to form a tight knot.
Ensure the knot is firm but not overly tight to avoid distorting your project. Gently tug on the yarn to check its security, but remember, enthusiasm is key! A solid knot is the foundation of any crochet masterpiece, not to mention a safeguard against dismantling during a particularly wild laundry day.


