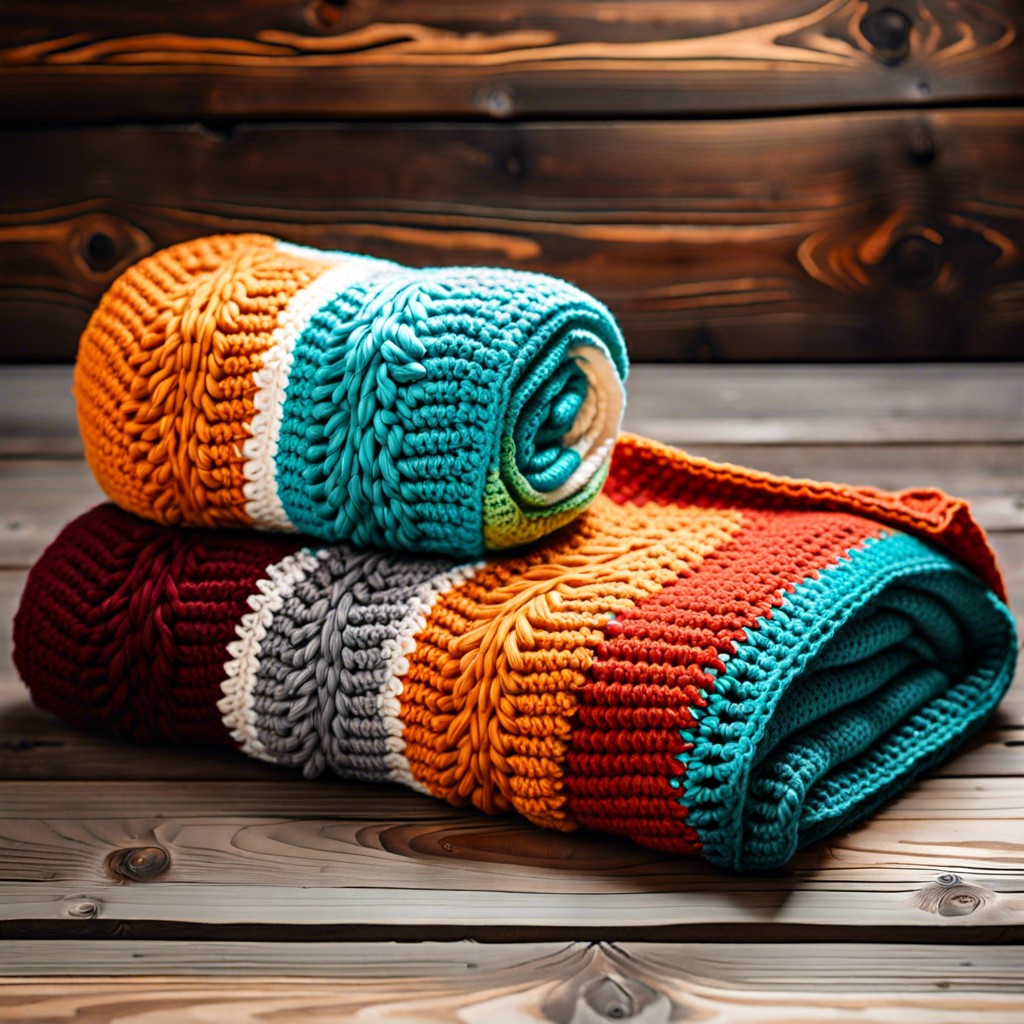
Learn how to neatly finish your crochet blanket with straightforward steps that ensure a polished and cozy final product.
Key takeaways:
- Fasten off at the last stitch to prevent unraveling.
- Knot the yarn and weave it back and forth through stitches.
- Weave yarn ends into the blanket for a neat finish.
- Consider adding a crochet border for a decorative touch.
- Block the blanket to even out stitches and shape.
Preparing to Fasten Off

Before you bid adieu to your crochet hook and your blanket project, make sure you’re at the last stitch of your row. This is your cue to stop adding more yarn. Hold off on trimming any yarn just yet; keep a tail long enough to weave in securely, typically about 6 inches. This length provides ample room to work the tail into your fabric discreetly without the risk of unraveling. Check the tension of your last few stitches; they should match the rest of your work for a seamless look. A tight finish will tug at your fabric, while too loose could lead to gaps or bulging. It’s like inviting Goldilocks to test out your stitches—they should be ‘just right’ before moving on to knotting and weaving.
Basic Knot Technique
Once your crochet masterpiece reaches its finale, it’s time to secure the last stitch to prevent unraveling – unlike mystery novels, we don’t want unexpected endings in our blankets! To do this, simply snip the yarn, leaving a six-inch tail. Pull this tail through the loop on your hook, tug gently, and voila, your stitch is now locked faster than a cat spotting an open tuna can!
But the fun doesn’t stop there. This tail isn’t just a loose end; think of it as the secret agent of your crochet project, ready to sneak invisibly into the fabric’s structure. Grab a yarn needle – yes, another tool of the trade – thread the tail through it, and weave it back and forth through several stitches. This not only secures it further but also keeps your blanket looking as neat as a pin. It’s like giving your blanket a good undercover disguise – entirely necessary and cleverly concealed!
Weaving in Ends
After fastening off, your blanket may look great, but those loose yarn ends peeking out can be a nuisance. Ensuring these ends are woven back into your work not only cleans up your project but also secures everything nicely.
Start by threading your yarn tail through a tapestry needle. This chunkier, duller needle is your best friend for this task. Proceed to weave the end through the stitches on the wrong side of your blanket. Try to mimic the path of the surrounding stitches to keep everything looking consistent.
Aim to weave back and forth three times in different directions. This technique helps lock the yarn in place and reduces the risk of it unraveling after a wash or with heavy use.
Remember, it’s like hiding the evidence of your crochet escapades. The better you hide those ends, the cleaner your finished blanket will look!
Crochet Border Options
After securing your blanket with a knot and hiding all those pesky ends, consider giving it a personality upgrade with a crochet border. Borders can range from simple and chic to delightfully intricate. Here are a few popular options:
- Single Crochet Border: Perfect for beginners and those who favor understatement. Simply work one round (or more for thickness) of single crochet stitches around the entire blanket edge.
- Shell Border: Looking for a bit of flair? Shell borders add a wavy, decorative finish. They’re ideal for baby blankets or any project where you want a soft, romantic touch.
- Picot Border: When only a touch of fanciness will do, the picot border offers little peaks that provide a subtle yet elegant edging. Great for lighter throws or heirloom quilts.
- Crab Stitch Border: Also known as the reverse single crochet, this technique adds a corded, durable edge. It’s especially good if you want something with a bit more texture that can withstand frequent use.
By adding a border, you not only enhance the look but also improve the structure, helping to keep your creation in shape for adventures to come! Remember, the border color can be a way to introduce contrast or harmony, depending on your blanket’s color palette.
Blocking the Blanket
Blocking your crochet blanket can feel like giving it a spa day—it comes out relaxed, well-shaped, and at its very best. This process involves wetting or steaming your finished blanket to even out any inconsistencies in the stitches and help the blanket hold its intended shape.
Start by choosing a flat surface where you can lay the blanket out fully. Use rust-proof pins to gently stretch and pin the blanket into shape. Be gentle to avoid overstretching the yarn. If you’re wet blocking, dampen the blanket with a spray bottle or a damp cloth, ensuring it’s uniformly moist but not dripping wet. For steam blocking, hover a steam iron a few inches above the fabric, allowing steam to penetrate the fibers without pressing the iron directly on the blanket.
Allow the blanket to air dry completely before removing the pins. This could take several hours or a full day, depending on the material and the thickness of your blanket. Once dry, your blanket will look more polished and professional, ready to cozy up with.


