Dive into this step-by-step guide to hand spinning wool, because creating your unique yarn can be as satisfying as using it in your favorite craft projects.

Key takeaways:
- Materials: Fleece, spindle or spinning wheel, carders, lazy kate, niddy noddy, wash basin and wool wash.
- Choosing Fiber: Consider breed, staple length, and crimp for desired characteristics.
- Drafting Techniques: Pinch and pull, long draw, short forward draw.
- The Park and Draft Method: Break spinning process into manageable steps.
- Plying Singles: Combine strands to improve strength and consistency.
Materials
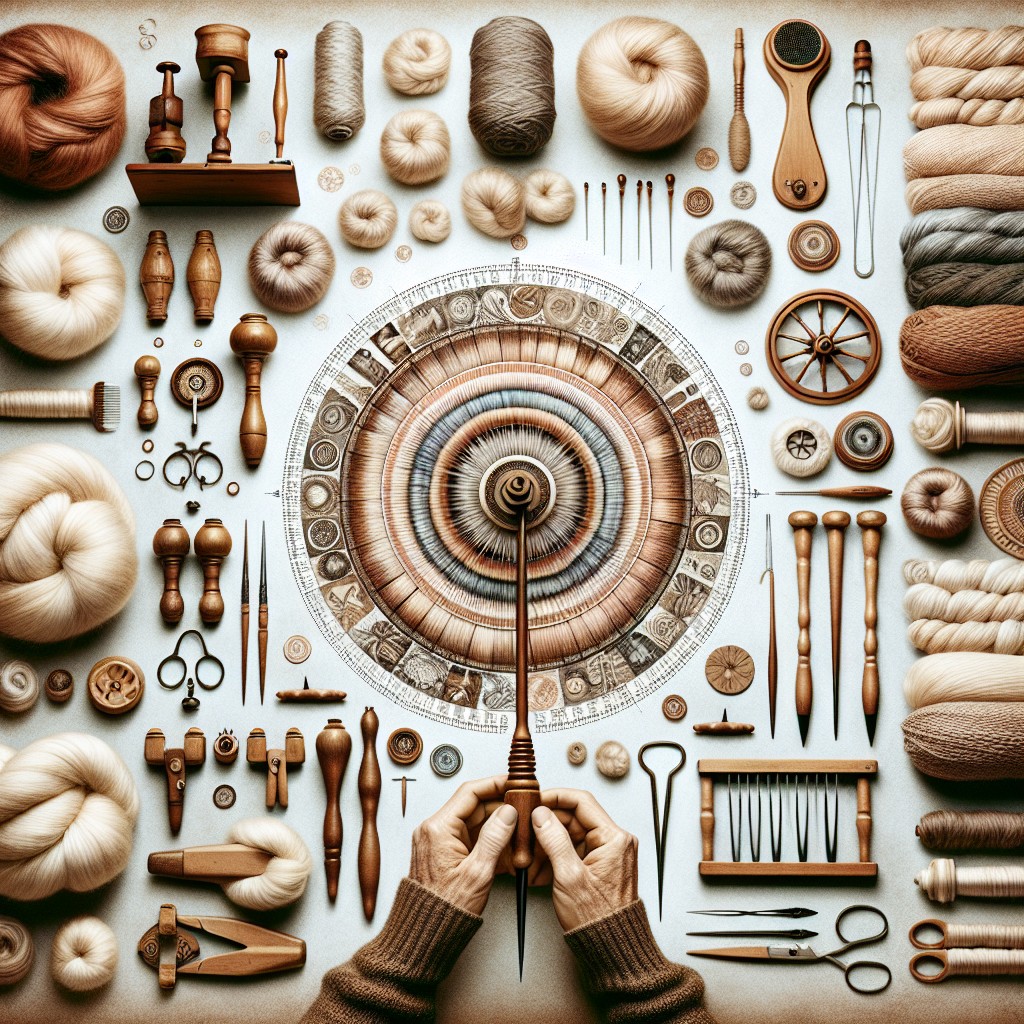
To begin hand spinning wool, several integral materials are required.
- Fleece: Raw or processed wool is the primary material. Raw fleece contains natural lanolin and requires thorough cleaning. Processed options include roving or batts, which have been prepped for spinning.
- Spindle or Spinning Wheel: A drop spindle is a simple and portable tool, ideal for beginners, whereas a spinning wheel is more efficient but requires a greater investment.
- Carders: Hand carders or a drum carder will align fibers and remove debris, particularly when starting with raw fleece.
- Lazy Kate: This holds the bobbins for plying, keeping the yarns from tangling.
- Niddy Noddy: Useful for winding spun yarn into hanks for setting the twist and storage.
- Wash Basin and Wool Wash: Essential for cleaning raw fleece, and later for finishing your hand-spun yarn.
Understanding the properties and intended use of each material optimizes the spinning process, ultimately enhancing the quality and enjoyment of your hand-spun wool creations.
Choosing Fiber
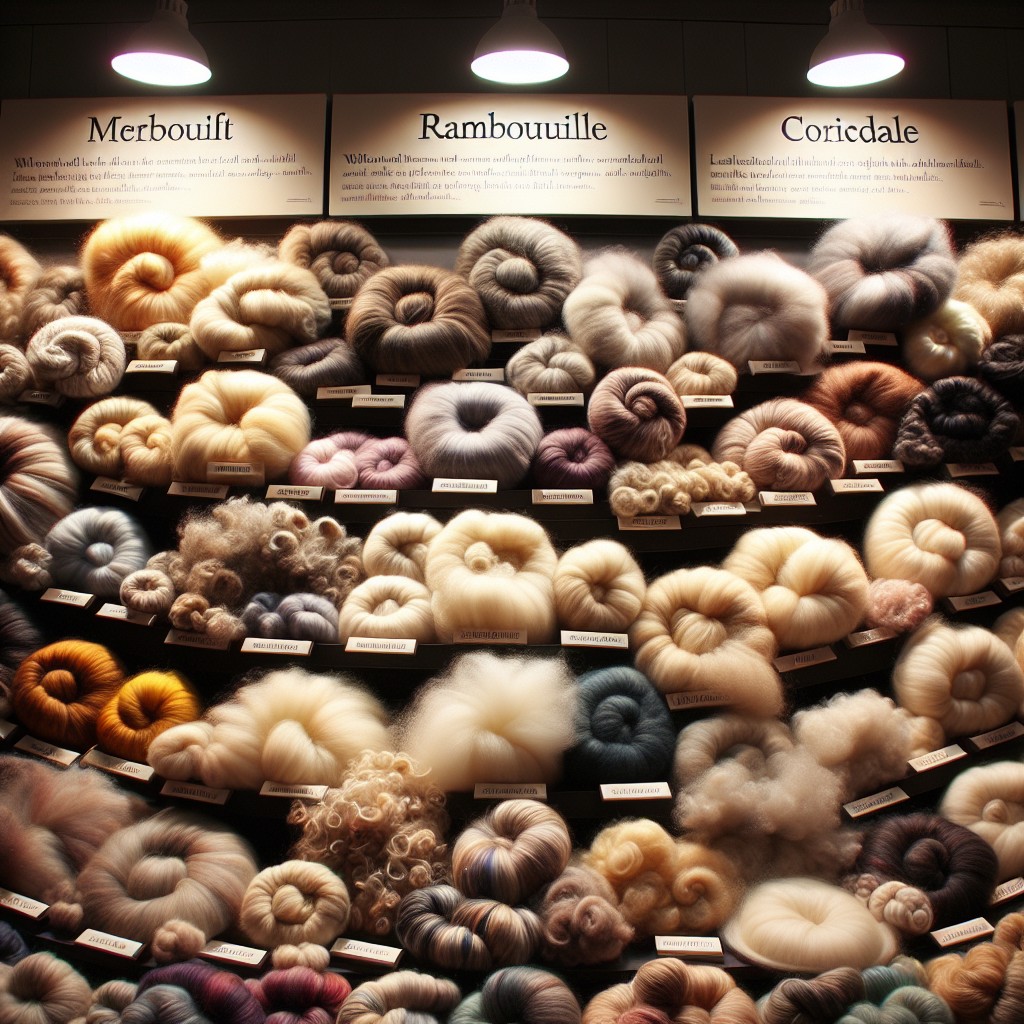
Selecting the right type of wool is essential for creating beautiful, handspun yarn. The breed of sheep can greatly affect the characteristics of the fiber, such as its softness, strength, and crimp. For instance, Merino wool is renowned for its fine, soft fibers, ideal for projects that will be worn against the skin. On the other hand, longwool breeds like Leicester or Romney offer stronger, more lustrous fibers suited for outerwear or home textiles.
Fiber preparation also plays a crucial role. Wool can be purchased in various forms, from raw fleece to processed roving and top. Raw fleece contains natural lanolin and requires thorough cleaning before use, while processed fibers are ready to spin but might lack some of the fleece’s original texture.
Lastly, consider the staple length and crimp of the fiber. Short staple fibers, like those from Southdown sheep, are typically more challenging to spin but yield a bouncy, elastic yarn. In contrast, long staple fibers are easier to handle, making them a good choice for beginners. Crimp adds loft and elasticity to the spun yarn, enhancing its insulating properties. When making your choice, factor in the desired result and your level of spinning expertise.
Drafting Techniques
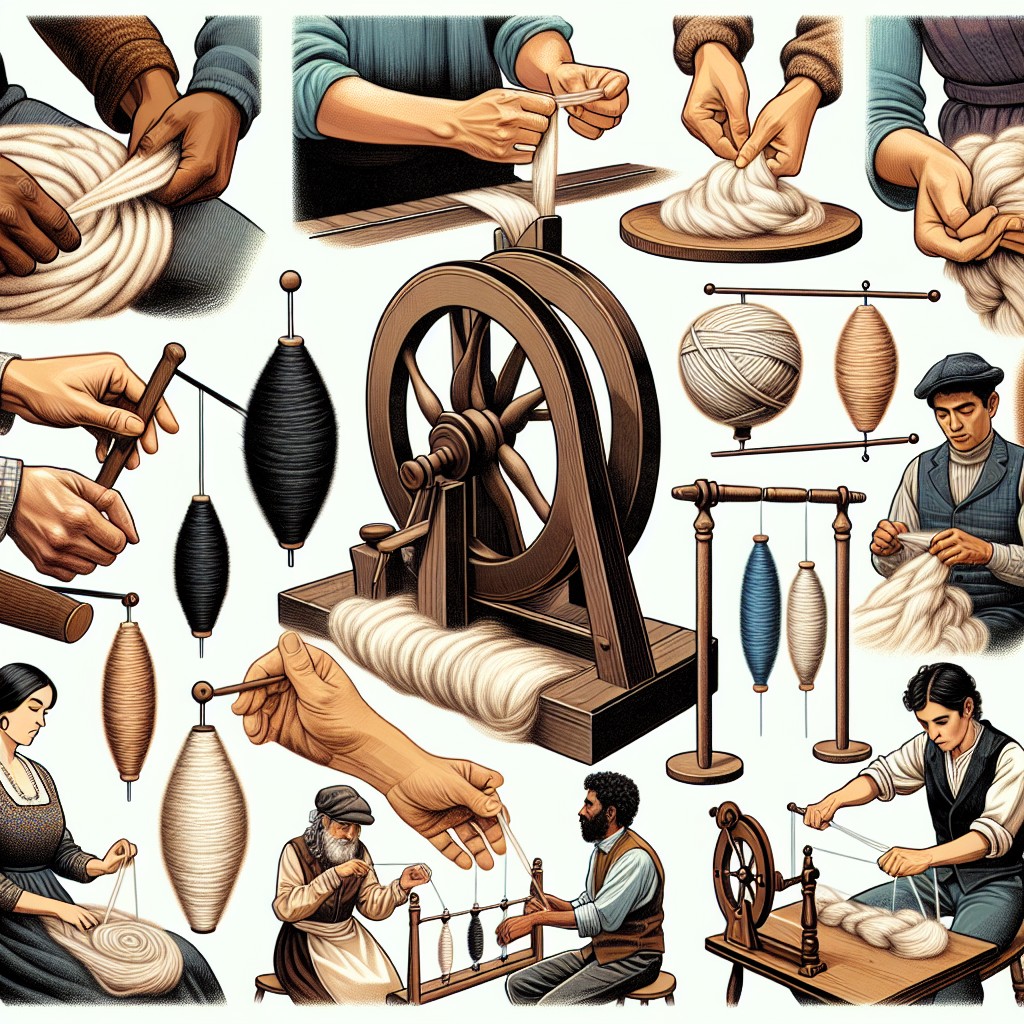
Drafting is the process of elongating and thinning your fiber before it is spun. The goal is to achieve evenness and the desired thickness for your yarn. Several drafting methods exist, each suited to different spinning styles and fiber types.
The pinch and pull technique is often used by beginners. Pinch the fibers with your thumb and forefinger, gently pull forward to draw out a small amount of fiber, then allow the twist to enter the drafted area. This helps control the yarn’s thickness.
Another method is the long draw, favored for its speed and the airy, woolen-spun yarn it produces. Hold the fiber supply loosely, and quickly draw your hand back, allowing a large amount of fiber to twist at once for a fluffier result.
Conversely, the short forward draw or “inchworm” technique provides more control, ideal for worsted yarns. Draft a small amount of fiber by moving your forward hand incrementally while keeping the twist between your hands.
Lastly, consider the fiber’s staple length when selecting a drafting method. Short fibers often require a shorter drafting zone, while longer fibers can handle a longer draw.
Remember, drafting requires practice. Starting slowly to understand the feel of the fiber and the interaction with the twist leads to a more consistent yarn. Experiment with different techniques to find the one that feels most natural and meets the needs of your project.
The Park and Draft Method
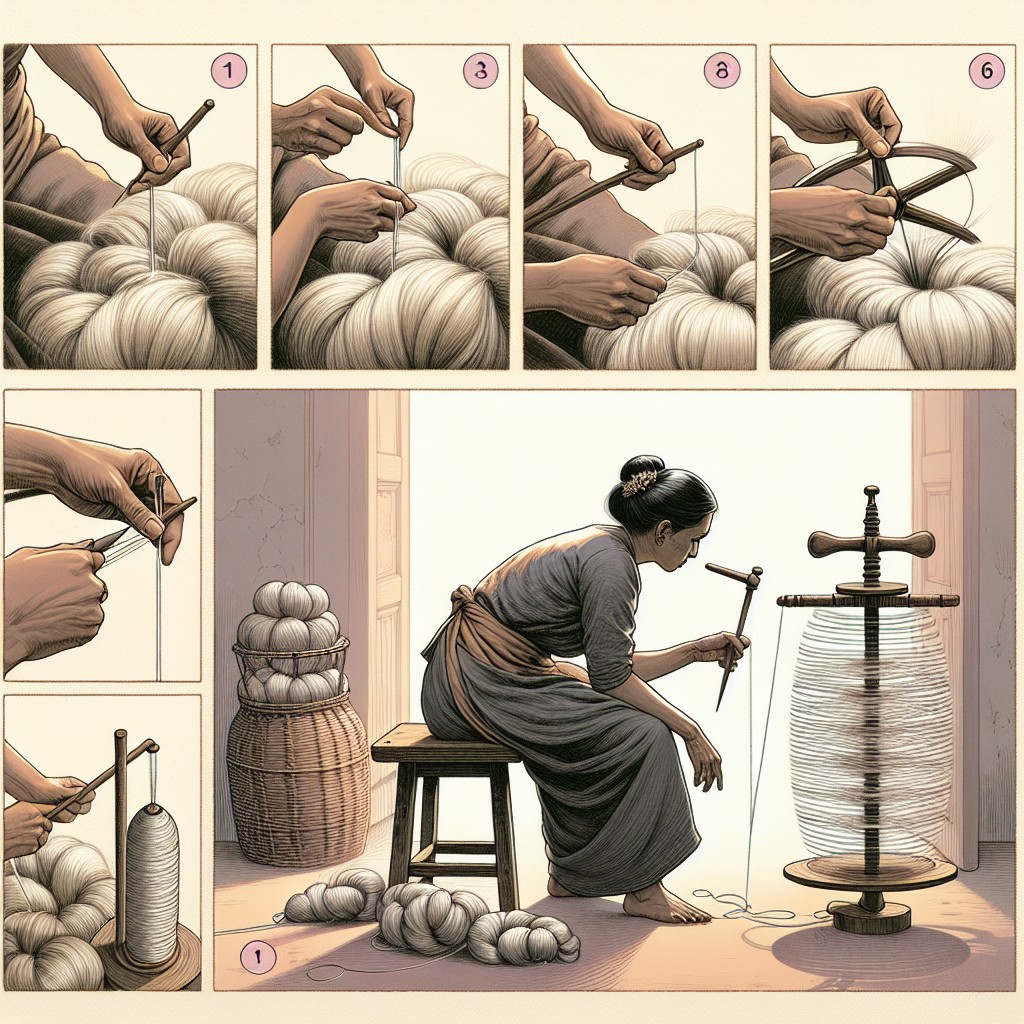
For beginners, this method offers control and familiarity as it breaks down the spinning process into manageable steps. Start with your spindle stationary (‘parked’), allowing you to focus solely on fiber drafting, which is essentially thinning out the wool to your desired thickness.
Hold the unspun wool in one hand, teasing out a few fibers at a time. Once you have enough length and consistency in your drafted fibers, you then ‘draft’ by allowing twist to enter the drafted wool, turning it into yarn.
Maintaining an even tension is key; this avoids creating lumps or overly thin spots. Once you’ve twisted the fibers sufficiently, you wind the yarn onto the spindle, securing it so it won’t unravel (‘parking’). You then repeat the process: draft, twist, wrap, park. This rhythmical cycle provides an excellent foundation, gradually building your hand-eye coordination and muscle memory for when you advance to continuous spinning methods.
Joining New Fiber
When the end of your current fiber is running short, it’s time to seamlessly introduce a new piece. Begin by thinning out the last few inches of the fiber you’re working with to create a tapered end. Take the new fiber, and like the first, tease out the end to form another tapered section. Overlap these thinned areas by several inches. The goal is to create a gentle gradient where both fibers blend.
Twist the fibers together at this intersection, securing them with the fingers of one hand while you spin with the other. The spinning action will help to fuse the fibers. Ensure adequate twisting to create a smooth transition without creating a lump or thick spot in the yarn. As you spin, draw out the new fiber, allowing the twist to travel up and fully integrate the join.
If a break occurs, don’t fret. Simply repeat the blending process, overlapping the fibers and twisting again. With practice, these joins become nearly invisible, maintaining the evenness of your handspun yarn. Remember, a little patience in the joining process can vastly improve the consistency and strength of the final yarn.
Plying Singles
Plying combines two or more single strands of spun yarn, twisting them together in the opposite direction from which they were spun. This process balances the yarn, improving strength and consistency. It also affects texture and can contribute to the final appearance and feel of your project.
When beginning to ply, attach the singles to your spindle or wheel. If using a spindle, you can wind each single onto a separate spindle, or use a lazy kate to hold bobbins for a spinning wheel. Ensure tension is maintained equally to prevent over-twisting or tangling.
Control the angle at which the singles meet. A shallower angle results in a softer, fluffier yarn, while a steeper angle gives a firmer, more durable yarn. Periodically check the balance of your plied yarn with the “hang test,” allowing a length of the yarn to fold back on itself to see if it twists. A slight twist is normal, but it shouldn’t kink or curl excessively.
Once you have plied enough yarn, wind it carefully into a hank using a niddy noddy or the back of a chair, and secure it with figure-eight ties in at least four places to avoid tangling. Washing and setting the twist by soaking the yarn and then hanging it to dry under tension will help stabilize your handspun creation.
Keep in mind, plying is optional. Some projects work best with a single ply yarn. However, if durability and balanced stitching are important, plying is a beneficial step worth mastering.
Finishing Techniques
Once your yarn is spun, it’s time to set the twist and balance the fiber. Soak the yarn in warm water with a dash of mild soap for about 20 minutes, allowing the fibers to relax and the twist to even out. Gently squeeze out the excess water without wringing the yarn, which can introduce new twists.
Next, to remove excess moisture, roll the yarn in a towel and lightly press. Some spinners like to snap the yarn between their hands or thwack it gently against a hard surface to further align the fibers.
For a perfectly balanced yarn, hang it to dry without adding a weight. This method allows it to find its natural state, free from external tension. If the yarn has retained excess energy and is twisting upon itself, hanging a small weight at the bottom can help.
Once dry, the yarn can be wound into skeins using a niddy noddy or a chair back. This step further helps ensure the yarn stays untangled and organized, making it easier to use in future projects.
Remember, these are natural finishing steps for animal fibers like wool. Plant fibers or synthetic fibers may require different finishing processes to achieve optimal results.
Preparing Wool for Spinning
Before diving into the spinning process, ensuring your wool is adequately prepared is crucial. Start by washing the fleece to remove dirt, lanolin, and any other impurities that could hinder the spinning process. Use gentle soap and warm water, taking care not to agitate the wool as this can cause felting.
Once clean, drying the wool thoroughly is essential. Spread it out in a well-ventilated area away from direct heat or sunlight. This step may take several hours to a couple of days depending on the density of the fleece and environmental conditions.
Next, carding or combing the wool aligns the fibers, making them easier to spin. Carding will result in a fluffier, woolen yarn, ideal for warm, lofty projects. Combing, on the other hand, will align the fibers more uniformly, resulting in a smoother, worsted yarn that’s well-suited for projects requiring more drape.
If dealing with larger quantities, the use of drum carders or electric spinners can speed up this stage, but hand carders work just as well for getting the feel of the fiber and preparing smaller batches. Once your wool is carded into rolags or combed into tops, you’re ready to move on to spinning your personalized yarn.
Spinning for Specific Projects
When planning to spin wool for a particular project, consider the end use of the yarn. For instance, a soft, fine yarn works well for a delicate shawl, while a sturdy, coarse yarn is appropriate for a durable rug.
- Match yarn weight and twist to the project needs. Lighter garments require finer yarns, while heavy-use items need bulkier, tightly twisted yarns.
- Adjust tension for desired texture. A high tension will create a smooth, dense yarn, while lower tension allows for a loftier, airier feel.
- Experiment with fiber blends. Incorporating silk or alpaca can add a luxurious drape or extra warmth to the final product.
- Test and sample. Always spin a small amount of yarn to knit or crochet a swatch, testing it for drape, warmth, and durability before committing to an entire project.
Keep in mind the final look and feel you want to achieve, and select and spin your wool accordingly.
Resource List: Suppliers and Communities
Navigating the world of wool spinning can be both thrilling and overwhelming, especially when it comes to finding the right resources. Expanding your knowledge and skill set often hinges on access to quality supplies and supportive communities.
Suppliers play a crucial role—selecting a reputable vendor ensures high-quality fibers and tools which significantly affect the outcome of your spinning. Look for online stores or local farms that offer a variety of wools, from raw fleece to pre-carded batts. Don’t shy away from asking for fiber samples; many suppliers are happy to oblige.
Additionally, investing time in online forums, social media groups, and local yarn shops connects you with a wealth of communal knowledge. Veteran spinners often frequent these groups, providing guidance through tips and video tutorials. Workshops and spinning guilds should not be overlooked—they are invaluable for hands-on learning and networking.
Remember, the key is to build a repository of both materials and relationships. With a well-curated list of suppliers and a network of fellow enthusiasts, the journey through hand spinning wool becomes a collaborative and enriching experience.
FAQ
Can you hand spin wool?
Yes, you can hand spin wool, it’s even considered one of the easiest fibers to learn to spin.
Is it hard to learn to spin wool?
While learning to spin wool can initially seem challenging, it becomes more manageable with time, focus, and detail-oriented patience.
How long does it take to hand spin wool?
Hand spinning wool to make enough yarn for a sweater typically takes between 10-15 hours, plus additional time if the yarn is dyed post-spinning.
What tools are necessary for hand spinning wool?
Hand spinning wool requires tools such as a spinning wheel or drop spindle, wool roving, and a niddy noddy for winding the spun yarn into skeins.
What are the best types of wool for hand spinning?
The best types of wool for hand spinning include Merino, Blue Faced Leicester, Shetland, and Corriedale.
What are some common beginner’s mistakes in wool spinning and how can they be avoided?
Common beginner’s mistakes in wool spinning include irregular tension leading to uneven yarn, overspinning causing brittle yarn, and not performing proper fibre preparation, which can be avoided by practicing consistent pedalling, stopping the spinning wheel properly to control spin, and prioritizing fibre preparation before spinning respectively.


