Discover how to seamlessly hide yarn ends in your knitting projects because this technique can significantly enhance the final appearance of your creations.

Hiding yarn ends in knitting is a crucial step to ensure a neat and professional finish to your project. This process, often referred to as weaving in ends, involves threading the loose yarn ends back into the knitted fabric so they aren’t visible.
This article will guide you through the steps to hide yarn ends effectively, covering various techniques suitable for different knitting patterns and yarn types. By following this guide, you will be able to secure and conceal yarn ends in a way that maintains the integrity and appearance of your knitted piece.
The details provided here will leave no room for guesswork, ensuring you achieve a flawless finish every time.
Key takeaways:
- Use the right tools: knitting needles, yarn needle, embroidery scissors
- Different stitch patterns require different techniques
- Weave yarn ends on the wrong side of your work
- Consider material-specific techniques for different yarn types
- Use seams and felted joins to hide yarn ends effectively
Materials Essential for Concealing Yarn Ends in Knitting
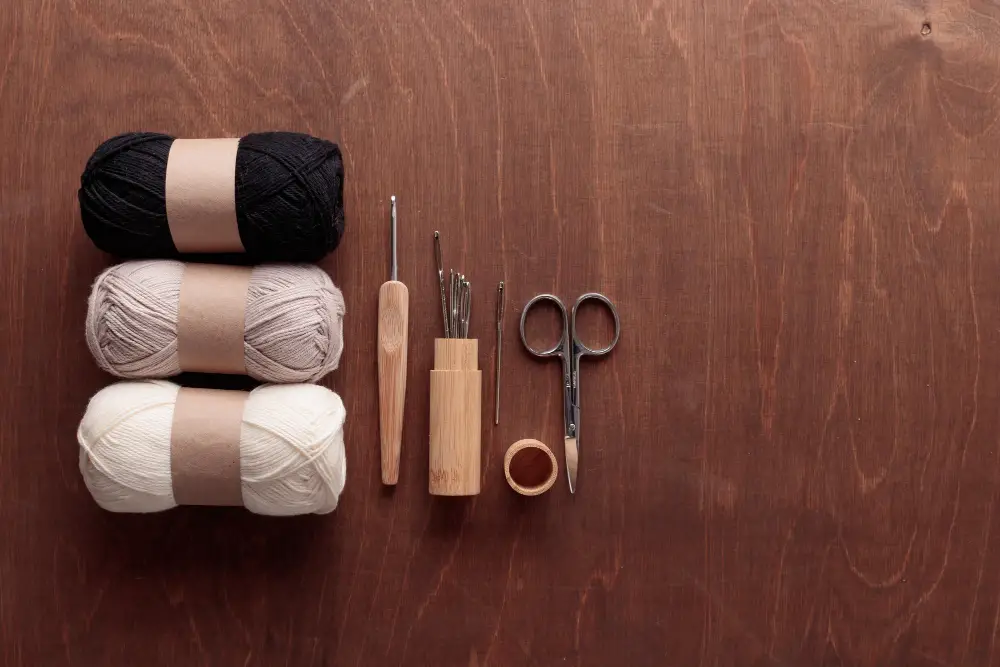
To tuck away yarn ends seamlessly, have the right tools at your disposal. A sturdy pair of knitting needles, of course, is a must. Opt for a yarn needle or a large sewing needle, that aids in the weaving process, getting the yarn through intricate patterns or knots, and are easier to handle due to their big eye.
A pair of sharp embroidery scissors will also come handy. The precision of these scissors allows for a closer trim, ensuring the yarn end does not protrude from your beautiful craft. Lastly, a crochet hook can be a useful tool when trying to pull through yarn ends in tighter stitches. Remember, the right tools can make the process of hiding ends more comfortable and give your project a refined finish.
Learning Various Stitch Patterns for Concealing Ends
Mastering the skill of weaving yarn ends is vital while working on various stitch patterns. The chosen stitch pattern determines the method you will use to hide the ends. Here are some concepts to grasp:
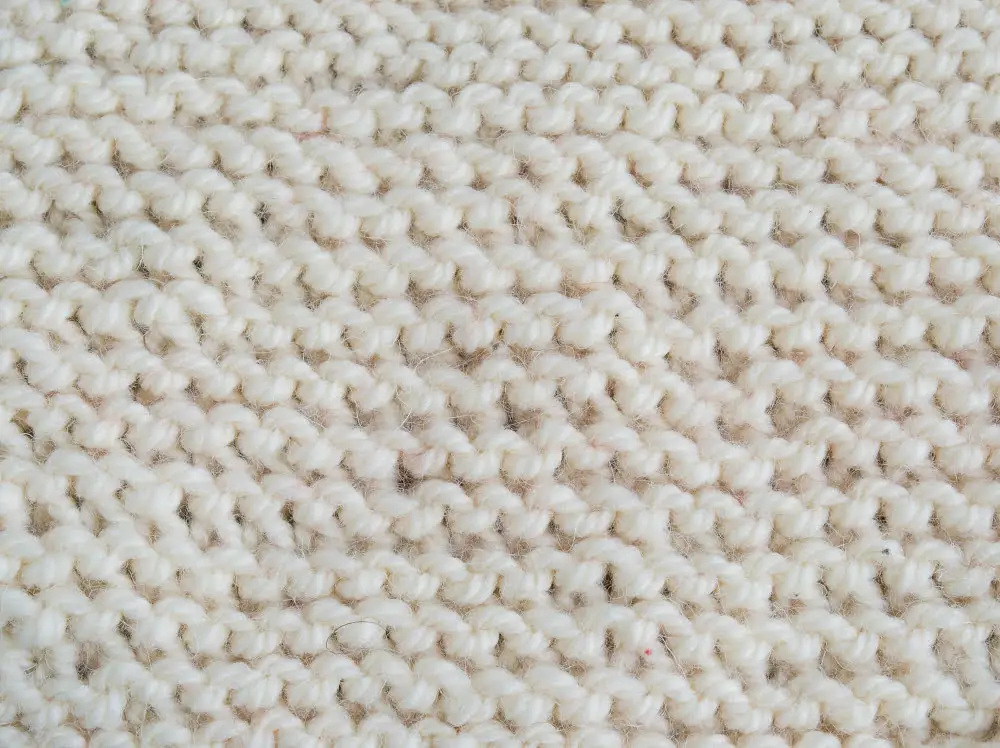
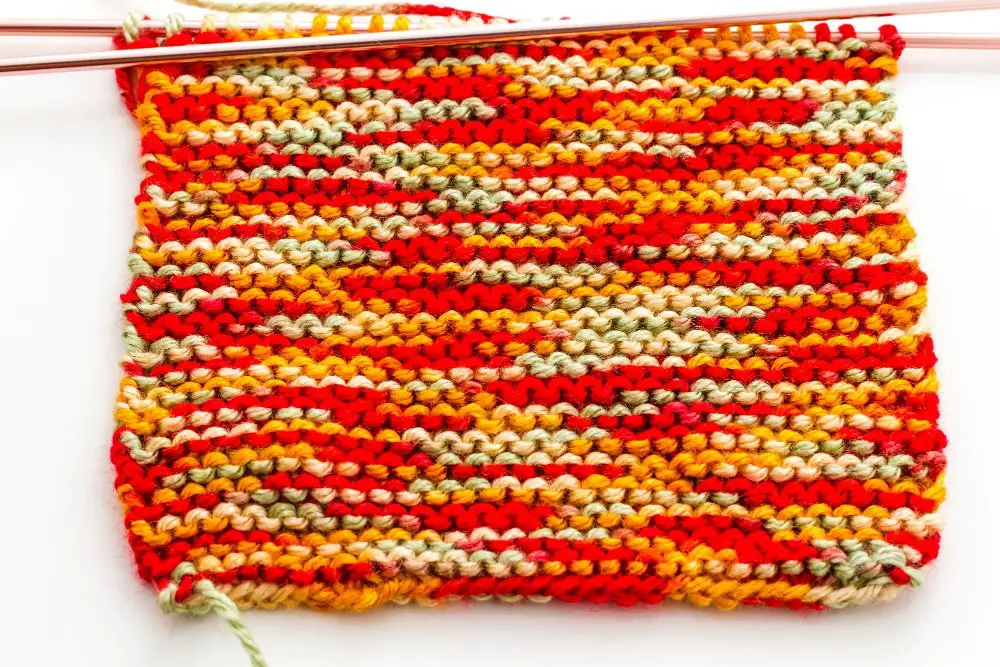
1. Garter Stitch: For this reversible pattern, weave your ends along a single ridge. Pass the yarn through the purl bumps on one side, making sure to mirror the existing route of the yarn.
2. Stockinette Stitch: Take advantage of the wrong side’s loops to hide the yarn tail. Weave the thread in a zigzag manner, following the directions of the loops.
3. Seed Stitch: This pattern allows you to tuck the yarn ends within the bumpy texture. Use a darning needle and navigate through the stitches similar to how it is done in the garter stitch.
4. Lace Stitch: It’s trickier to hide ends in lace stitch due to the openwork. However, a reliable method is to follow the path of an existing yarn over or thread the end through the wrong side.
5. Ribbing: Opt to trace the yarn end through a stretch of knit stitches along the wrong side as the purl valleys can stretch quite a bit.
Remember that the main objective is always to maintain the stretchiness of the fabric and retain its natural look.
Easy-to-follow Steps to Weave in Knitting Tails
After you have completed your last stitch and cut your yarn, take a darning needle and thread the tail through it. Begin the process by weaving the tail through the ‘wrong side’ of your work – also known as the side that won’t be visible when the project is complete.
Follow the pattern of the stitches on this side, tracing them with your needle and yarn. This method aims to blend the yarn tail into the existing work, making it almost invisible.
If your project is in stockinette stitch, your best move is to weave in and out of the ‘purl bumps’. Be sure to change your direction at least once to secure the yarn tail and discourage it from working loose over time.
For garter or seed stitch, a tried and true method involves weaving the yarn tail in a serpentine pattern, which mirrors the sequence of the stitches and helps to discreetly conceal the end of the yarn.
In-depth Techniques for Weaving in Ends On Varying Materials, Such As Cotton

Varying materials such as cotton, wool, or synthetic yarns require differentiated techniques in weaving in ends due to their unique characteristics.
Cotton, known for its smooth and slick texture, may not hold the woven ends as tightly as wool. For better results with cotton:
- Leave a longer tail – a length of at least 6 inches allows for secure weaving.
- Weave through the purl bumps – maneuvering the yarn tail through the ‘bumps’ on the wrong side of your work helps entrap it more effectively.
- Use a sharp needle – this can pierce through the yarn fiber, creating a more secure finish.
- Zig-Zag path – weave your ends back and forth in a zigzag pattern. It helps to prevent unwinding when the knit is stretched.
Meanwhile, wool’s grippy texture makes it easier to hold the woven ends. With wool or similar yarn, consider methods like:
- Felting the ends – takes advantage of wool’s natural tendency to felt, joining two ends by friction.
- Duplicate stitch method – follows the path of existing stitches within a row, effectively hiding the tail end.
Synthetic yarns may require a combination of these methods. A key tip is to always ensure your ends are woven in multiple directions for optimum security.
Methods to Hide Tails in Seams and Implementing Felted Joins in Knitting

Seams provide an excellent hiding place for knitting tails. To achieve this, draw the thread tail along the stitches or within the seam itself. The key is to mimic the route of the original stitches to maintain a consistent texture and prevent visible bulges.
Felted joins, on the other hand, allow you to hide yarn ends seamlessly in wool and wool-blend projects. This method splices two pieces of yarn together creating an almost invisible junction. To perform a felted join, simply unravel the yarn ends, overlap them, and then moisten with warm water. Afterward, rub the overlapped section between your palms to create friction and, consequently, a bond. This produces an undetectable connection within your knitting project, effectively hiding the yarn ends.
Remember, these methods may require practice to perfect. Yet, with patience and careful execution, your knitting projects will showcase a clean, professional finish without any protruding yarn ends.
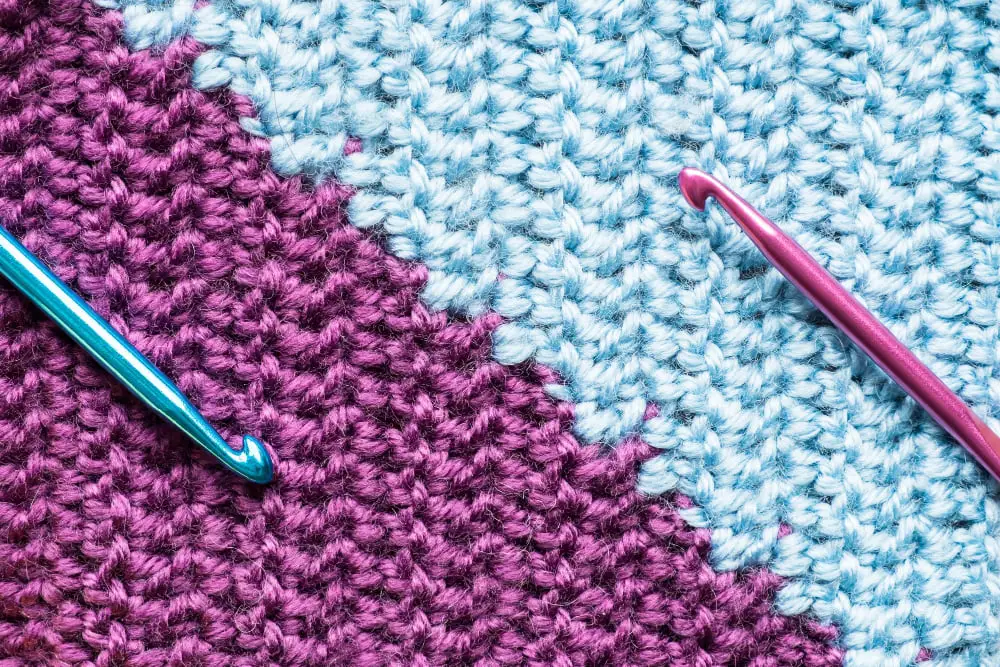
Incorporating Yarn Ends in Stripes and Colorwork Knitting
To effectively incorporate yarn ends in stripes and colorwork knitting, consider leaving a tail long enough to weave in, as deemed suitable.
1. Start by threading the tail onto a yarn needle. Now proceed by plunging the needle comfortably into the middle of existing stitches. Avoid pulling too tight.
2. To ensure it stays hidden, follow the path of the existing pattern, ensuring the tail moves in the same direction as the stitch.
3. Thereafter, bring the needle out after about an inch or so. Try to trim it as close as possible without clipping the knitting yarn.
4. Note the importance of color matching while stitching in ends within colorwork sections, ensuring an end from a dark yarn doesn’t appear on a light-colored surface.
5. Also, remember, if your knitting piece is reversible, weave in ends judiciously to keep either side neat.
By following these points, you can seamlessly incorporate yarn ends into your colorwork or striped knitting patterns making sure they appear flawless.
Helpful Tips for Effectively Hiding Yarn Ends in Knitting Projects
1. Consistency: As you weave in tails, ensure you maintain a repeating pattern. This creates a covert means of hiding the ends and aligns with the natural rhythm of your knitting.
2. Secure the Tail: Securely tie the tail ends to prevent unraveling. A neatly tied knot is almost invisible, especially when done with matching-colored yarn.
3. Work in Different Directions: When weaving in the ends, try working in different directions. It not only secures the knot but also makes it less detectable.
4. Douple Up: For extra assurance, try doubling the yarn end back and tracing the path of several stitches again. This serves as a fail-safe against unraveling.
5. Thin Yarn Ends: If the yarn ends are too bulky, carefully split the plies and weave them in separately. This method reduces bulk, and the ends become less noticeable.
6. Avoid Edge Stitches: Aim to hide the ends away from the edge stitches. Edge stitches are often stretched during use, making the hidden ends more prone to revealing themselves. Better to, weave in towards the center.
7. Use Sharp-tipped Needles: This tool allows you to more easily thread the ends between the yarn plies of stitches, creating a seamless and invisible finish.
8. Plan for Ends in the Design: If your pattern allows, incorporate the yarn ends into the design from the outset. Strategic planning helps in flawlessly concealing the ends within the decor parts of your project.
FAQ
What are the steps to use the weaving-in method to hide yarn ends in knitting?
The weaving-in method to hide yarn ends in knitting involves threading the yarn end through the eye of a blunt needle and “weaving” it through the back of several stitches before trimming off the excess.
How can the Russian Join technique be used to conceal yarn ends in a knitting project?
The Russian Join technique can be used to conceal yarn ends in a knitting project by intertwining two yarn ends within their own plies before continuing the knitting process, effectively hiding them and negating the need for weaving in ends after knitting.
What tools can be most helpful in effectively hiding yarn ends in your knitted projects?
A yarn needle, also known as a darning needle, is particularly helpful in weaving and hiding yarn ends in knitted projects.


