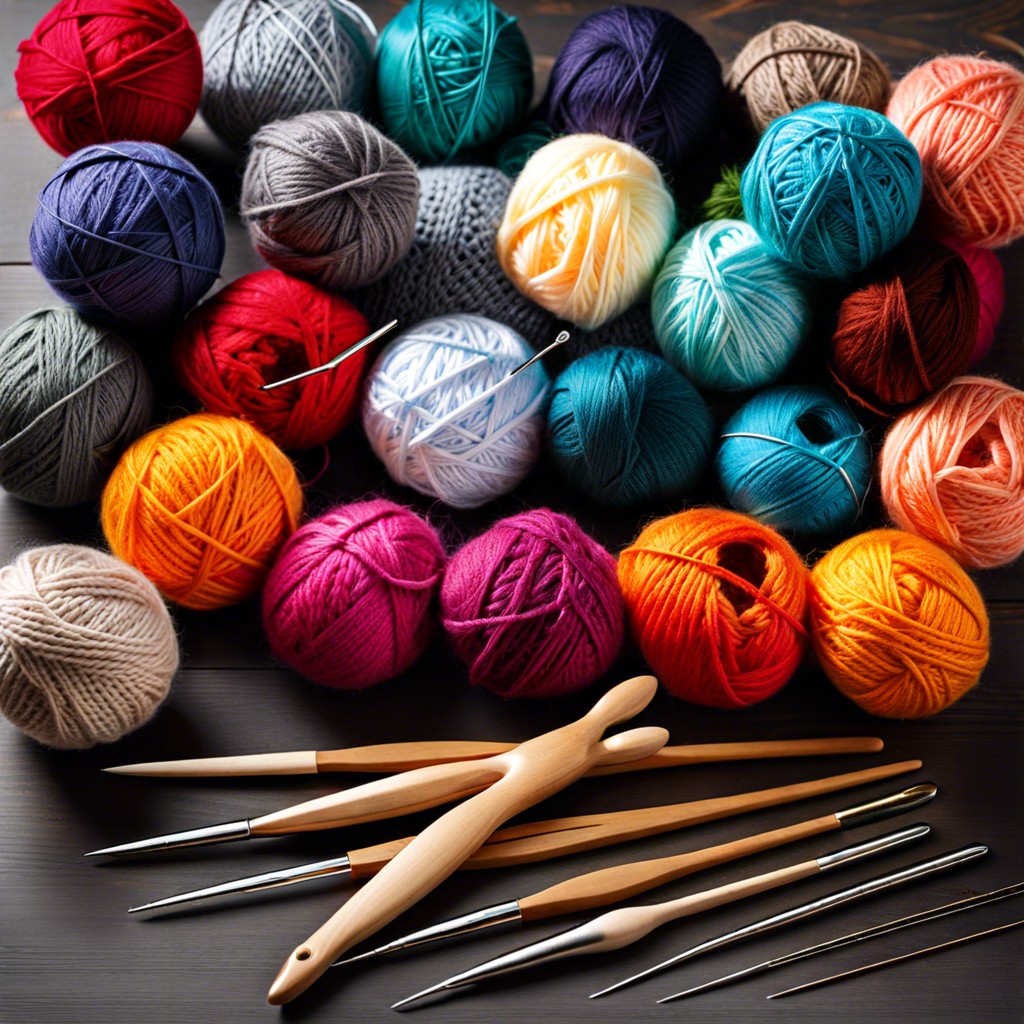
Learn how to expand your crochet projects with techniques for increasing stitches effectively.
Key takeaways:
- Choosing the right yarn and hook
- Reviewing basic crochet stitches
- Performing a single crochet increase step-by-step
- Reading and interpreting crochet patterns with increases
- Marking your starting point and keeping track
Choosing the Right Yarn and Hook

Selecting an appropriate yarn and hook is pivotal for successful increases in crochet. Opt for a yarn that complements your project’s purpose. For example, cotton yarns are excellent for dishcloths due to their absorbency and durability while wool is ideal for warm garments.
When choosing a hook, match its size to the yarn weight. This detail is typically indicated on the yarn label. A hook that’s too large will create loose stitches, whereas a small hook makes tighter stitches, which can be more challenging to work into for increases.
Experiment with different materials of hooks, like aluminum, plastic, or bamboo, to find what feels most comfortable in your hand. Comfort can significantly impact your ability to handle the crochet hook smoothly, especially during intricate increase techniques.
Basic Crochet Stitches Review
Understanding a few foundational stitches is essential before diving into increasing techniques. These basic stitches form the building blocks of more complex patterns:
– Chain Stitch (ch): Often the starting point of crochet projects, this stitch involves yarn looping that sets the length and foundation for subsequent stitches.
– Single Crochet (sc): Insert the hook into a stitch, yarn over, pull through, then yarn over again and pull through both loops on the hook. This stitch is crucial for fabric density in various creations.
– Double Crochet (dc): Yarn over, insert the hook, yarn over again, pull through, yarn over, pull through two loops, then yarn over and pull through the remaining two loops. Double crochet offers a taller stitch and quicker build-up, useful in many patterns.
– Slip Stitch (sl st): Insert the hook, yarn over, and pull the yarn through both the stitch and the loop on the hook. Slip stitches are often used to join pieces together or to create a finished edge.
Each of these stitches serves as a stepping stone to mastering increases, which add width or shape to your projects, such as in hats or amigurumi. Practice these stitches to gain comfort and speed, making the learning curve for increases much smoother.
Step-by-step Guide On How to Perform a Single Crochet Increase
To achieve a single crochet increase, start by inserting your hook into the next stitch. Wrap your yarn over the hook and pull it through to create two loops on the hook. Yarn over again and pull through both loops, completing a standard single crochet. Now, for the increase, you’ll crochet another single stitch into the same space you just worked.
This method effectively adds an extra stitch to your row, creating a wider piece of fabric, crucial for shaping various crochet projects like hats and baskets. As you practice, ensure your stitches are even to maintain a smooth, consistent look in your expanding work.
Reading and Interpreting Crochet Patterns With Increases
Reading a crochet pattern can feel like decoding a secret language, but once you understand the basics, it’s like having a chat with an old friend. Patterns usually indicate increases by terms like “inc,” “2 sc in the next st” (which means make two single crochets into the next stitch), or simply “increase.” Paying close attention to these instructions is crucial as they dictate the shaping of your project.
The location of increases within a pattern affects the final product’s shape. For instance, increases at the beginning and end of rows can create a triangular shape, ideal for shawls or kerchiefs. Meanwhile, evenly distributed increases throughout a project might be used in circular items like hats or basket bases.
To keep track, always mark your starting point with a stitch marker. This helps prevent any confusion as you circle back to the beginning of a round. It’s also helpful to jot down notes or tick off rows on your pattern as you complete them, especially for complex projects with multiple increases.
Understanding the logic behind the pattern’s increase instructions will improve your confidence and skill in tackling more advanced projects. Remember, each stitch is a step on your creative journey!


