Learn how to seamlessly join a new color in crochet to add vibrancy and flair to your projects.
Want to add a splash of color to your crochet project but feeling tangled up in how to do it? You’re in the right place. From nailing down the right tools to mastering smooth color transitions, we’ve got the lowdown on changing shades without any yarn drama. Stick around to make that color switch as seamless as your favorite Netflix binge.
Key takeaways:
- Use materials of the same weight for a cohesive look.
- Have essential tools like a tapestry needle and sharp scissors.
- Change colors by completing the last stitch with the new color.
- Switch colors in single crochet before the last step.
- Change colors at the end or in the middle of a row smoothly.
Materials
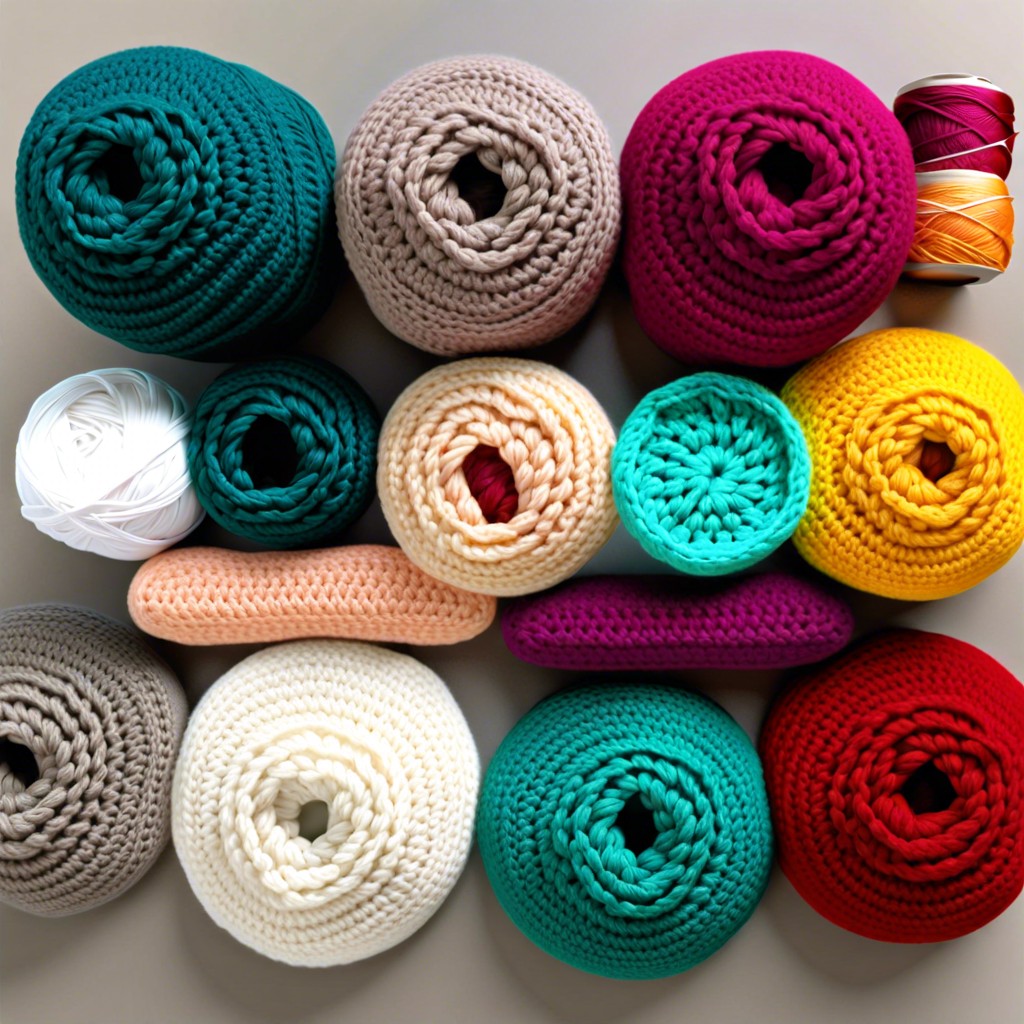
You’ll need a few essentials before diving into the colorful world of yarn joining. First up, grab your yarns—multiple colors for that lovely kaleidoscope effect. Ensure they’re of the same weight unless you fancy your project looking like a patchwork quilt… but not in a cute way.
Then, you can’t forget your crochet hook. It’s like your magic wand but less “Wingardium Leviosa” and more “Wingardium Craftiosa.” Make sure it matches your yarn weight.
Lastly, a pair of sharp scissors is a must. And remember, they’re not for stress relief via snipping everything in sight. They’re just for yarn!
With these items on your crafting table, you’re all set to weave in those new shades smoothly. Happy color-hopping!
Tools
To embark on your colorful crochet journey, keep these trusty tools handy.
First up, a tapestry needle. An unsung hero, it’s perfect for weaving in those pesky yarn tails. A pair of sharp scissors is equally crucial – no one likes frayed ends.
Next, your crochet hook – the main event. Ensure it matches your yarn’s weight. A mismatched hook and yarn combo is like trying to mix oil and water – just don’t.
Optional, but super handy, are stitch markers. They help you keep track of your color changes, especially in patterns more baffling than a mystery novel.
And lastly, consider a bobbin or yarn holder if you’re feeling extra organized. Less tangling, less frustration – it’s a win-win.
Remember, having the right tools can make the difference between a crochet masterpiece and a tangled mess. Enjoy the process and let those colors fly!
Basic Method for Changing Yarn
Start by finishing the last stitch with the old color, but stop before the final yarn over. Loop the new color over your hook and pull it through the loops left on the hook to complete the stitch. Tighten the tails of both the old and new yarns to secure the join and ensure there are no gaps.
Once the color is changed, continue crocheting with the new yarn. The tails can be woven in later to create a neat finish. Remember, holding the new color slightly taut while you make those first few stitches can help keep the transition smooth.
A quick tip: Avoid changing colors in the middle of a turning chain; this can make the join a bit too obvious. Plus, nobody likes a wonky edge, right?
Changing Colors in Single Crochet
To switch colors in single crochet, you’ll want to do it right before the last step of the stitch. Here’s the breakdown:
- Insert your hook into the stitch and yarn over with the current color.
- Pull up a loop like you normally would. You should have two loops on your hook.
- Drop the old color like it’s a hot potato and pick up the new color.
- Yarn over with the new color and pull through the two loops on your hook.
Now, the next stitch you make will be in the shiny new color. Remember, loose ends need to be woven in later unless you fancy your crochet project sprouting yarn spaghetti.
How to Change Colors At the End of a Row
Right at the end of that row, when you’re wrapping things up (pun intended), you’ll slip the hook into the last stitch like usual. But, when you pull the yarn through to finish the last stitch, stop before you complete it. Hold on tight, because here’s where the magic happens.
Grab that new color yarn and pull it through both loops still hanging out on your hook from the last stitch. Whoosh, new color initiated! Give the tail of the new color a little tug to snug it up. Some folks like to tie a small knot to keep things secure and less wobbly, but if knots aren’t your vibe, just hold the tails down tight while you crochet onward.
Now as you turn your work to begin the next row, ensure you have integrated the new color smoothly. This neat trick ensures your projects are seamless and colorful without those awkward yarn gaps. Happy crocheting, color-winner!
How to Change Colors in the Middle of a Row
Grab your crochet hook and let’s dive straight in. If you’re cruising along in your project and want to switch colors before reaching the end of the row, it’s not rocket science. Here’s the lowdown:
First, check your stitches! When you have two loops left on your hook, stop right there. Don’t finish the stitch just yet.
Next, pick up your new yarn. Keep it close and personal with your existing yarn but don’t let them tangle. Loop the new yarn over the hook and pull it through those two loops. Voilà! You’ve done a yarn switch mid-row.
Oh, and don’t forget to leave a bit of a tail with the new color. It’s like leaving a breadcrumb trail, but less tasty. You can weave it in later.
Lastly, give both yarn tails a little tug (not too hard!) to keep everything snug and avoid loose loops.
And there you go! A seamless color change right in the middle of your row.
Tips for Changing Colors in Crochet
When changing colors in crochet, there are some handy tips that can make your life a lot easier and your projects look more professional.
First, always change colors on the last yarn-over of the current stitch to ensure a seamless transition. It’s like a magic trick—without the top hat!
To prevent yarn tails from escaping like mischievous kittens, weave them in as you go. Less mess, fewer knots, more time for snacks.
Use a tapestry needle to secure your tails. Think of it as grooming your crochet for picture day.
Avoid tying knots when possible. Knots can add bulk and make your project look bumpy. Unless you’re actually crocheting little bumps, in which case, carry on.
Keep your tension consistent when introducing a new color. Loose stitches look sad and saggy, like a crocheted sock left out in the rain.
Practice changing colors in smaller swatches before diving into your main project. It’s like a dress rehearsal but for yarn.
Related Posts
 Easy Crochet Gnome Pattern Free: Transform Yarn into Whimsical Friends
 Crochet Star Blanket: A Stellar DIY Guide
 How to Crochet Slippers for Beginners Step by Step with Pictures: Cozy Feet Awaits
 Adjustable Ring Crochet: Master the Magic Circle
 How to Crochet Without a Hook: Hands-On Creativity