Learn how to line a crochet bag to enhance its durability and style with these straightforward steps.
Key takeaways:
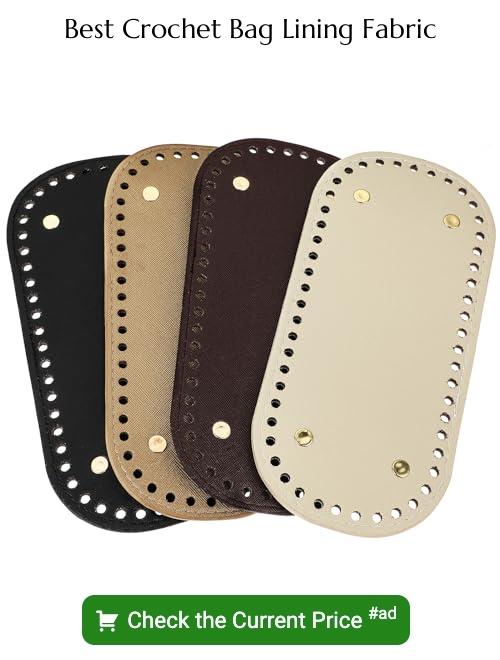
- Choose a durable lining fabric that complements your crochet bag.
- You’ll need fabric, scissors, pins, needle, thread, and an iron.
- Measure and cut your lining fabric accurately for a perfect fit.
- Sew the lining using matching thread and trim any excess fabric.
- Attach the lining to the bag with careful hand-stitching.
Choosing a Lining Fabric
When choosing a lining fabric for your crochet bag, consider selecting a material that is durable and complements the style of your bag. Cotton and polyester blends are great choices as they are sturdy yet easy to work with. Ensure the color and pattern of the lining fabric match or enhance the overall look of your crochet bag. Additionally, opt for a fabric that can be easily washed so that your bag remains fresh and clean for long periods.
What You’ll Need
You’ll need a few key items to line your crochet bag. Get your hands on some fabric for the lining, scissors for cutting, pins for holding fabric together, a needle for hand-sewing, and thread to match your lining fabric. A sewing machine can make the process faster but is optional. Don’t forget an iron to press your fabric and make it easier to work with. With these tools on hand, you’ll be all set to start lining your crochet bag!
Cutting Your Lining Fabric
When cutting your lining fabric, make sure to measure and mark accurately to match the size of your crochet bag. Use sharp fabric scissors to prevent fraying and ensure clean cuts. Take your time to cut along the marked lines precisely, as this will affect the overall look and fit of the lining inside your bag. Double-check your measurements before cutting to avoid any mistakes that could impact the final result.
Sewing the Lining
When sewing the lining, ensure to use a matching thread color to seamlessly blend in. Starting at the top edge, sew along the sides and bottom to secure the lining in place. Remember to backstitch at the beginning and end for added durability. Once sewn, trim any excess fabric to prevent bulkiness inside the bag. Take your time to sew neatly for a professional finish.
Attaching the Lining to the Bag
Once you have finished sewing the lining, gently place it inside your crochet bag. Make sure the top edges of the lining and the bag align perfectly. Use sewing pins to secure the lining in place. Now, using a needle and thread, carefully hand-stitch the top edge of the lining to the top edge of the crochet bag. Take your time to ensure a neat and secure attachment. Once you have stitched all around the top, double-check to make sure the lining is securely attached. Trim any excess fabric or thread for a clean finish. Your crochet bag is now beautifully lined and ready to hold all your essentials in style!
Related Posts
 Easy Crochet Gnome Pattern Free: Transform Yarn into Whimsical Friends
 Crochet Star Blanket: A Stellar DIY Guide
 How to Crochet Slippers for Beginners Step by Step with Pictures: Cozy Feet Awaits
 Adjustable Ring Crochet: Master the Magic Circle
 How to Crochet Without a Hook: Hands-On Creativity