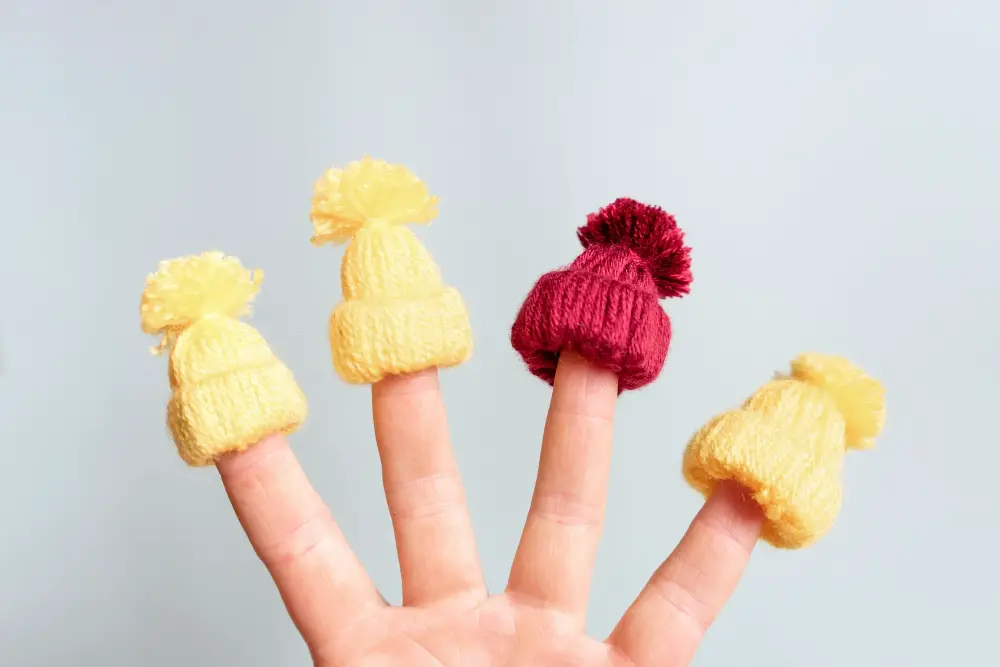
Creating a mini yarn hat is an engaging and beneficial activity because it nurtures creativity, promotes dexterity, and results in a delightful finished product.
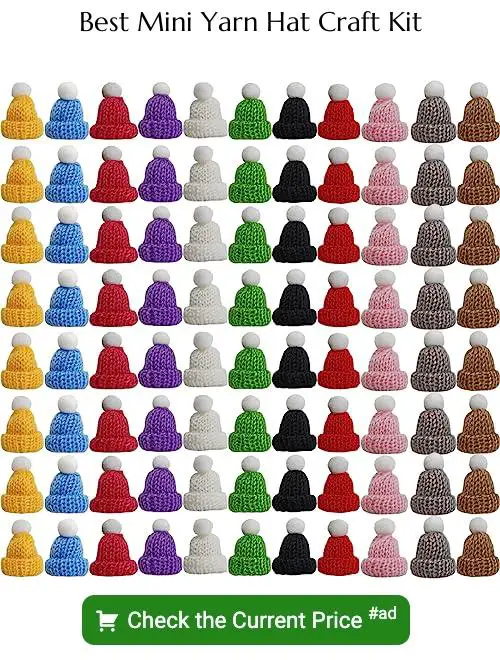
In this article, you’ll discover a simple and fun way to create a mini yarn hat, a delightful little project that’s perfect for beginners or seasoned yarn crafters looking for a quick and satisfying task.
The step-by-step guide provided will walk you through the entire process, from selecting the right yarn and tools, to creating the hat, and finally, adding the finishing touches.
Whether you’re looking to create a unique ornament, a playful keychain, or a charming doll accessory, this guide will provide all the necessary details to make a mini yarn hat that’s sure to impress.
Key takeaways:
- Gather materials: Yarn, crochet hook, scissors, cylindrical object, needle.
- Choose suitable yarn: Wool or cotton, lightweight, 2-4 ply, consider color.
- Select the right crochet hook: Smaller hooks, consider material and comfort.
- Follow step-by-step instructions for crocheting the mini yarn hat.
- Finish with clean edges and attach a yarn pom-pom.
Gathering Materials for Mini Yarn Hat
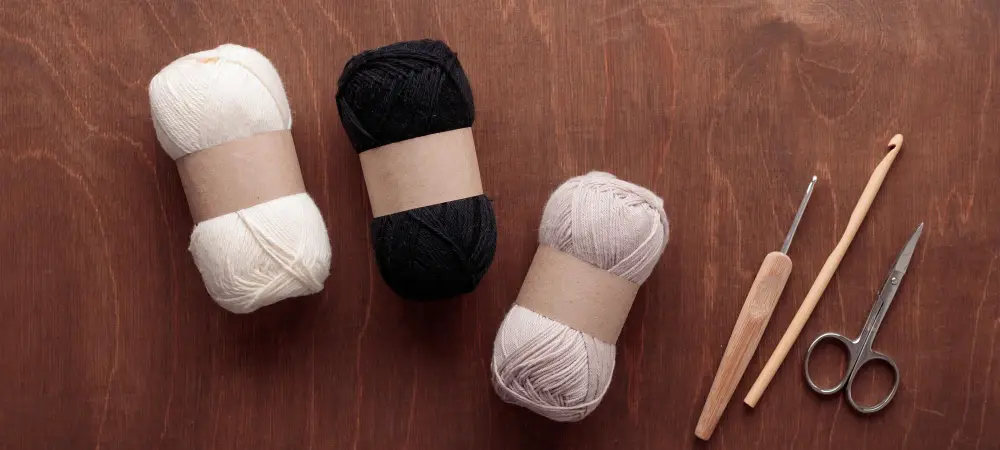
To get your project started, you’ll first need to collect all the necessary items. This includes the yarn, which can be of any color depending on personal preference or the color scheme of the project. While the thickness might vary, a medium weight yarn is a versatile choice suitable for most mini hat designs.
Next, you’ll require a crochet hook. The size of the hook will correlate directly with the yarn weight, but generally, for a mini hat, a hook size between 3.5-4.5mm will work well.
Lastly, gather scissors to cut the yarn, a yarn needle to weave in the ends, and a cylindrical object (like a toilet paper roll) around which the hat will take shape. This method circumvents tricky techniques like working in a round or making increases and decreases, making it a great start for beginners.
Remember, materials need to be of good quality to ensure the final product’s durability and aesthetic appeal. Go-green tip: opt for sustainable and ethically sourced yarns to support eco-friendly crafting.
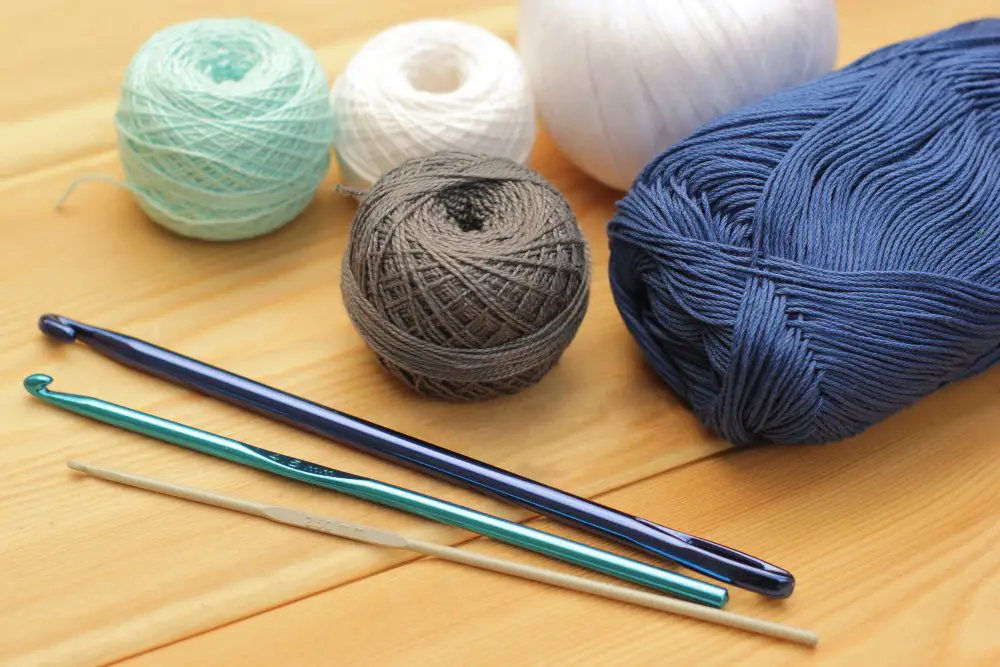
Understanding the Type of Yarn Suitable for Mini Hats

Opting for either wool or cotton yarn is well-advised since they offer the advantage of ease to work with and longevity. Wool yarn provides warmth, elasticity, and resilience, making it an ideal choice, especially for beginners. On the other hand, cotton yarn, despite being less elastic, offers superior aesthetics and durability, best suited for intricate designs.
Choosing the yarn weight is another crucial aspect. For a mini yarn hat, lightweight yarn in the category of fingering or sport is preferable, given their fine thickness, resulting in a sleek, well-defined finish.
Another point to bear in mind is the ply (number of twisted strands) of your yarn. More plies mean more durability and fewer possibilities of splitting while crocheting. For mini hats, anywhere between 2-4 ply yarn works.
Finally, consider the color of your yarn. Contrasting or complementary colors can add a touch of whimsy. Solid color yarn can keep it classic, while multicolored yarn offers an attractive, quirky look. Around 50-100 yards of yarn are typically sufficient for a mini hat.
Selecting the Right Crochet Hook for the Project
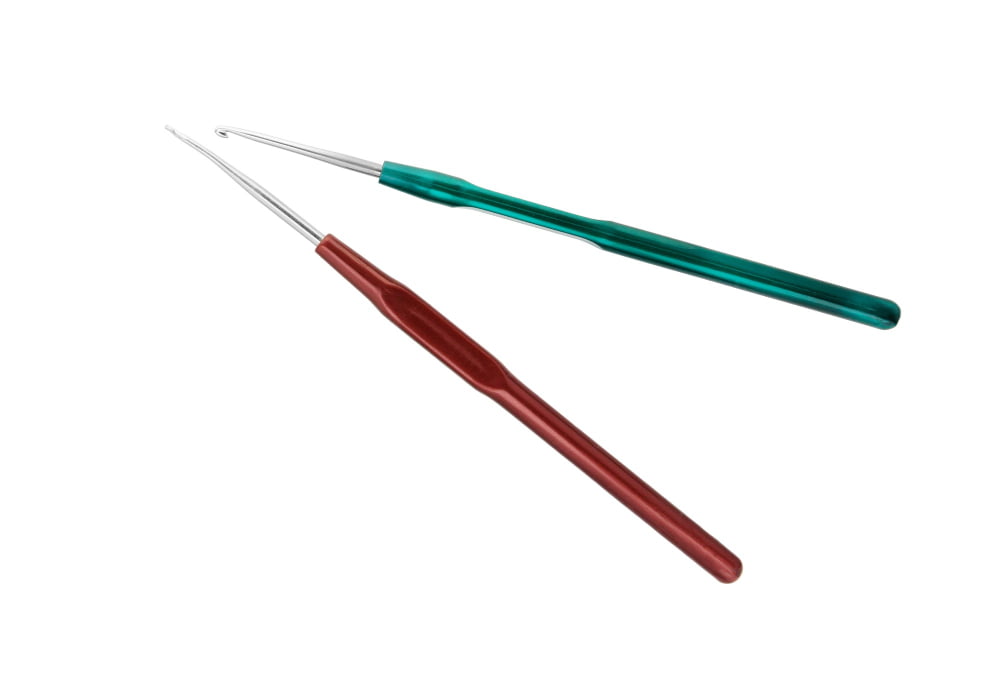
When selecting a crochet hook for your project, it’s key to consider both the hook size and the material it is made from. To craft a mini yarn hat, smaller hooks ranging from 2.0 mm to 3.5 mm are ideal, as they yield tighter stitches appropriate for the scale of the project.
There are several materials to choose from, including aluminum, plastic, and bamboo. While it’s largely a matter of preference, beginners might find aluminum or plastic hooks easier to handle due to their light weight. Apart from this, each material offers a different feel and friction level which impacts how the yarn slides on the hook.
Also, comfort is crucial, particularly for extended crafting sessions. Consider ergonomically designed hooks that have a handle designed to reduce hand fatigue.
Lastly, double-check the yarn label to see if a specific hook size is recommended. This guideline may help yield the best results.
Preparing Yarn and Tools
Once you’ve chosen your preferred type of yarn and the right crochet hook, the very next thing is organizing your workspace. Start by unraveling a length of yarn from the skein. Position your skein in such a way that it can spin freely, this prevents your yarn from knotting. For your crochet hook, make sure it’s clean and smooth, to avoid snagging the yarn.
Double-check that all these tools: a yarn needle, a pair of scissors, and a measuring tape, are within reach before starting your project. It’s always easier when everything you need is close at hand.
Tip: where necessary and especially for beginners, keep a crochet hook size chart, crochet stitch guide, and a yarn weight chart at your fingertips. These handy charts will save you time and effort when working on your mini yarn hat project.
Instructions to Start Crocheting a Mini Yarn Hat

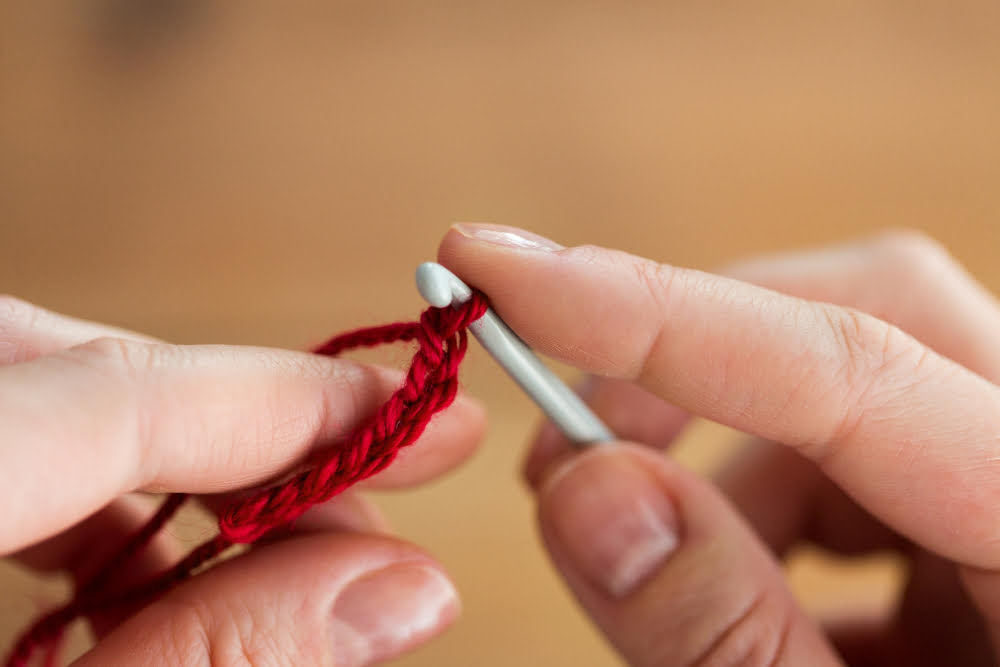
Starting the project requires a slipknot, a foundational crochet step. To make it, fold the yarn over itself and pull one end through the loop. Tighten the knot by pulling the long end, leaving a small loop. Insert the hook through this loop and tighten it according to your hold.
Next, to make two chains, yarn over the hook and pull it through the loop. Repeat this once more.
For circular crochet, work six single stitches into the second chain from your hook. In crochet terms, this is called a “single crochet stub.” To join the circle, slip a stitch into the first stitch, creating a ring shape.
During crocheting, remember to hold your work in a way that’s comfortable for you, but also ensures the stitches are made accurately. Equally as important is managing the tension of your yarn; a good balance between too tight and too loose will make the task more manageable and the end product more satisfactory.
After this, you’re ready to start crocheting rows to form the body of your mini yarn hat. Each new row will start with a chain, which you’ll complete by turning your work and crocheting in the other direction. The number of stitches per row will gradually increase, giving your hat its shape. It’s essential to count your stitches carefully to maintain a consistent size.
Tips On Keeping Yarn Tension Consistent
Maintaining consistent tension in your yarn is vital for even stitches. It can be attained through a couple of practical methods:
- Use the pinky wrap: Wrap the yarn around your pinky finger once or twice to create resistance. This keeps the flow of yarn steady as you crochet.
- Apply the index finger technique: Regulate the movement of yarn by using your index finger. Keep it raised slightly to control the yarn passage smoothly.
- Practice your hold: Ensure you’re holding your hook and yarn correctly. Your grip should be firm, but not too tight, as it might lead to uneven stitches.
Remember, tension control often develops over time with regular practice, so don’t be discouraged if it doesn’t come immediately. Just keep at it.
Stitching and Shaping Techniques for Mini Hat

After creating the basic form of your hat, it’s time to add some structure. When crocheting in the round, you’ll begin each round with a few chains to maintain an even edge. This also helps with shaping, especially when crocheting hats.
Employ increase stitches to shape your hat. An increase gives you an extra stitch in the next round, expanding the circumference of your project. Use this technique to flare out the sides of the hat and create a dome-like shape.
To better define the hat’s rim, you can switch to a tighter stitch. A half-double or double crochet usually does the trick. This creates a neat, compact row around the hat’s brim to give it structure.
Remember to always count your stitches per round to keep symmetry intact. Consistent stitching is key for a uniform hat structure.
Don’t forget about slip stitches too. They not only help to finish off your rows neatly, but also help to seamlessly join the end and start of each round.
The shaping of the hat plays an integral part in defining its style and fit. You can play around with different stitch combinations and placements to yield varying sizes and styles.
Finishing Techniques for Creating a Smooth, Neat Edge
After completing your rounds of stitching for the hat’s body, you’ve reached an important part of the process – creating a clean, smooth edge. It’s essential to give your mini yarn hat a professional and refined look.
1. Use the Slip Stitch: Known as the “invisible stitch”, the slip stitch flattens the edge providing a neat finish. Simply insert the crochet hook into the next stitch, yarn over, and pull through both loops on the hook.
2. Fasten Off: Secure the end of your yarn by cutting it about 6 inches away from the workpiece. Pull the end of the yarn through the last loop, pulling tightly to close.
3. Weave in Ends: With a yarn needle, weave the remaining tail of yarn back and forth through the inside stitches of the hat. This helps to secure the end and provides a seamless appearance from the outside.
Remember, patience, practice and precision will make these finishing steps easier and with time, help master the art of creating beautiful mini yarn hats.
Creating and Attaching Yarn Pom-pom
To begin the pom-pom creation, cut a small piece of yarn and put it to the side. This will tie the pom-pom together. Then, take your yarn and carefully wind it around your fingers, keeping the winding relatively loose. The more yarn wound around, the fuller the pom-pom will be.
Once satisfied with the thickness, cut the end away from the yarn ball. Slide the wound yarn off your fingers, taking care not to let it unravel. Now take the piece of yarn cut earlier, tie it around the centre of the wound yarn, pulling tightly to secure it.
Cut through the loops on both ends of the wound yarn. This will create the strands of the pom-pom. Trim the strands to your desired length and fluff the pom-pom to give it some shape.
Attaching your pom-pom is a simple task. Use the tails from the piece of yarn thread that you used to tie the pom-pom together. Thread a yarn needle with these tails, then push the needle through the top of the hat to the inside and tie securely. The pom-pom should now be firmly attached, completing your mini yarn hat with a burst of texture and fun.
Guidelines for Safe Storage and Care of the Mini Yarn Hat
To maintain the pristine condition of your crafted item, adhere to these points:
- Store your hat in a dry, cool area. Avoid damp environments to prevent the growth of mildew.
- Avoid direct sunlight. Over time, sunlight may result in color fading.
- Keep your hat away from insects, specially moths. Consider using cedar blocks or lavender sachets for additional protection.
- Limit the hat’s exposure to dust by storing it in a sealed container or fabric bag.
- Handle the hat gently to prevent stretching or losing shape.
When it comes to cleaning:
- Hand wash the hat gently with a mild detergent. Intense machine washing could harm the yarn material and construction.
- Rinse your hat thoroughly in cool water to remove all soap.
- Avoid direct heat when drying. Instead, lay it flat on a clean towel, shape correctly and let it air dry.
Ensuring proper storage and care not only helps in preserving your hat’s condition but also extends its lifespan.
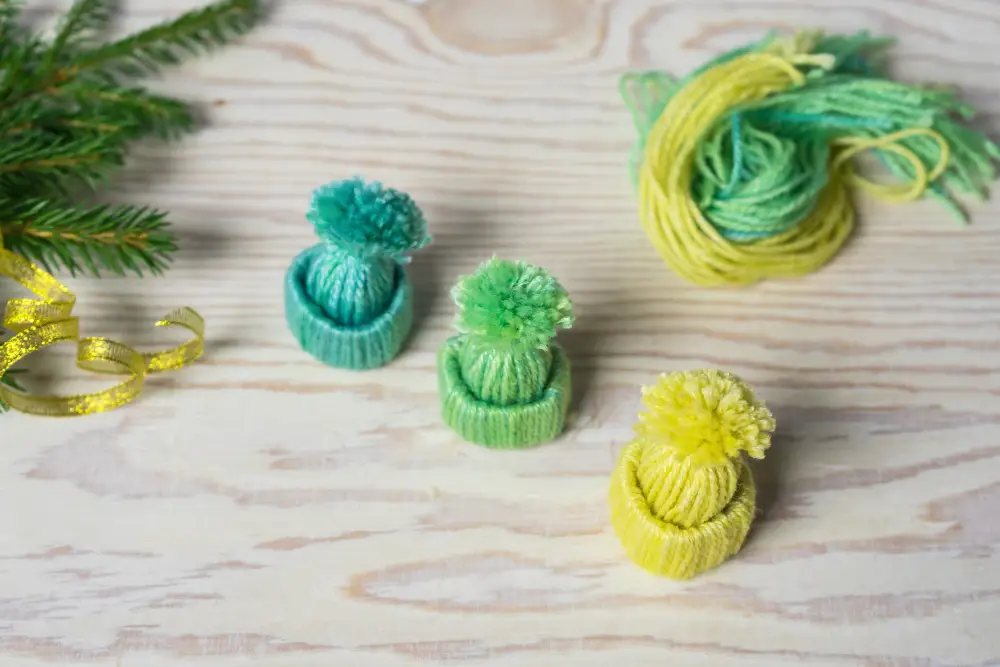
Creative Variations to Customize Your Mini Yarn Hat
Experimenting with different yarn types is a simple way to add a unique touch to your creation. A bulky yarn will give it a cozy, warm feel, while a metallic or sparkly yarn can add a bit of glamour.
Instead of sticking to a single color, why not try a stripy pattern or a color gradient? These are easily achieved by changing yarn halfway through the project.
The pom-pom on top is another great place for customization. Consider multicolor pom-poms, fluffy pom-poms, or even replace the pom-pom with a tassel for a distinct look. For an added touch of fun, attach little jingle bells or beads.
Introducing different stitches can alter the texture and the visual appeal. If you’ve mastered the basic crochet stitches, try using bobbles, shells, or clusters for some textural interest.
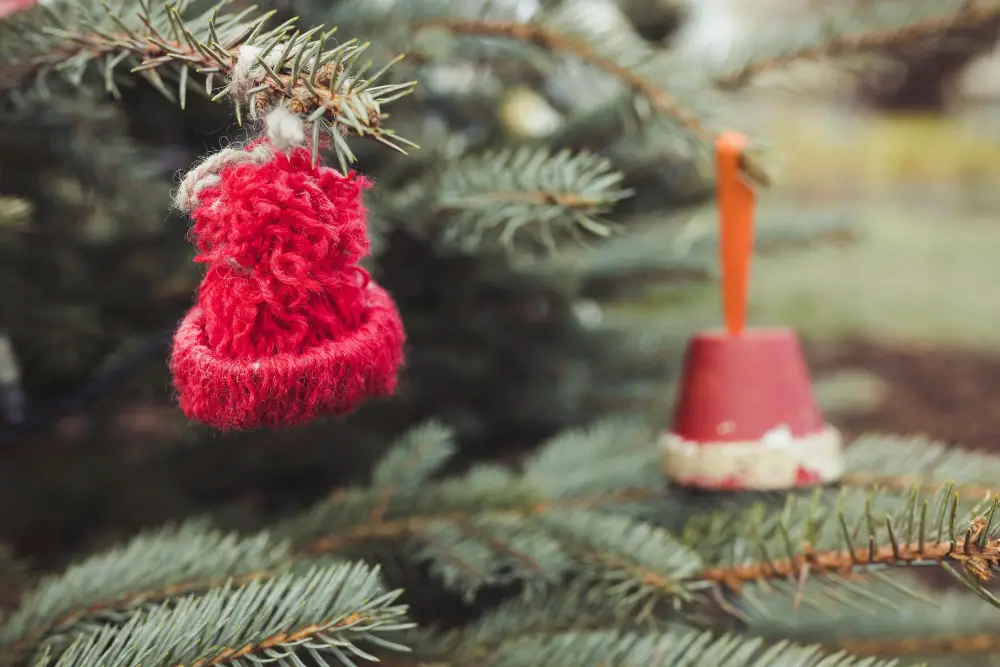
Lastly, don’t limit yourself to a hat. These mini yarn creations can be transformed into keychains, ornaments, or even garlands, allowing your creativity to shine through the versatility of the craft.
FAQ
What are the essential tools needed for a successful mini yarn hat project?
The essential tools required for a successful mini yarn hat project include small-sized crochet hooks, a variety of yarn in desired colors, a yarn needle for weaving ends, and a stitch marker to mark your rounds.
How do different types of yarn material affect the end product of a mini yarn hat?
Different types of yarn material, such as cotton, wool, or synthetic fibers, can influence the texture, durability, shape, and comfort of a mini yarn hat, rendering it soft, firm, stretchy, or moisture-resistant.
Can beginners tackle a mini yarn hat project and what tips can they follow?
Yes, beginners can tackle a mini yarn hat project by starting with simpler patterns, practicing consistent tension in stitches, and gradually incorporating complex techniques.


