Learn how to make a pom-pom for a hat in just a few easy steps to top off your winter gear with flair and a touch of whimsy.
Feeling your hat looks a bit like Cinderella’s pumpkin after midnight? Fear not! Transform any crown with a pom pom so splendid, even unicorns might trade in their horns. Dive into this cheeky guide, and you’ll be armed with steps more detailed than a mystery novel, including templates, yarn choices, and methods to pom pom perfection. Say goodbye to bland and hello to fabulous fluffiness. Ready your scissors, yarn whisperer—it’s pom pom time!
Key takeaways:
- Gather basic supplies: yarn, scissors, cardboard, needle.
- Choose thick, manageable yarn for best results.
- Create template with cardboard circles for wrapping.
- Secure and cut yarn loops to form pom pom.
- Attach pom pom securely on hat for style.
Gather Supplies

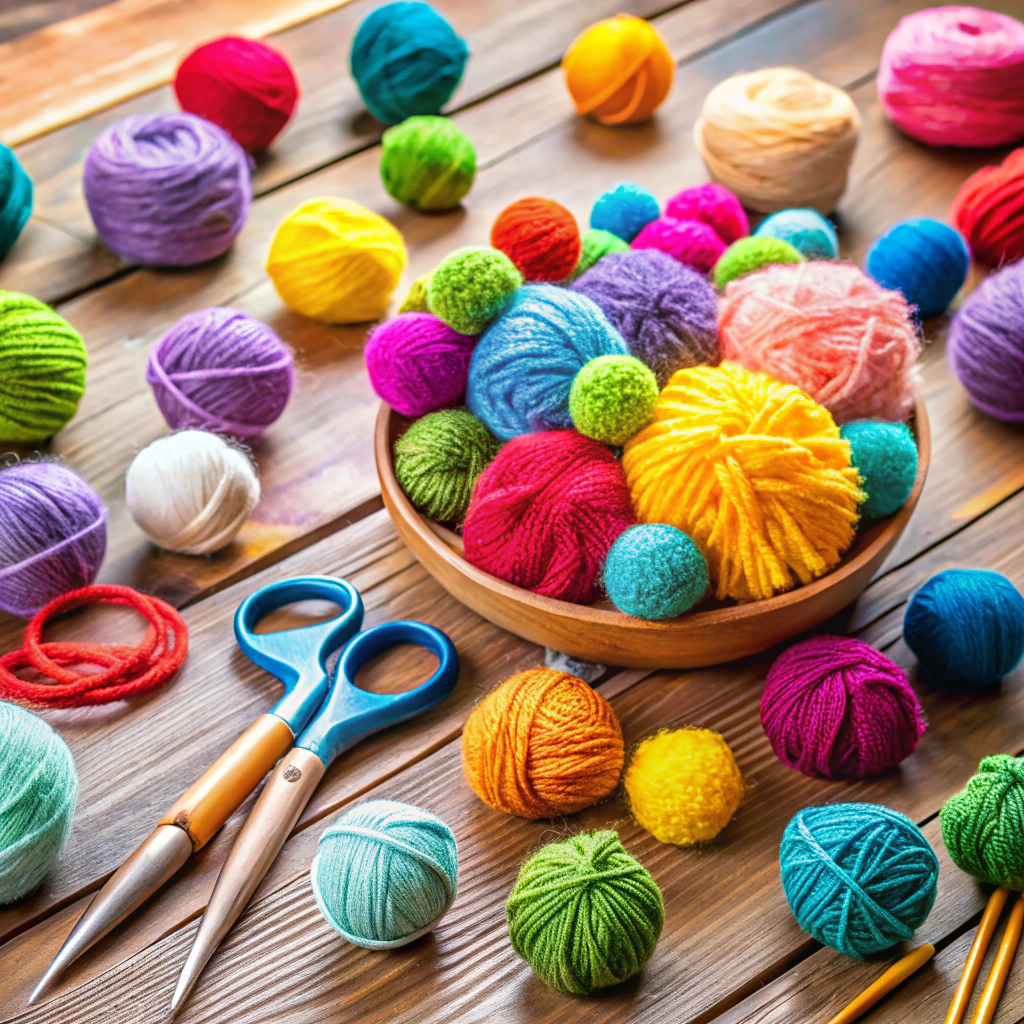
Scour your craft space like a squirrel foraging for nuts in a yarn forest. You’ll need a ball of yarn—nothing too fancy unless you’re aiming for haute couture headgear. Unearth your trusty scissors; the sharper, the better, unless you enjoy wrestling with yarn. Secure a cardboard piece and pencil for a homemade pom pom template; cereal boxes make fabulous donors. Lastly, include a tapestry needle for sewing the pom pom onto the hat. If you’re feeling avant-garde, grab a cup of tea as an accessory to enhance your crafting aura.
Select Yarn
Choosing the right yarn is vital—unless you’re perfectly content with a pom pom that resembles a deflated beach ball. Opt for:
A. Yarn Thickness – Bulky or worsted weight works wonders for a plush, full look. Sport weight? Not so much.
B. Fiber Type – Sometimes acrylic yarn misbehaves like a toddler with candy. Wool or cotton can be easier to manage.
C. Color – Matchy-matchy with your hat, or go wild with contrast? Your hat, your call!
Each choice impacts the pom pom’s personality, from firm and fabulous to floppy and generally confused. Choose wisely—your hat’s counting on you.
Create the Pom Pom Template
Time to channel your inner architect and construct the pom pom template. Fear not, it is easier than folding a fitted sheet.
Start with some sturdy cardboard – think cereal box, not shipping crate. Cut two identical circles like you are carving out the world’s flattest doughnuts. Size matters, but not that much; just remember, larger circles equal bigger pom poms, giving your hat an ego boost.
Now for the doughnut hole. Cleverly carve out a smaller circle in the center of each cardboard circle. These inner voids are key, but don’t let them stress you out. They should be about one-third the size of the outer circle. Remember, precision is nice but not mandatory here.
Finally, stack the cardboard circles so you have a double-layered disco biscuit. This template will guide your yarn-wrapping adventure. Keep calm and craft on!
Wrap the Yarn Around the Template
Grab your yarn and the template, and get wrapping! Here are some simple strategies to master this step:
- Hold the end of the yarn against the template—think friendly hostage situation. Keeps it from getting away.
- Start wrapping the yarn around the template, not too loose, not too tight. Goldilocks style.
- Ensure the wrapping is even. Imagine you’re a yarn burrito artist seeking symmetrical perfection.
- For extra poofiness, keep wrapping until it resembles an overstuffed marshmallow.
Voilà! Keep it consistent and resist the temptation to go wild. Your pom pom depends on it!
Remove Wrapped Yarn Carefully
Hold onto your yarn hat; things are about to get delicate! As you channel your inner ninja, gently slide the wrapped yarn from the template and feel the thrill of tension rising. The yarn bunch is now free and full of potential. Handle it with care, like a fluffy chick crossing a bustling street. Here’s how to navigate this fork in the pom pom path:
Keep your grip firm, but not too firm – no one likes squished yarn.
Avoid pulling or yanking; it’s a pom pom, not a game of tug-of-war.
Watch out for the ends trying to flee the scene. Gently coax them back into the group.
With this careful maneuver, you’re halfway to pom pom stardom.
Secure the Center With Yarn
Finally, with your yarn bundle lying still and behaving like a good noodle, take a separate piece of yarn, long enough to rival a spaghetti strand. Slip it carefully through the center of your yarn loops, like a thief in the night.
- Be sure to yank the yarn tight with all the strength of a toddler gripping candy.
- Knot it securely—think double, even triple, granny-approved knots!
- Avoid snapping the yarn, unless you wish to relearn a few choice words.
This step is crucial; it holds the entire pom pom universe together. Treat it with utmost respect.
Cut the Loops
Snip, snip, hooray! Time to transform your yarn bundle into a pom pom paradise.
First, be sure those precious fingers are out of harm’s way. Safety first, pom-pom enthusiasts.
Get your scissors ready; they should be sharp but not too excited—no one needs a wild scissor rampage.
Carefully insert the scissors and start cutting through the loops. Snip all around the perimeter of the yarn bundle. This is where your pom pom begins to reveal its true form.
Resist the urge to turn into Edward Scissorhands. Take your time and get all those loops. The magical transformation is almost complete, and it’s going to be fabulously fluffy!
Trim and Shape the Pom Pom
Ah, the art of transforming a scraggly yarn puff into a round, fluffy masterpiece. Here’s how to wield those scissors like a pom pom maestro:
First, give your pom pom a little shake and see what you’re dealing with. Some yarns are like rebellious teenagers, needing a firm hand to guide them into shape.
Target those stray yarn bits hanging out longer than the rest. Snip them down to match the majority. Aim for a spherical silhouette, unless abstract art pom poms are more your style.
As you trim, keep rotating the pom pom. It’s crucial for even shaping. Think of it like giving the yarn a haircut while spinning on a barber’s chair.
Go slowly to avoid over-trimming; there’s no undo button on these furry friends. Remember, you can always cut more, but you can’t add it back.
Make sure to admire your handiwork as you go—it’s part of the creative process. Now, there’s your pom pom perfection, ready for its debut atop a cozy hat.
Attach to Hat
Now, let’s get that pom pom perched perfectly on your hat—like a cherry on a sundae!
- Choose the spot: Consider the intention. Is the pom pom the main act or playing a sweet supporting role? Usually, center stage on the crown is the classic choice.
- Thread the needle: Use a tapestry needle with strong yarn that matches either the hat or pom pom. This yarn is the hero of our operation.
- Secure it: Push the needle through the center of the pom pom and then firmly through the top of the hat. Fashion a nice tight knot that would pass even a sailor’s scrutiny.
- Test for wiggles: Tug gently to ensure your pom pom won’t abandon ship at the first sign of a gusty breeze.
And there it is, sitting snugly, bouncing with every step like it’s filled with helium.
Fluff for Volume and Style
For a pom pom that’s not just fluff but fabulous, here’s what you can do:
Give it a good shake. Pretend it’s a maraca and envision yourself on a beach in Cancun. This gets those fibers dancing and coming to life.
Finger comb it gently. Be the stylist your pom pom dreams of, teasing and primping each strand to perfection.
Trim stray ends. Aim for a pleasingly round shape and snip any renegade yarn that refuses to conform.
Consider the weather – humidity can be a pom pom’s arch-nemesis. A little hairspray mist can help it maintain its freshly-fluffed allure.
Channel your inner pom-pom whisperer, and remember, a happy pom pom is a voluminous pom pom.


