In this how-to guide, you’ll learn the simple steps to create a slip knot, an essential starting point for knitting and crocheting projects.
Key takeaways:
- Minimal requirements: yarn and hands
- Step-by-step instructions for tying a slip knot
- Importance of slip knot in knitting and crocheting
- Tips for achieving ideal tension and practicing
- Recommended resources for further learning
Things You’ll Need

To commence crafting a slip knot, the minimal requirements include a skein of yarn and a pair of hands. Opt for a yarn that suits your project needs; beginners might favor a smooth, medium-weight yarn for ease of handling. A quiet space free of distractions is beneficial when learning a new technique – this ensures you can focus on the hand movements without interruptions. No tools or complex materials are necessary. The simplicity of the slip knot lies in its minimal prerequisites, allowing you to start your project effortlessly. Ensure that the yarn tail is long enough to create the knot and still leave a sufficient length for the commencement of your work, a few inches should suffice.
Slip Knot Tying Instructions
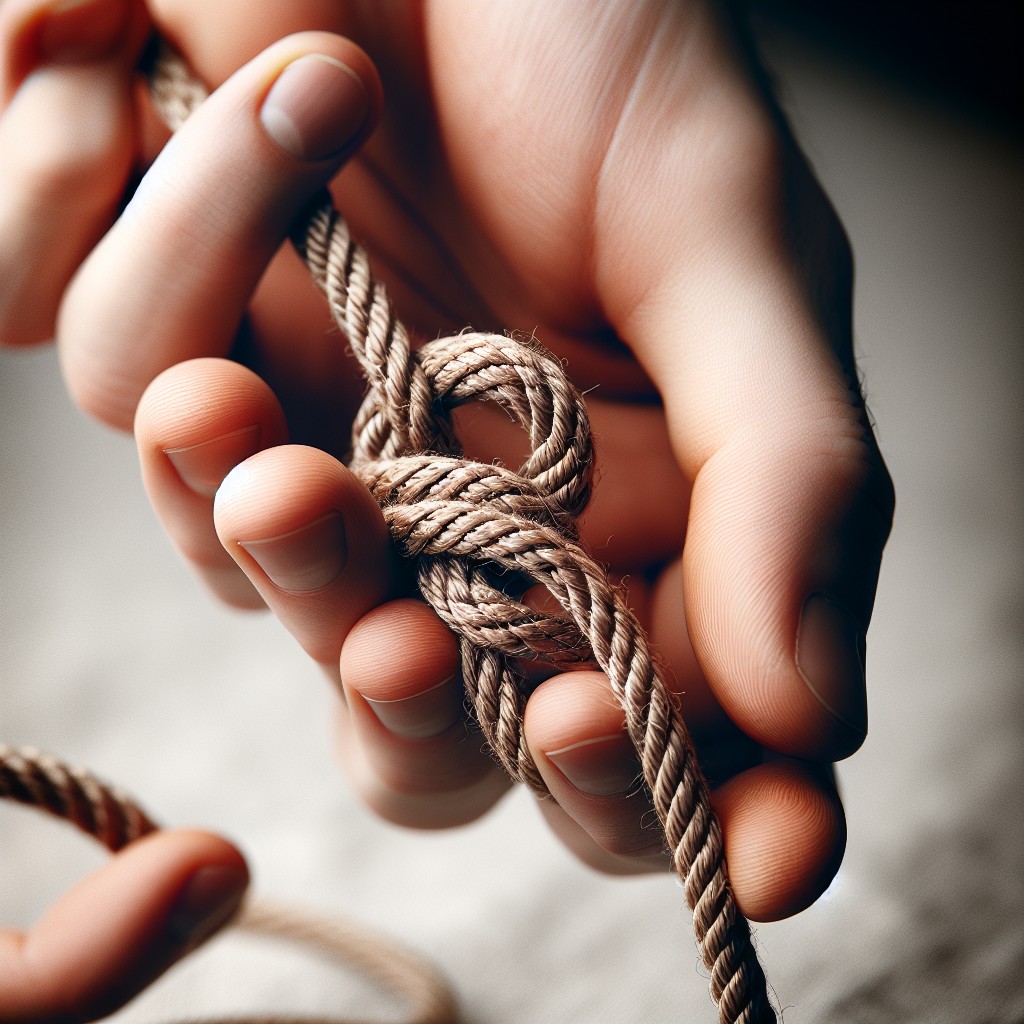
Begin by placing the yarn across your palm, with the end of the yarn (tail) hanging down between your thumb and forefinger. Ensure the yarn tail is at least 6 inches long to allow for a secure knot.
Fold the yarn back over itself, forming a loop in front of your hand. The tail should now lay over the working yarn – the part connected to the yarn ball.
Pinch the intersection of the tail and the working yarn between your thumb and forefinger. This is your loop’s base.
Insert your crochet hook into the loop from front to back.
With the hook, grab the working yarn (not the tail) and pull it through the loop on your hand. You should now have a loop on your crochet hook.
Hold the tail in one hand and the working yarn in the other. Gently pull in opposite directions. The loop will begin to tighten around the shaft of the crochet hook. Do not over-tighten; you want the loop to glide easily up and down the hook.
Adjust the size of the loop on the crochet hook to be large enough to easily insert your hook through when beginning your first stitch.
You have now successfully created a slip knot. This knot will serve as the foundation for beginning a crochet project, allowing you to secure the yarn to your hook and start your chain stitches.
Things You Should Know
Understanding the slip knot’s role in crafting is vital. It’s the foundational step in knitting and crocheting, essentially acting as the launchpad from which your project begins. Its adjustable nature allows you to control the tension of the yarn, which is crucial for maintaining consistent stitch size throughout your work. Additionally, the slip knot is designed for easy unraveling, making it a temporary yet secure anchor for your stitches. When placed on a knitting needle or crochet hook, it becomes the first stitch of your pattern, seamlessly integrating into your work and ensuring your initial tension sets the stage for the rows to follow. Remember, mastery of the slip knot affects the overall quality and appearance of your finished product.
Tips
Achieving the ideal tension is key for a slip knot’s function in crochet and knitting projects. Too tight, and you may struggle to insert your needle or hook for the first stitch; too loose, and the knot may unravel unexpectedly. Practice pulling the working yarn to adjust tightness before starting your work.
Consider using a contrasting color yarn when learning to tie a slip knot. The visual differentiation can help in understanding the structure and mechanics of the knot.
If you’re a beginner, you might find it helpful to repeat the slip knot process multiple times to build muscle memory. Consistent practice ensures that this fundamental step becomes second nature in your crafting routine.
Some crafters find it useful to say the steps out loud as they tie their slip knot—this can reinforce the process mentally and help commit it to memory.
Remember, if the first attempt doesn’t result in a perfect slip knot, simply undo it and try again. Yarn is forgiving, and practicing is a part of the learning process.
References
To deepen your understanding of crochet techniques and broaden your skill set, it’s beneficial to consult a variety of resources. Books often provide comprehensive guides on knot techniques, including the slip knot, and can serve as valuable references. Notable titles include “The Crochet Answer Book” by Edie Eckman and “A to Z of Crochet: The Ultimate Guide for the Beginner to Advanced Crocheter” by Martingale.
Online tutorials can complement written materials, offering step-by-step visual guidance. Websites such as Ravelry provide a platform for crocheters to share tips and tricks, while YouTube hosts countless tutorials from seasoned crafters.
For those looking to refine their slip knot technique and expand their knowledge, local crafting groups and workshops can be a goldmine of information, providing hands-on experience and personalized advice from fellow crocheting enthusiasts.
Remember to use these references as a springboard to perfect your slip knot proficiency and enhance your overall crocheting endeavors.


