Discover the fascinating art of making yarn bracelets because they infuse an element of creativity and style into your everyday fashion.
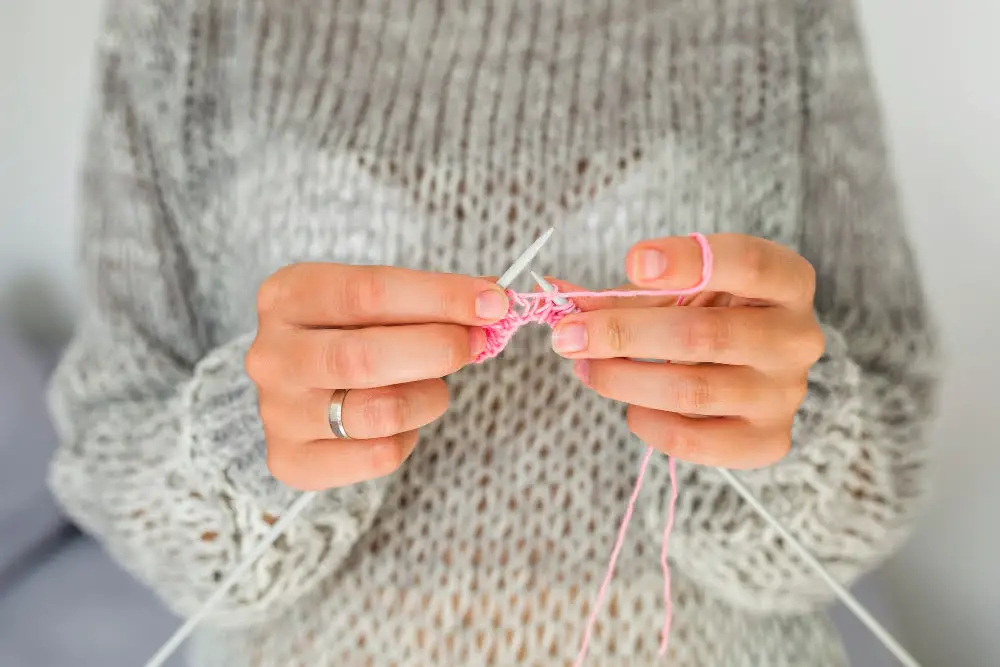
Creating yarn bracelets is a fun and creative way to use your knitting or crocheting skills. This article will guide you step-by-step on how to make your own yarn bracelets, from choosing the right materials, learning the basic techniques, to adding the final touches.
Whether you’re looking for a simple braided design or something more intricate, this guide has you covered. Stick around to find comprehensive instructions and expert tips that will ensure your yarn bracelet turns out beautifully.
Key takeaways:
- Choosing Yarn: Consider fiber content, weight, texture, colorfastness, and hypoallergenic options.
- Gather Supplies: Quality yarn, scissors, tape, clipboard, ruler, for a professional result.
- Understand Patterns: Read direction, knot symbols, color coding, repetitions, and bracelet width.
- Master Basic Knots: Forward, backward, forward-backward, and backward-forward knots for different designs.
- Choosing Colors: Consider wearer’s preferences, color wheel concepts, symbolism, and personal style.
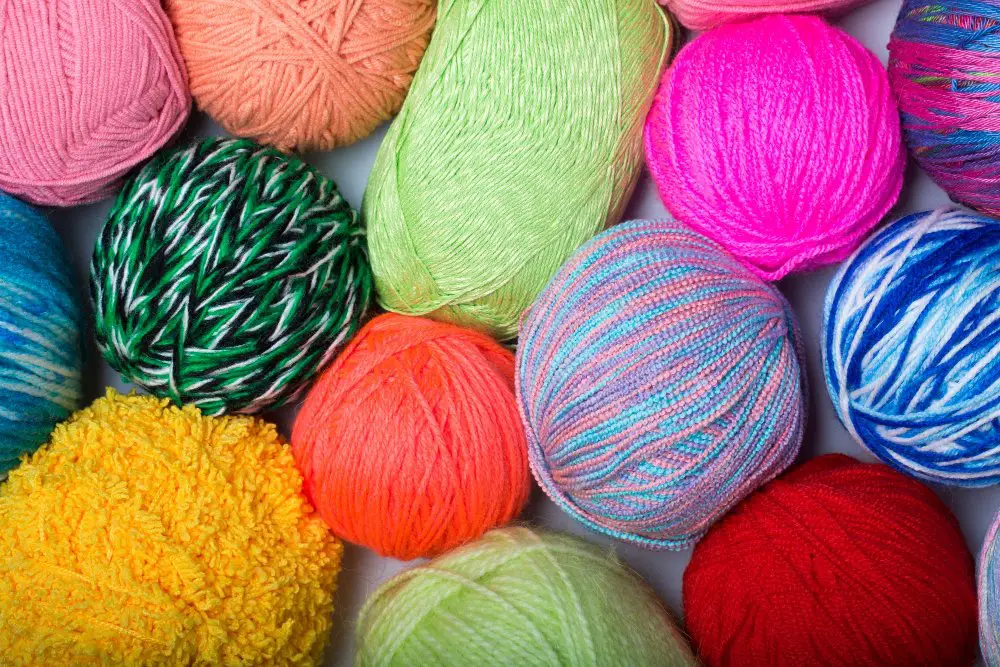
Choosing Yarn for Bracelets
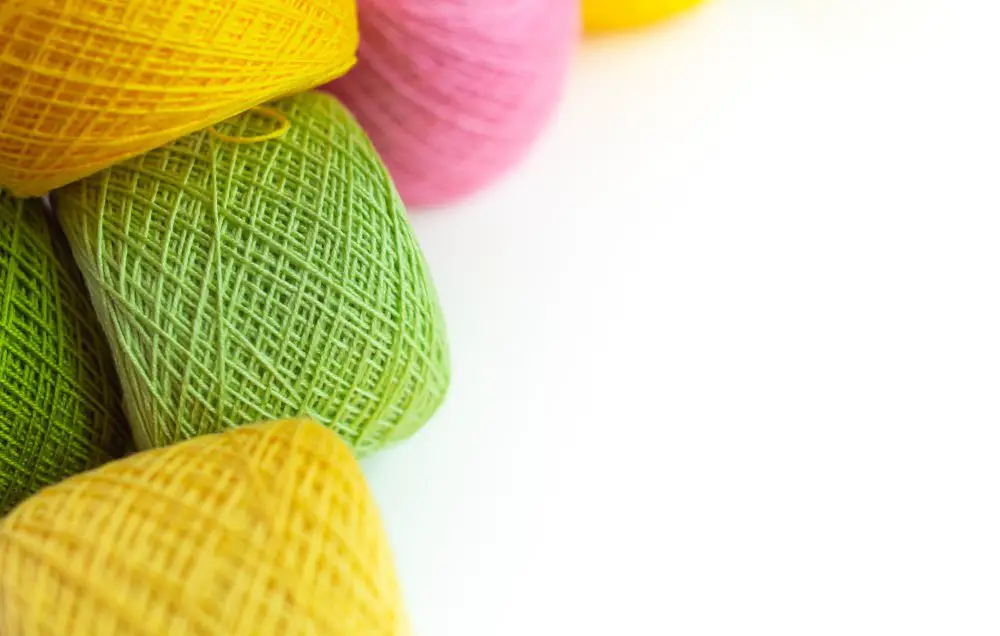
When it comes to selecting the ideal material for your bracelet creations, the type of yarn can significantly impact the look, feel, and longevity of the end product.
Consider the following aspects:
- Fiber Content: Look for a blend of natural and synthetic fibers like cotton-polyester blend. Cotton provides softness while the polyester ensures durability.
- Weight and Texture: Bracelets require a thin yarn. Fingering or sport weight yarn would be apt. Avoid bulky and chunky yarns as they can create overly large knots and make the bracelet uncomfortable to wear.
- Colorfast: Ensure the yarn is colorfast to prevent fading or bleeding of colors after washing or prolonged wear.
- Hypoallergenic: If you have sensitive skin, choose hypoallergenic yarn like bamboo or cotton to avoid any potential reactions.
Remember, the aim is to create a bracelet that not only looks good but is also comfortable to wear and lasts.
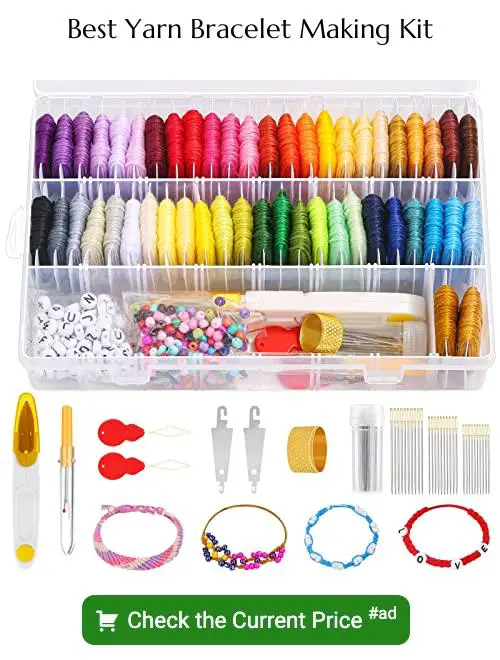
Gather Your Supplies for Yarn Bracelets

When assembling materials for creating yarn bracelets, a couple of essential items are necessary for success. High-quality yarn is crucial. Aim for a durable, brightly colored skein that holds well together through the knotting process. The texture can also add interest to your bracelet designs.
Additionally, consider your choices in scissors. A sharp, reliable pair ensures clean cuts, contributing to the professional look of your finished bracelet.
Your tool list also includes tape, which is useful for securing your working area or taping your bracelet down as you work. A clipboard or safety pin can also be handy for keeping your bracelet firm and anchored, making the knotting process smoother.
Finally, have a ruler or measuring tape on hand. This aids in accurate sizing of bracelet lengths, ensuring a perfect fit for every wrist.
Remember, quality over quantity rings true. Investing in good quality tools can make the entire process more enjoyable and the end result more satisfying.
Understanding Bracelet Patterns
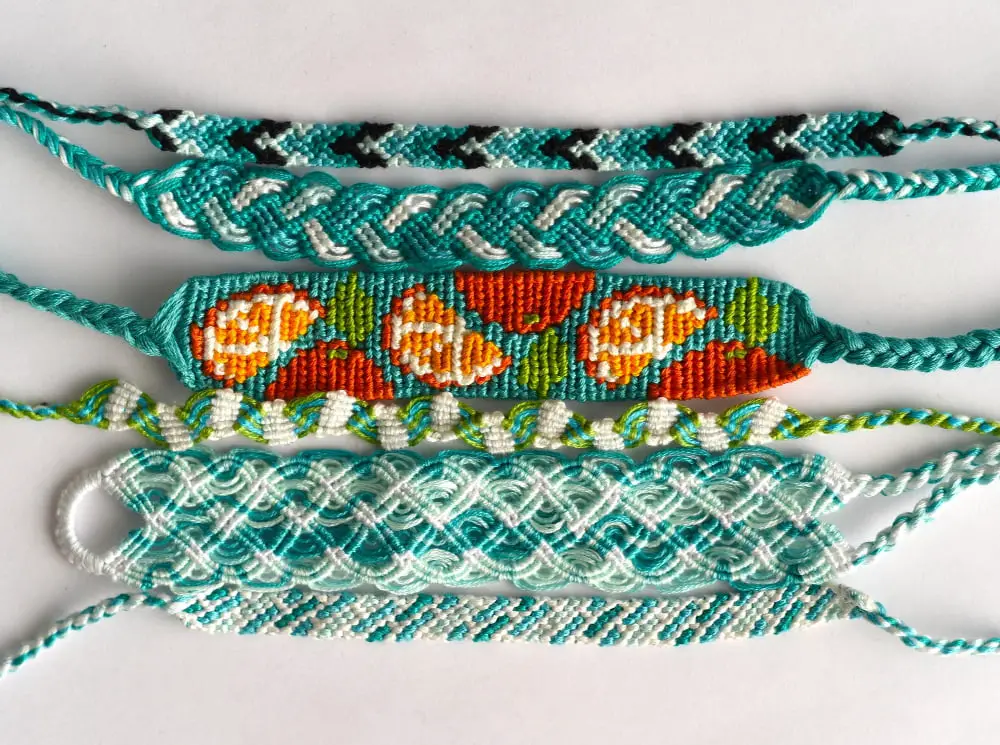
Though simple at first glance, a bracelet pattern is crucial for the crafting process. It serves as a map, guiding the transition and combination of knots to create appealing and cohesive designs. Some important concepts to grasp in understanding these patterns include:
- Reading Direction: Bracelet patterns are primarily read from left to right and each line represents a row of knots or stitches.
- Knot Symbols: Each knot type has a distinct symbol. Familiarizing with these symbols helps decode the pattern and determine the next step.
- Color Coding: Most patterns use color indicators, a key element in planning the color distribution throughout the bracelet.
- Understanding Repetitions: Bracelet patterns may include parts that are to be repeated a specified number of times. These repetitions are usually indicated within brackets or asterisks.
- Learning the Bracelet Width: The number of strings or yarns used in a row dictates the width of the bracelet.
Taking the time to understand these details is a game-changer in your bracelet crafting journey. It’s like learning a new language – once mastered, it opens up endless possibilities of intricate, awe-inspiring patterns you can easily knit into life.
Start With the 4 Basic Knots for Yarn Bracelets
Mastering four basic knots – forward, backward, forward-backward, and backward-forward – is paramount in the art of yarn bracelet creation.
1. Forward Knot: Hold two strings. Pull the left string over the right, creating a ‘4’, loop it under and through creating the first half of the knot. Repeat for a complete forward knot.
2. Backward Knot: Similar to a forward knot but in reverse. Form a backward ‘4’ by pulling the right string over the left, then looping it under and through.
3. Forward-Backward Knot: Begin as though you’re making a forward knot but instead of repeating the front knot, carry on as in a backward knot.
4. Backward-Forward Knot: A mirror of the forward-backward knot. Start with a backward knot, then follow with a forward knot.
Each knot serves a different purpose when crafting the bracelet patterns. Recognizing when to use each one comes with practice and patience. Making clear, tidy knots is key to creating aesthetically pleasing yarn bracelets.
Choosing Colors for Yarn Bracelets
When selecting colors, consider the bracelet’s intended wearer and their preferences. If it’s for a child or teenager, brighter hues tend to be popular. On the other hand, neutral, pastel, or jewel tones might be preferred by adults.
For a harmonious look, you may want to pick colors that are next to each other on the color wheel (analogous colors), such as red, orange, and yellow, or blue, green, and purple.
Alternatively, for a contrasting but still balanced look, select colors that are opposite each other on the color wheel (complementary colors) – think red and green, or blue and orange.
Remember, the number of colors used can vary depending on the bracelet pattern. Some patterns may only require two colors, while others may use five or more. Experimenting with color combinations is part of the fun.
You may also color-coordinate your bracelet with the seasons. Light pastels for spring, brights for summer, rich tones for autumn, and cool blues and whites for winter.
Lastly, consider symbolism and personal associations. Certain colors can represent different feelings, ideas, or causes—for example, red for love, blue for tranquility, or rainbow colors for LGBT+ pride.
Ultimately, the color choice for your yarn bracelets should reflect your own creativity and personal style.
How to Make a Candy Stripe Yarn Bracelet
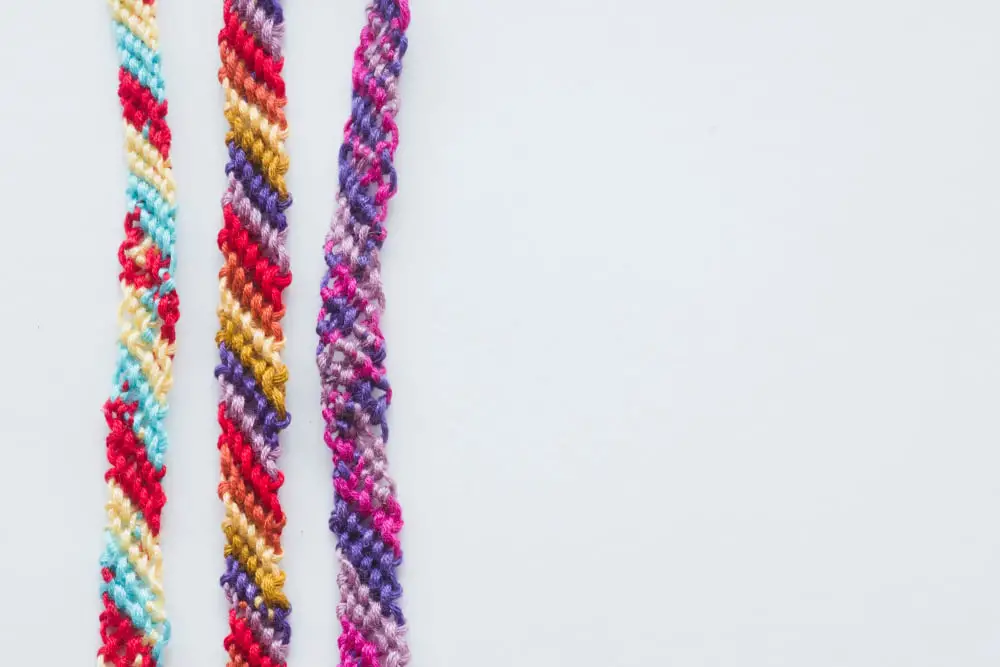
Begin by cutting various strands of yarn, all of the same length. It is recommended to use at least six strands, but more can be used for a wider bracelet. Each strand should be a different color for the striped effect, but you may choose to use fewer colors and duplicate some strings.
Next, knot all strands together about one inch from one end, securing them to a flat working surface using masking tape. Separate your color-coded strands in the order that they’ll appear in the bracelet. From left to right, start with the outermost strand, called the working strand. The one beside it is referred to as the base strand.
The candy stripe pattern is created primarily through forward knots. Bring the working strand over the base strand, creating a loop that resembles a number 4, then bring the working strand under the base strand and pull the end through the loop. Holding the base strand taut, pull the knot up to the top. Repeat this step with the same working strand over every other base strand.
Once you’ve made a knot with every strand using the first working strand, move onto the second thread from the left. Repeat the process, treating this as the new working strand. Continue until the bracelet reaches the desired length.
Finally, gather all the threads together and tie a knot to finish. Loosen the tape at the top to release the starting knot’s end, and your candy stripe yarn bracelet is complete.
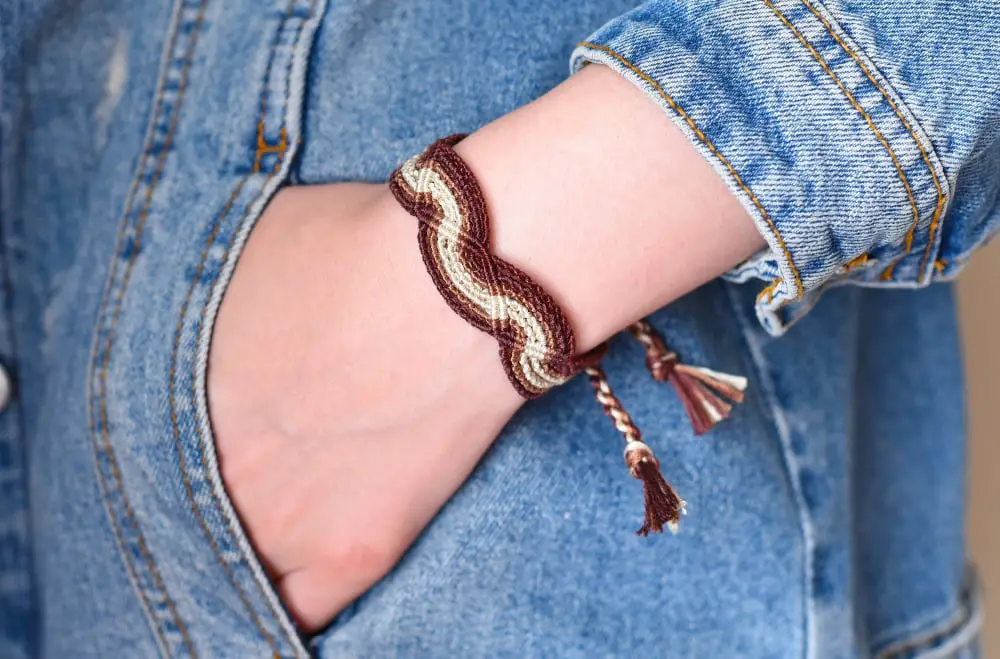
Chevron Yarn Bracelet Pattern
The Chevron pattern brings an artistic arch-like design to your bracelet, adding a sophisticated touch.
For this style, start by cutting 4 different colored yarn strings of the same length, usually about 36 inches each.
Then, fold them in half and knot at the top to create 8 strings.
Separate the strings matching their colors, with identical threads facing each other from the center.
To make the Chevron shape, begin braiding the bracelet from the outermost left thread knotting towards the center using the forward knot technique, then do the same starting from the right using backward knots.
After both sides have reached the center, knot them together using a forward knot technique, creating the defining V shape.
Repeat this process until you reach the desired length of the bracelet.
Don’t forget to tighten the knots as you go along, and maintain even tension throughout.
It may take time and patience initially, but as you familiarize yourself with the procedure, you’ll find your momentum.
Remember, practice is key in achieving the perfect Chevron yarn bracelet.
Diamond and X’s Yarn Bracelet Pattern
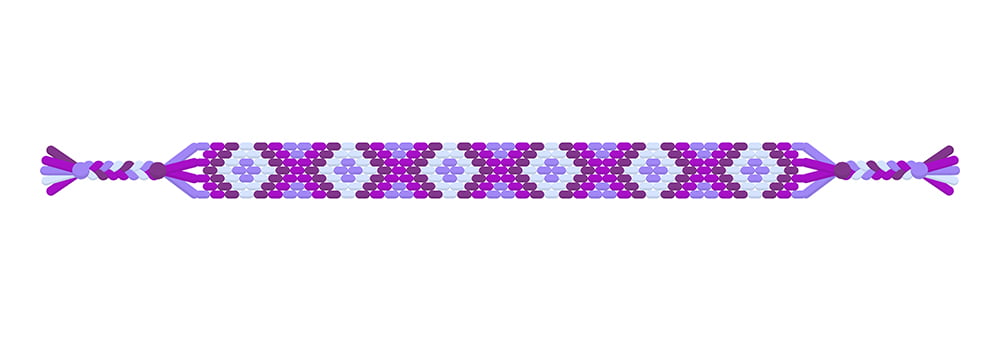
To create the diamond and X’s bracelet, you’ll need at least three different yarn colors. The number of colors can be increased for more complexity.
1. Begin with a forward knot: Just like for basic bracelet patterns, initiate this design with a simple forward knot.
2. Form an “X”: Pull the first and last stands into the middle, crossing over the second and second-to-last stands. Knotting these in the center will form an “X”.
3. Create the diamond: Continue this pattern, with each line knotting one fewer strand until you reach only one strand being knotted. This forms the top half of the diamond. To form the bottom half, increase by one with each line until you’re back to knotting every strand.
4. Repeat the pattern: After your first diamond is complete, repeat steps two and three until your bracelet reaches your desired length.
5. Variation: As a variation, you could stop at the “X” pattern and alternate with simple candy stripe sections for a different look.
Starting and Finishing Yarn Bracelets
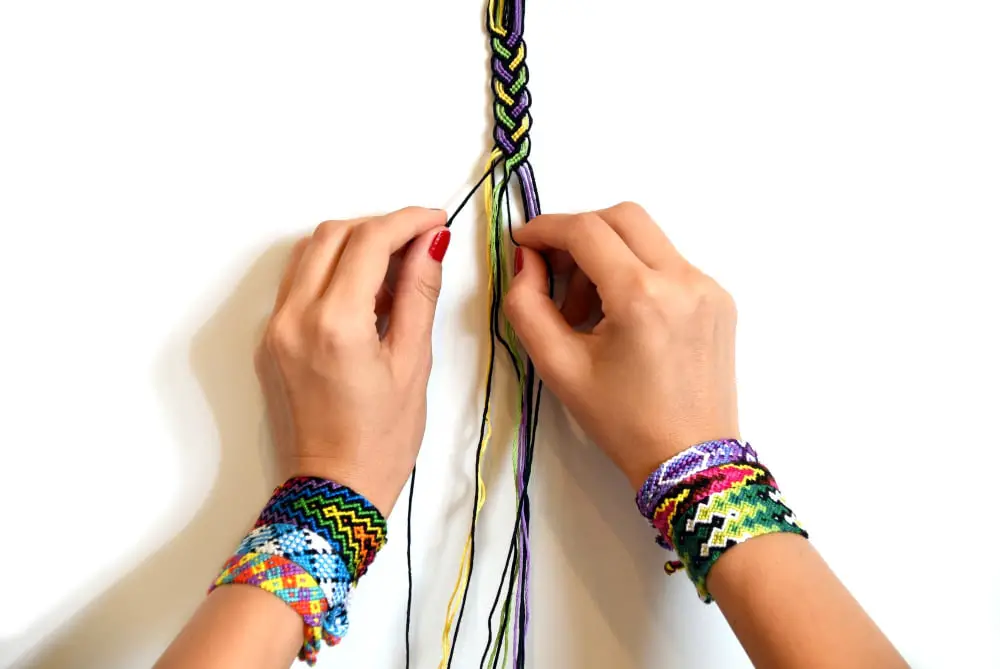
To commence your bracelet, gather your chosen yarn colors and cut about 65 inches from each. Fold this in half and secure a loop at the top with a tight knot. This loop is crucial as it serves as the closure system of your bracelet once finished.
Next, affix this looped end to a steady surface like a clipboard or pin it to a pillow. Arrange the yarn strands in the order of color as per your chosen design. The sequence of these threads will determine the color pattern of your bracelet.
Now, initiate the process by tying the threads with your chosen knot method. Whether it’s a forward, backward, forward-backward, or backward-forward knot, follow your pattern till you attain the desired bracelet length.
To finish your bracelet, split the strings into two equal halves and twist them separately. Then, knot the two twisted sections together at the end. This knotted section can be slipped through the loop made at the start of the bracelet for secure closure.
Remember, practice makes perfect. The more you craft, the better you’ll get at producing these gorgeous yarn creations. So, don’t rush, keep your patience and enjoy every moment of your bracelet crafting journey.
Beginner Yarn Bracelet Patterns

Starting on your bracelet crafting journey, the simplicity of beginner patterns is key.
These designs primarily use the forward and backward knots, making them easy to master.
Bracelets like the Fishtail and Candy Stripe are popular choices due to their straightforward step-by-step approach.
The Fishtail bracelet simply involves alternating colours using forward knots, creating a captivating fishtail-like pattern.
For Candy Stripe, the process involves tying knots of the same colour in a row, allowing for a clean, striped pattern.
By mastering these designs, you will establish a strong foundation for attempting more complex patterns in the future.
Remember, patience and practice are essential for perfecting these initial designs.
Common Questions About Yarn Bracelets

Often asked is whether yarn bracelets are durable. Despite being made from yarn, these bracelets can endure wear and tear. Using thick or high-quality yarn, as well as ensuring proper knotting and finishing, increases longevity.
Another query revolves around washing yarn bracelets. While it’s possible, a gentle hand wash with mild detergent is safest. Always allow them to thoroughly air dry.
The question of recipients for yarn bracelets comes up frequently as well. These bracelets make excellent gifts for people of all ages. They can be customized in terms of color, design, and size, making them uniquely personal.
Variations are also a topic of interest. Yarn bracelets can be simple or intricate, bearing different patterns or even charms, beads, and other embellishments for captivating designs.
Lastly, it’s often wondered if this craft is time-consuming. Bracelet completion largely depends on the design’s complexity and the crafter’s expertise. As skills improve, so does speed and efficiency.
Remember, crafting bracelets should ultimately be enjoyable, fulfilling, and an opportunity to express creativity. It matters less how quick or slow the development is, and more about the satisfaction derived from the process and outcome.
Additional Ideas for Yarn Bracelet Designs
Exploring fresh ideas for bracelet designs keeps the craft stimulating. One approach is to layer multiple thin bracelets, each with a different color or pattern. This not only creates visual depth but also enables the mix and match of different styles.
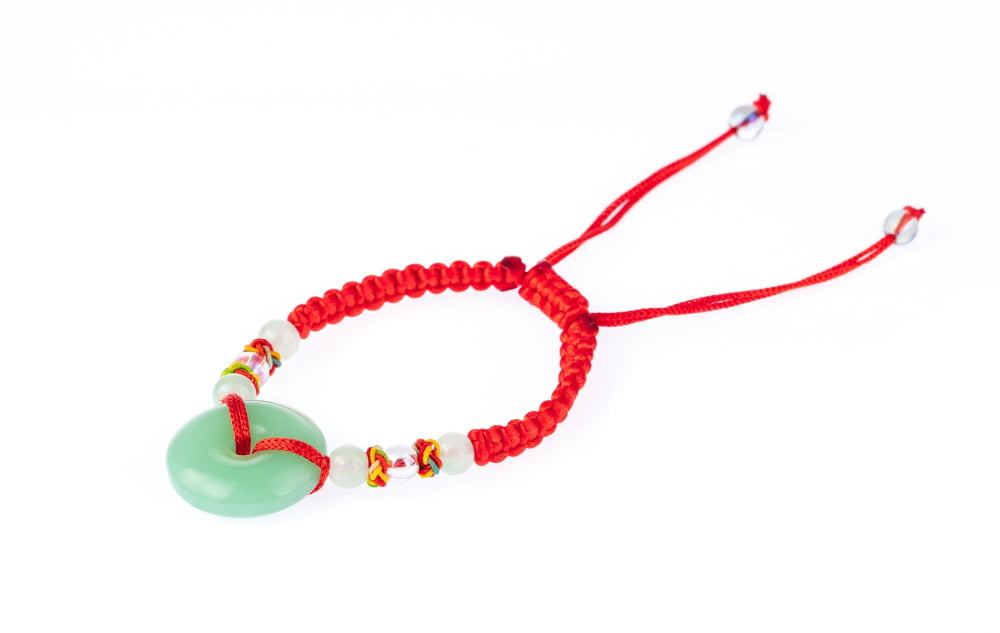
Try experimenting with charms or beads, inserting them into the bracelet for a touch of unique aesthetics. Glass, wooden, or metallic beads with large holes can easily be incorporated into the thread of a yarn bracelet knot.
Introducing metallic thread or a silk yarn can provide a little shimmer, elevating a simple design. Be attentive to texture too. Some yarns have a fluffy, almost fur-like quality which adds a tactile aspect to the bracelet. Light reflective yarn can also add an interesting twist to your designs.
Twisting or braiding yarns of complementary colors together before knotting the bracelet can give a fascinating multi-hued effect. Alternatively, using a variegated yarn can offer a fun and unexpected color progression in your design.
Lastly, consider multi-purpose your creations. Your yarn bracelets can also function as bookmarks, key rings, or decorations for bags when not in use. This practical approach makes your craft versatile and dynamic.
Accessory Trends: Incorporate Your Yarn Bracelets Into Your Wardrobe
In the realm of fashion trends, yarn bracelets offer a unique blend of traditional craft and modern style. For a boho-chic look, try pairing a colorful bracelet with neutral toned wardrobe pieces. Moreover, a monochrome bracelet can offer a subtle yet striking addition to a vibrant outfit.
For those partial to minimalist aesthetics, consider selecting a bracelet in a single color or subtle gradient, it works wonders with clean, simple silhouettes. Remember, less can be more!
It’s all about balance – complement your other accessories. If you’re wearing statement earrings or necklaces, opt for a more subdued bracelet and vice versa.
Finally, yarn bracelets aren’t limited to casual wear. They can elegantly garnish a little black dress at a cocktail party or even add that pop of color to a business suit. Just experiment and keep in mind that versatility is yarn bracelets’ winning trait.
FAQ
Can yarn be used for bracelets?
Yes, yarn can be utilized to create bracelets, employing several simple knots to fabricate an adjustable band in a matter of minutes.
What types of knots are the best for creating yarn bracelets?
The best knots for creating yarn bracelets include the square knot, the half hitch knot, and the slip knot.
How can embellishments like beads be incorporated into yarn bracelets?
Embellishments such as beads can be incorporated into yarn bracelets by threading them onto the yarn before starting the crochet or knitting process and sliding them into place as you work on the pattern.
Are there specific yarn types that are more suitable for bracelet making?
Cotton or hemp yarns are highly suitable for bracelet making due to their durability and ability to retain shape.


