Discover how to make yarn curly because it can open up a whole new world of texture and style in your crafting projects.
Are you interested in giving your yarn a curly twist? You’re in the right place! This article will guide you through a simple process to add a curly flair to your yarn, ideal for jazzing up your crafts.
Whether you’re working on a knitting project or a crochet masterpiece, curly yarn can add an exciting dimension. We’ll dive into the step-by-step instructions, materials needed, and tips to ensure your success.
Let’s unravel the mystery of making curly yarn together, ensuring you have all the information you need to achieve the perfect spiral.
Key takeaways:
- Select appropriate yarn: wool or acrylic recommended.
- Wrap yarn around oven-safe item, secure ends, and bake.
- Let the yarn cool completely before removing from the rod.
- Create crochet wig cap with curly yarn for personal style.
- Make curly doll hair or yarn hair for crochet dolls.
Materials for Curly Yarn
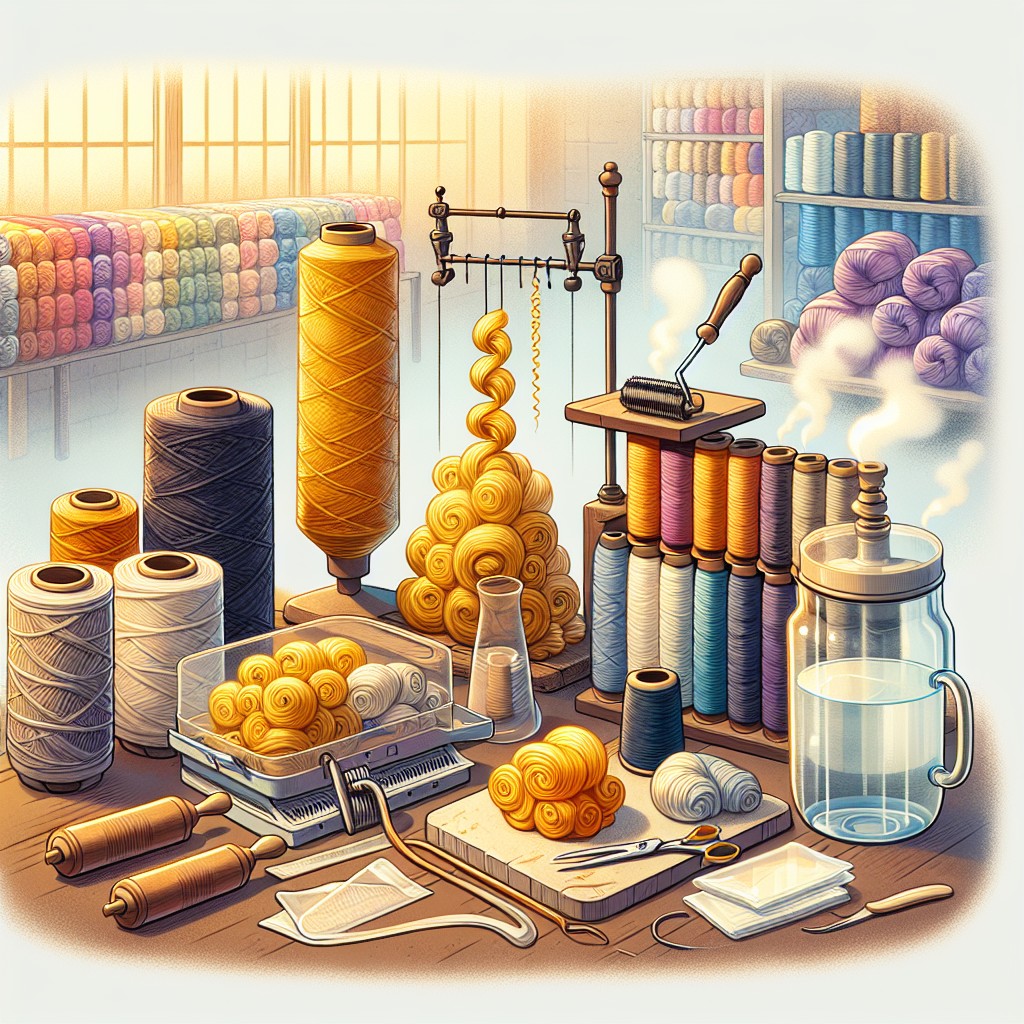
To embark on this creative voyage, several essential items will be needed. For starters, yarn is, of course, the main ingredient. A broad spectrum of fibers can be used, including wool, acrylic, and cotton, depending on the project’s specific requirements.
Scissors are crucial for tidying up loose ends, while aluminum foil or a fabric wrapper can be used to shape and set the curls. Be sure to have these materials: a skein of yarn, a pair of scissors, aluminum foil or fabric wrapper, and a flat iron or steam. These materials lay the foundation for a successful yarn curling project.
Finally, depending on the method used, a flat iron or steam may be used to finalize the process.
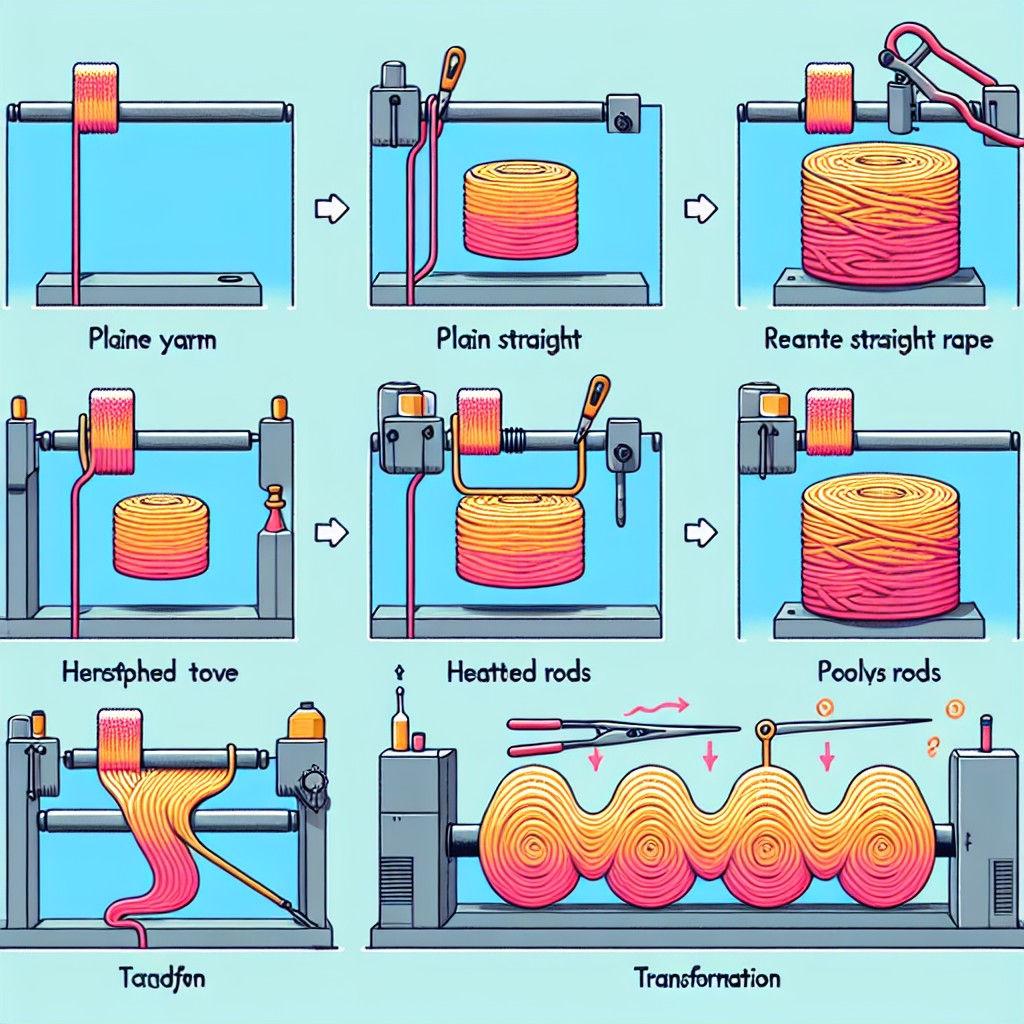
Steps to Make Yarn Curly
Start by selecting an appropriate yarn. Wool or acrylic types are particularly effective for this technique. Choose whatever color or texture appeals to you, as the process will work the same regardless.
Next, wrap your selected yarn around something stable, like a dowel, knitting needle, or even a chopstick. The important thing is to ensure that the item is oven-safe, as we’ll be heating it up later. The wraps should be close together but not overlapping, and the ends secure, usually with a knot or a bit of tape.
Once wrapped, place your yarn and dowel setup on a baking sheet. The oven should then be preheated to a low setting – around 200 degrees Fahrenheit is often suitable. The yarn-dowel combo is then baked for around 15 minutes. It’s essential to keep an eye on it to avoid overheating and creating a craft catastrophe!
After sufficient heating, remove the setup from the oven and let it cool completely. This step is crucial as the yarn needs to set, just like setting a hairstyle.
Lastly, once the yarn has cooled, simply slip it off the dowel, and voila, you have a perfectly curled woolen strand. Repeat the process as needed for the project at hand.
Bear in mind, while this technique is generally safe, adult supervision is necessary when children are involved due to the use of an oven. Happy crafting!
Creating a Crochet Wig Cap With Curly Yarn
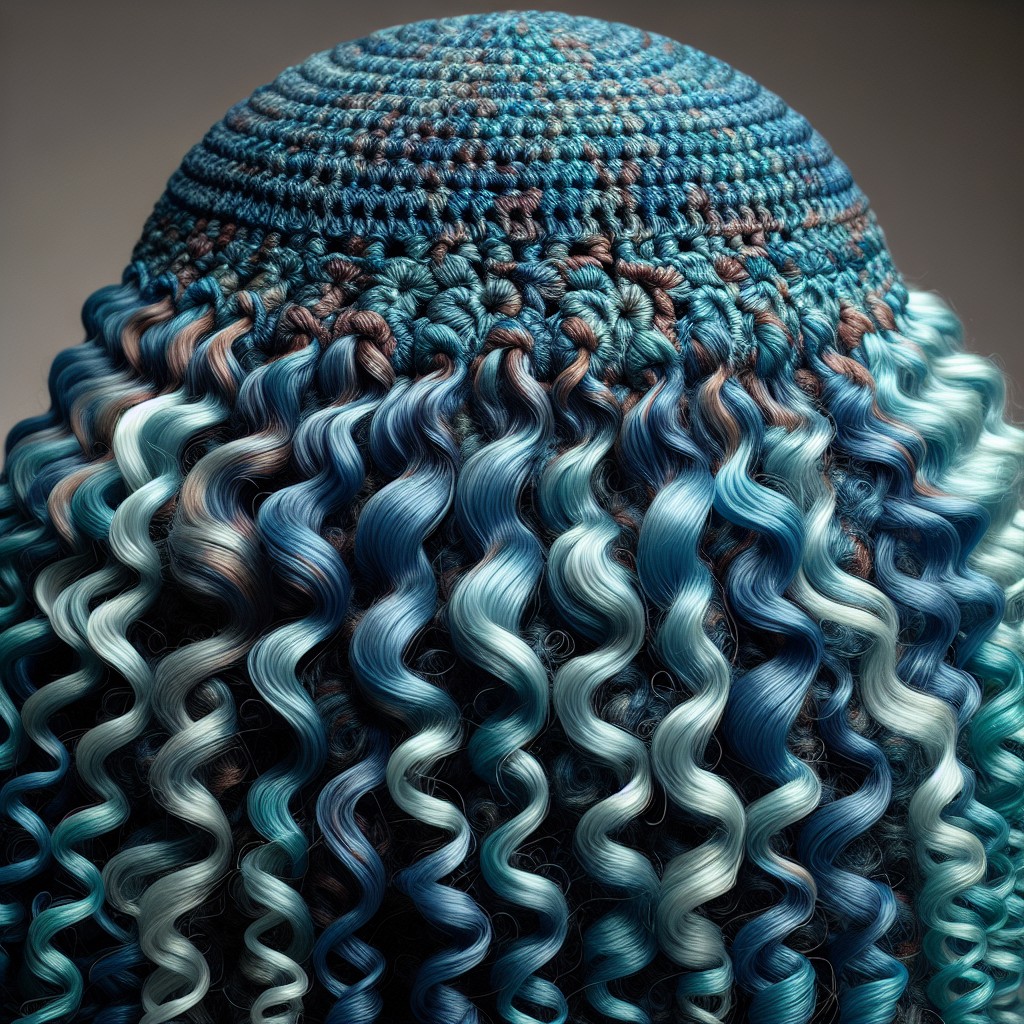
Creating your own wig cap using curly yarn can add a dimension of fun, creativity, and personal style to your crochet projects. Follow these key points to successfully craft a wig cap:
Determine the Size: Measure the length and width of the head where the wig cap will be worn. Always allow a small amount of extra yarn for adjustments.
Choose the Right Yarn: Use curly yarn for your wig cap. You can either buy pre-curled yarn or make your own using methods such as the steam or baking method.
Begin Crocheting: Start your wig cap from the crown, working your way down to the base of the hat. Ensure the cap is snug but not overly tight, for a comfortable fit.
Attach the Yarn Hair: Once the cap is completed, cut your curly yarn in lengths that represent the ‘hair’. Attach them to the wig cap using a crochet hook. Ensure the yarn strands are evenly distributed to give a natural look to your wig cap.
Maintain your Wig Cap: Care for your curly yarn wig cap properly. Regular gentle brushing can disentangle the strands and keep the curls looking fresh and vibrant. Avoid washing it frequently as this might ruin the curls.
By following these straightforward points, you can create a unique and personalized crochet wig cap with curly yarn.
Next, let’s delve into making curly doll hair with yarn, another exciting yarn craft project!
Making Curly Doll Hair With Yarn
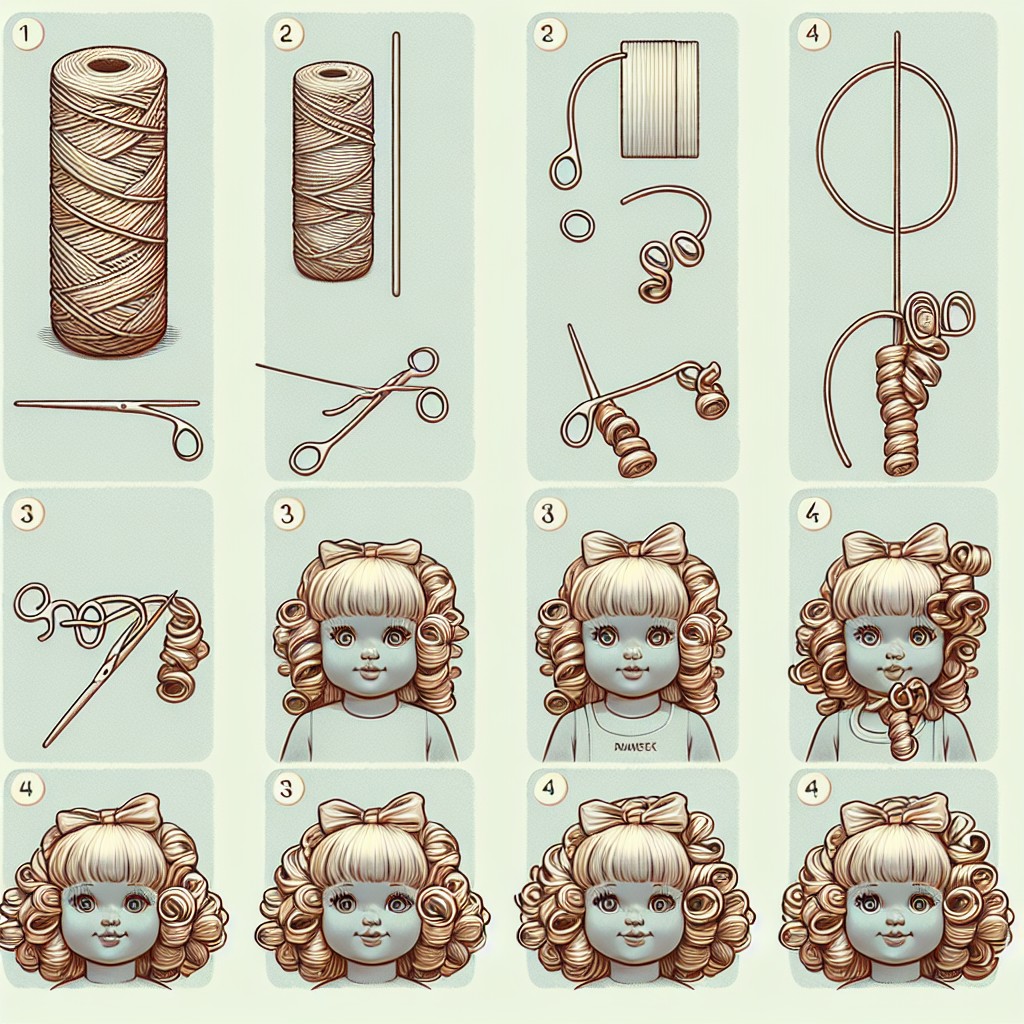
To begin, select a soft yarn in your desired color. Cut numerous lengths, approximately double the desired hair length. Prepare a cord or strong thread, about twice the doll’s head circumference. Thread it onto a yarn needle, adding a knot at the end for security.
Secure the first piece of yarn onto the thread by folding it in half, forming a loop at the fold. Insert the needle into the loop and tighten around the thread, repeating until the entire piece is full of yarn strands.
Now, saturating the yarn strands fully with warm water will make them more receptive to curling. Roll each strand tightly around a pencil or knitting needle, then secure with a clothespin or clip. Once all strands are rolled, heat them using a hairdryer or place in a warm area for several hours.
After they have completely dried, carefully unravel the strands from the pencils or knitting needles. They should maintain their curly form. The thread with attached curled yarn can now be sewn onto the doll’s head, creating voluminous, curly doll hair. Be gentle to maintain the curls. It’s an impressive technique to add character and personality to any handmade doll.
Making Yarn Hair for Crochet Dolls
To start, select the yarn. Keep in mind that denser yarns offer more volume, while finer ones are easier to manage and produce thinner curls. Cut a long piece of yarn, about twice the length of the desired doll’s hair. It allows for the curl of the yarn and keeps the hair from being too short.
Moving forward, tie the strands securely around a knitting needle or a thin dowel. Small diameter rods yield tighter curls, while larger ones give loose curls. Make sure to space out your yarn evenly for uniform curls.
For the next step, a DIY steamer can be a lifesaver. Fill a pot with water and put it to boil. After achieving a good steam, hold the rod with the yarn over it, using a thick oven mitt to protect your hand from the hot steam.
Steaming the yarn will allow it to take on the shape of the rod, creating beautiful curls. Steaming for somewhere around 15-20 minutes should suffice. After steaming, allow the yarn to cool and thoroughly dry while still tied to the rod.
To finish, carefully remove the knitting needle or dowel, ensuring to maintain the yarn’s curled shape. Once complete, the curled yarn is ready to be styled into the crochet doll’s hair. Remember to always work carefully and patiently for the best results.
Expert Tips for Making Curly Yarn
To perfect your curly yarn technique, consider these professional suggestions:
1. Consistency: While wrapping the yarn around your chosen rod, strive for uniformity. The more consistent your technique, the more identical your curls will turn out.
2. Material: Always remember the type of yarn can affect the end result. Synthetic yarn often produces tighter, more persistent curls compared to natural fibers.
3. Heat: Apply just enough warmth to set the curls, but not so much as to cause damage. Overheating can lead to yarn becoming brittle or discolored.
4. Cooling: Let the yarn cool totally before removing it from the rod. This will help maintain the curl shape for more extended periods.
5. Experiment: Don’t be shy about trying different rod sizes for diverse curl effects. Remember, variation results in more natural-looking curls.
Curly Yarn Making Questions & Answers
Surely, you may have some queries as you navigate this new project. Let’s address some common questions:
1. Can I use any type of yarn?
– Yes, brushing will function best with acrylic, wool-blend, or 100% wool yarns.
2. How do I maintain the curls?
– Simple, avoid excessive brushing and handle with care. Curled yarn might get frizzy if handled roughly.
3. What if my yarn isn’t curling as expected?
– Adjust the temperature and steam time. Varying types of yarn will react differently to heat.
4. Will the curls remain after washing the crafted item?
– The curls might loosen but should primarily remain if the item is washed with care and air-dried.
5. Can I straighten curly yarn?
– Yes, by wetting the yarn and pulling it straight while drying. But it’s simpler to start with a fresh piece of yarn if a straight one is required.
6. Can curly yarn be used for the same patterns as straight yarn?
– Yes, though keep in mind, the resulting piece might look fluffier or bulkier because of the curls.
FAQ
Can you curl yarn with heat?
Yes, yarn can be curled using heat, but caution is needed to avoid melting the yarn or burning oneself; it’s recommended to keep a few inches distance and use a tissue while handling.
What are the materials needed to curl yarn?
To curl yarn, materials required are yarn, a pair of scissors, a ruler, a brush, and a curling iron.
What safety measures should be practiced when using heat treatment on yarn?
When using heat treatment on yarn, it’s essential to never leave the yarn unattended while heating and always use a heat-resistant surface to protect against potential fire risks.
Is it possible to achieve different types of curls with specific yarn materials?
Yes, different types of curls can be achieved by using various yarn materials such as wool, silk, and acrylic, each offering unique characteristics.


