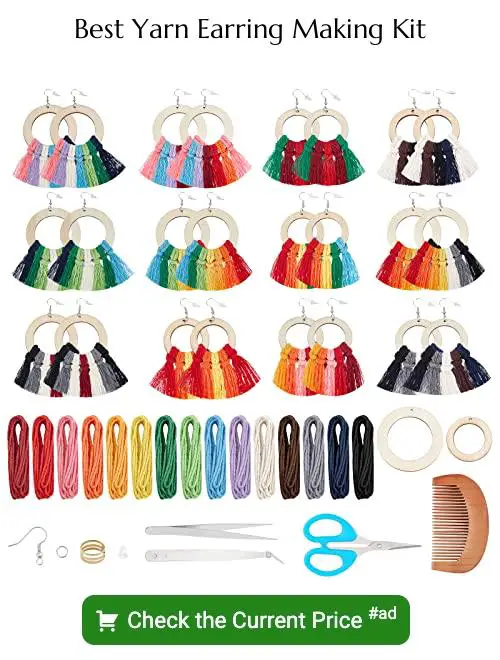
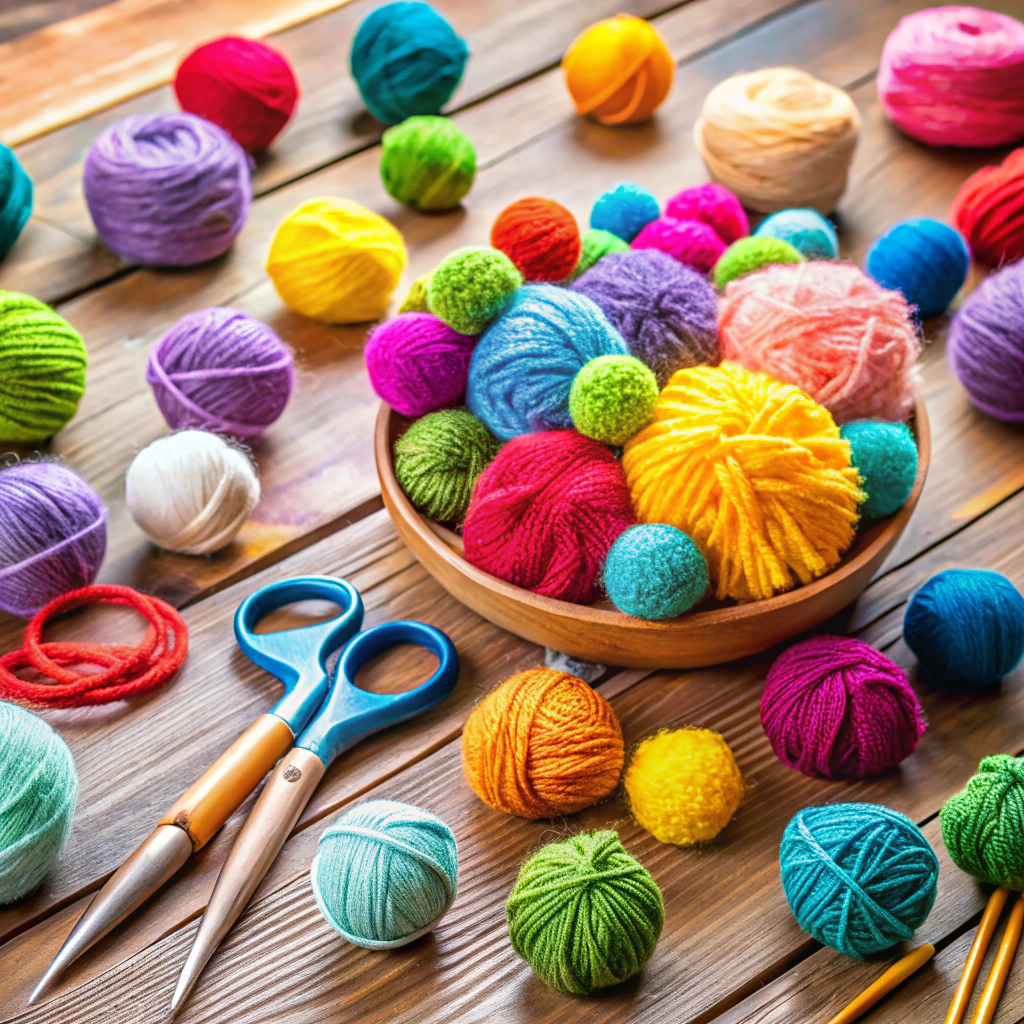
Making yarn earrings is the perfect blending of aesthetics and craftiness, because they offer a unique way to showcase your knitting or crocheting skills in a wearable form.
Crafting yarn earrings is a fun, creative and surprisingly simple process. This article will guide you step-by-step, from choosing the right materials to the final touches of your handmade jewelry. You’ll learn how to select the best yarn for your earrings, how to create different shapes and styles, and how to incorporate other elements like beads or tassels.
Whether you’re a seasoned knitter or a complete beginner, you’ll find these instructions straightforward and easy to follow. Let’s dive into the fascinating world of yarn earring making and explore all the details of this unique craft.
Key takeaways:
- Choose the right yarn weight, fiber, and color.
- Gather essential supplies like earring hooks, scissors, and needle.
- Create a tassel by wrapping yarn around cardboard and tying it.
- Attach the tassel to earring hooks using a jump ring.
- Consider adding embellishments like beads or sequins for a personalized touch.
Gather Supplies
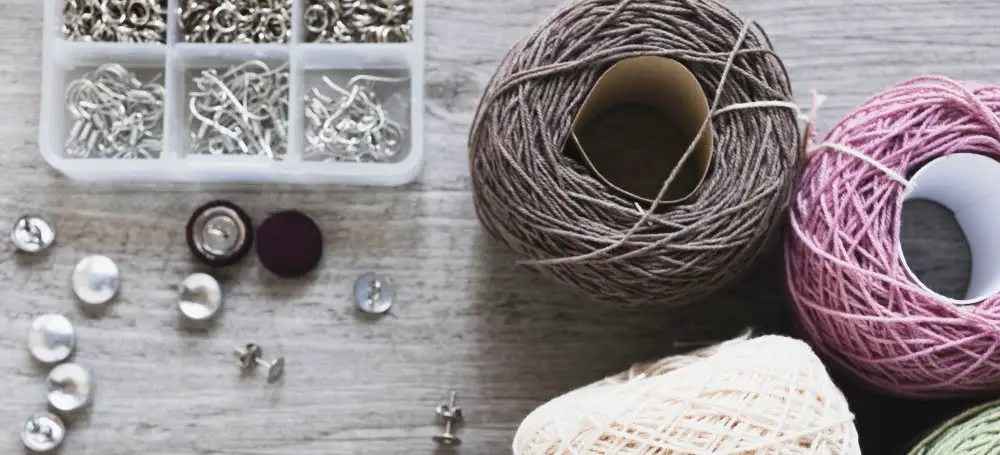
Before embarking on your yarn earring project, ensure you have the essential tools and materials. A necessary trip to your local craft store or a quick online shopping binge should set you up neatly.
The most important supplies are:
- Yarn: Opt for a medium-weight yarn for the best results. Consider cotton or wool, both excellent options due to their durability and ease to crochet.
- Earring Hooks: Choose earring hooks based on your preference and comfort. Silver, gold, or colored styles are available to add an extra touch to your finished earrings.
- Scissors: A reliable pair of scissors will assure clean, precise cuts for your yarn.
- Needle and Thread: These will assist in attaching the tassel to the earring hook. The thread’s color should match or complement your yarn.
- Optional Embellishments: Consider incorporating beads, feathers or, sequins to make your earrings unique and eye-catching.
Be aware that these supplies will directly impact the look and feel of your earrings. So, make your selections thoughtfully.
Choosing the Best Yarn for Your Earring Project
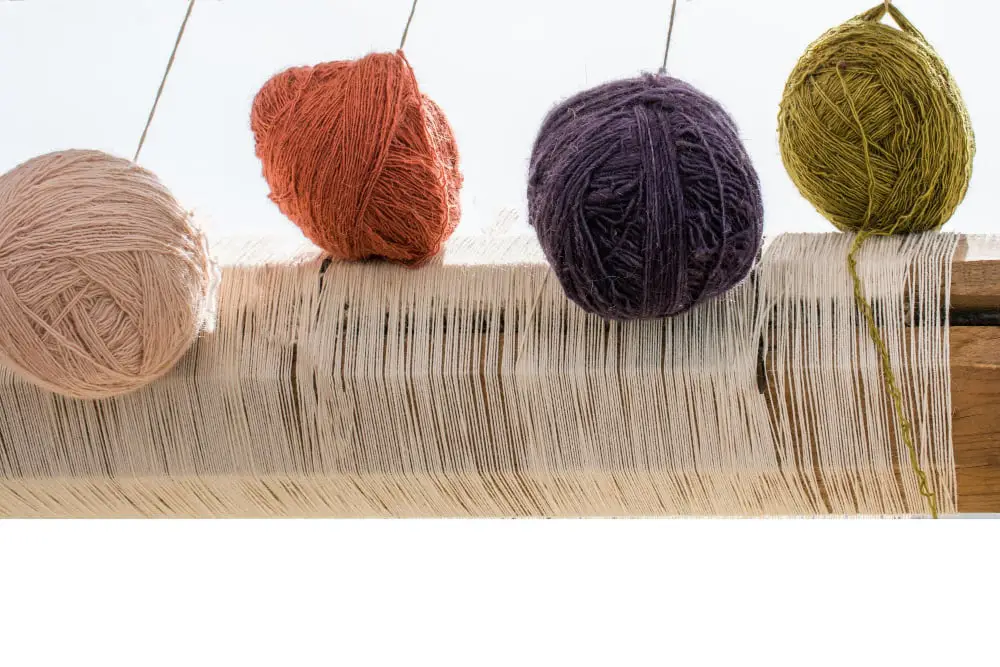
Selecting an appropriate yarn can contribute immensely to the success of your earring project. It’s important to consider several factors including weight, fibre content, and color.
1. Weight: Opt for lightweight yarns to prevent the earrings from being too heavy. Lace or fingering weight yarns work best.
2. Fibre Content: Organic fibres such as cotton or linen are a preferred choice due to their versatility and hypoallergenic. They are also lightweight and durable, capable of maintaining shape even after substantial wear.
3. Color: Choose yarn colors that match with your wardrobe or the outfit you want to wear these earrings with. Yarn comes in an array of colors, from solid to multicolored skeins, offering unlimited options for customization.
Remember, the aim is to create comfortable, stylish earrings that are unique to your personal taste. Therefore, it’s worth taking the time to make the right yarn choice.
Creating a Tassel From Yarn Scratch
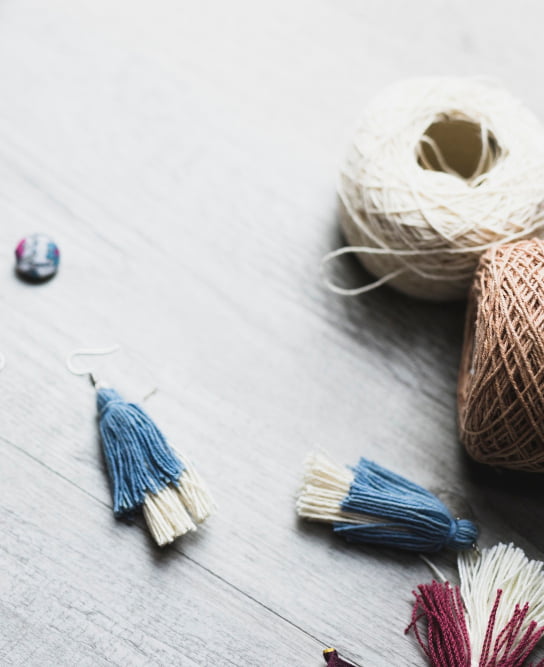
Start by cutting a piece of cardboard to your desired tassel length.
Next, take your chosen thread and wrap it around the cardboard multiple times; the number of wraps will dictate the thickness of your tassel.
After wrapping, cut one end of the looped thread.
Then remove the threads from the cardboard and tie a short piece around the top, creating a small loop about 1/4 of the length down.
Secure the knot tightly.
Take another cut section of your yarn, and tie it about 1/3 of the way down from the top knot.
Trim any excessive length to make end uniform.
This will form the main body of your tassel.
Attaching Your Yarn Tassel to Earring Hooks
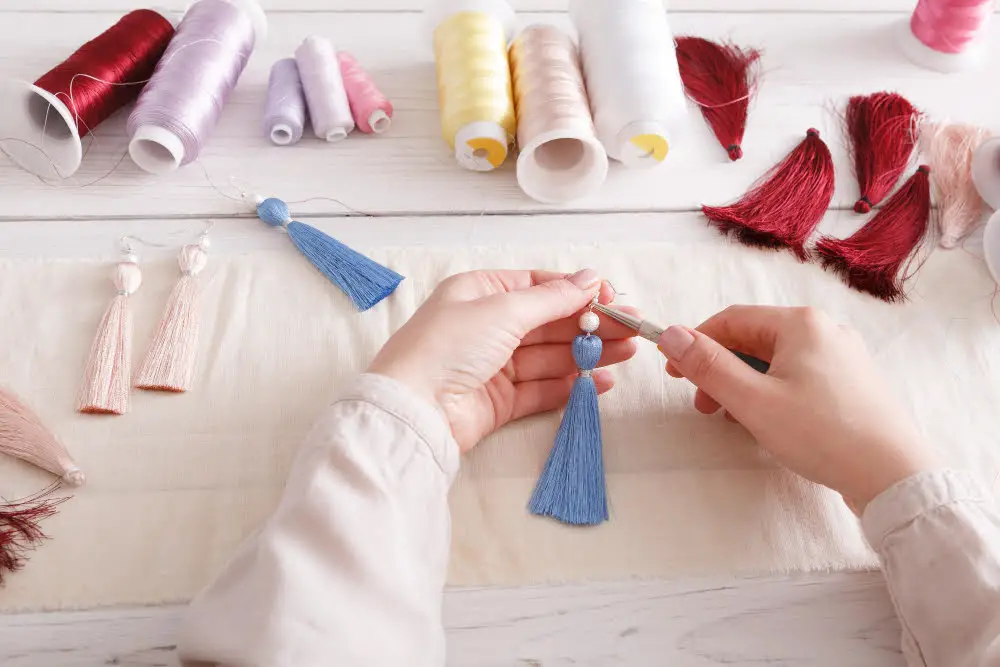
To secure your tassel to the earring hook, you’ll need a jump ring. These are small metal rings with a split in them that allow you to thread through items and attach them together.
First, carefully open the jump ring by twisting ends in opposite directions. Thread the jump ring through the top loop of the tassel and then through the hole at the base of the earring hook.
Once threaded through both, close the jump ring by twisting it in the opposite direction. Hold both ends of the ring, one in each hand, and move them towards each other. You should hear a tiny ‘click’ when the ends meet. Check the ring is closed and the tassel is held securely in place.
Now, repeat this process for the second earring. In no time at all, you’ll have a beautiful pair of yarn tassel earrings!
Adding Embellishments to Your Yarn Earrings
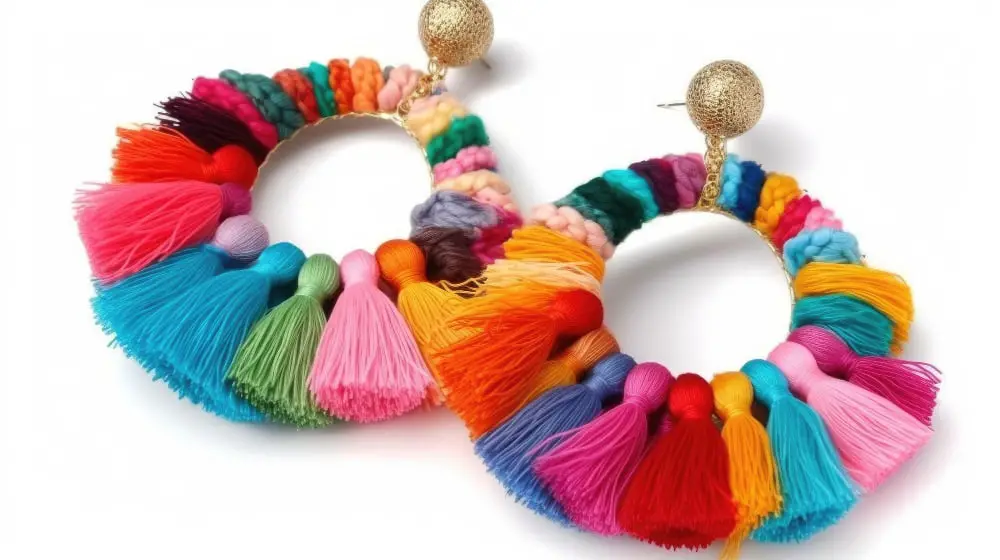
Embellishments can add a personal touch to your earrings. Beads, sequins, or gemstones are wonderful options to consider.
To attach these, you will need a jewelry grade adhesive suitable for textiles.
Place your tassel earrings on a clean surface, lay out your chosen ornaments and arrange them on your earrings until you get a design that pleases you.
Now, one by one, apply a small dab of adhesive to each ornament and carefully press it to your earring.
Allow the glue to dry completely before wearing or storing your earrings.
Remember, less is often more when it comes to embellishments.
It’s important to strike a balance between aesthetic appeal and the weight of the earrings, to ensure they’re comfortable to wear.
Caring for and Maintaining Your Yarn Earrings
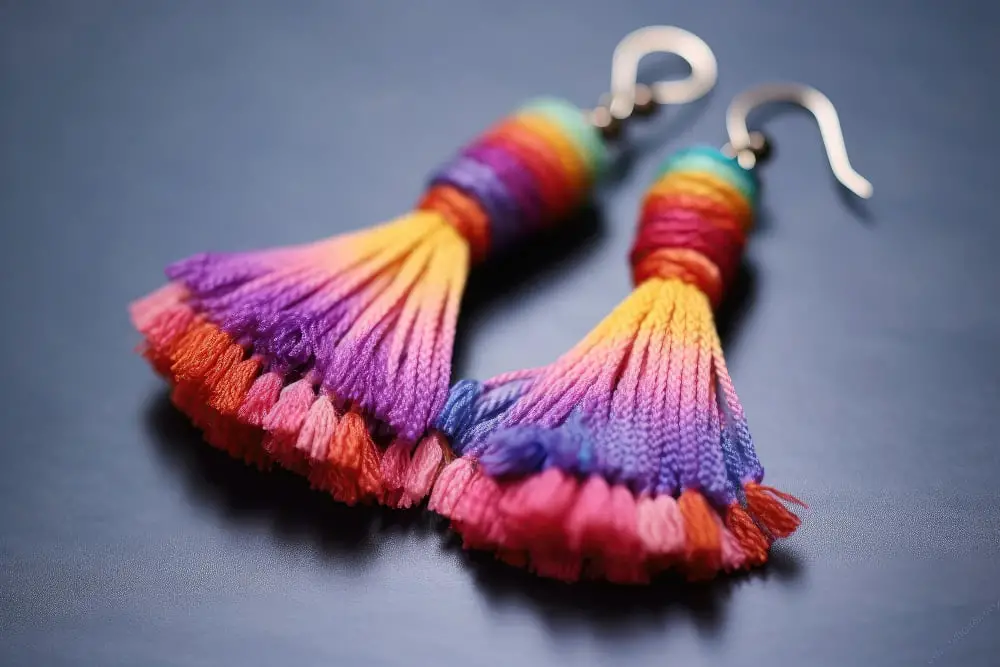
To ensure the longevity of these beautifully handcrafted pieces, here are some maintenance tips to keep in mind:
- 1. Avoid getting the earrings wet. This can cause the yarn to stretch and lose shape.
- 2. Cleaning should be done with a soft dry cloth, gently removing dust or dirt.
- 3. When not in use, it’s best to store in a dry, safe place to prevent snagging or tangling.
- 4. Depending on yarn type, certain fibers may require periodic gentle brushing to maintain a fluffy appearance.
- 5. Regularly check the earring hooks for any signs of wear or damage, replacing as necessary.
- 6. Avoid exposure to harsh chemicals such as perfumes or makeup, as they can discolor or stain the yarn.
With the correct care, these handmade yarn earrings can remain a cherished accessory for years to come.
Step-by-Step DIY Yarn Tassel Earring Tutorial
1. First off, you’ll need to cut a piece of cardboard to the length you’d like your tassel to be. This is a helpful guide for sizing, and ensures your earrings will be symmetrical.
2. Take your selected yarn and begin wrapping it around the cardboard. The more you wrap, the fuller your tassel will be.
3. Once you’re happy with how thick your tassel is, cut the yarn from the skein.
4. Next, cut a short length of yarn and thread it through the top of your loops.
5. Tie it off in a secure knot. This will serve as the top of your tassel.
6. Now you can slide the yarn off the cardboard.
7. Using another short piece of yarn, tie around the top third of your yarn bunch.
8. Finally, trim the bottom of your tassel to ensure all the ends are even.
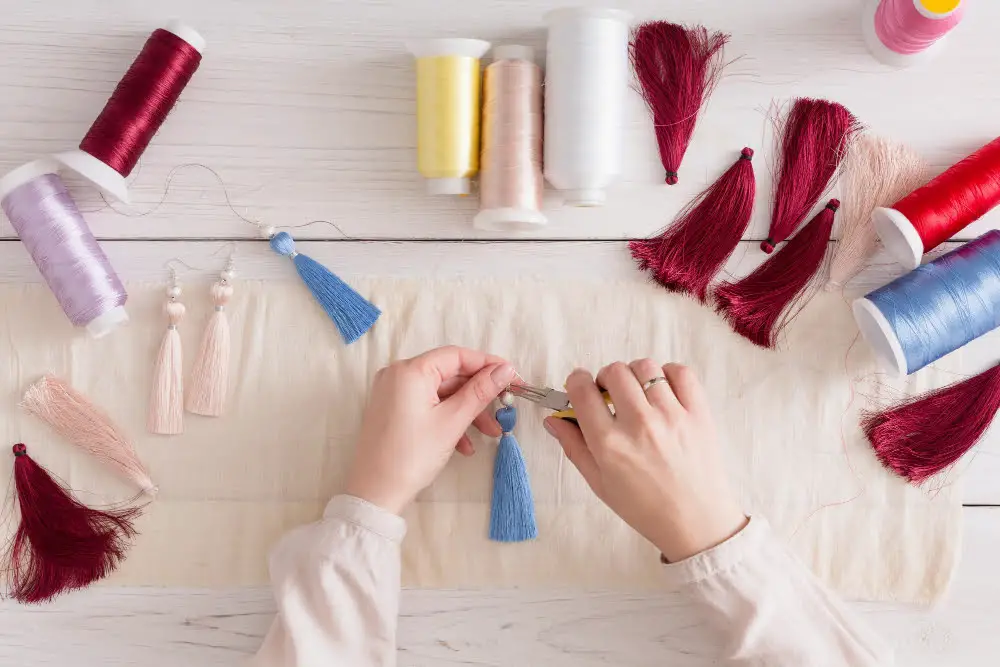
9. To attach the tassel to your earring hook, thread a jump ring through the top knot of your tassel, and then attach this to the earring hook. This can be closed with small pliers.
Now you’ve created a beautiful yarn tassel earring! With this simple tutorial, you can experiment with different colors and types of yarn to add personal flair to your creations.
FAQ
What are the best types of yarn to use for durable, long-lasting earrings?
For durable, long-lasting earrings, it is ideal to use thicker types of yarn such as cotton or wool, as they can withstand wear and tear better than delicate types.
How can you incorporate other materials such as beads or gemstones into your yarn earring designs?
To incorporate beads or gemstones into your yarn earring designs, you can thread them onto your yarn before you begin crocheting or knitting, or sew them on afterward for added texture and sparkle.
Can you describe the various techniques for incorporating colors and patterns into yarn earrings?
Incorporating colors and patterns into yarn earrings can be achieved through various techniques like color-blocking with multiple yarn shades, using variegated yarn, stranding or fair isle for complex patterns, and tapestry crochet for intricate design elements.
